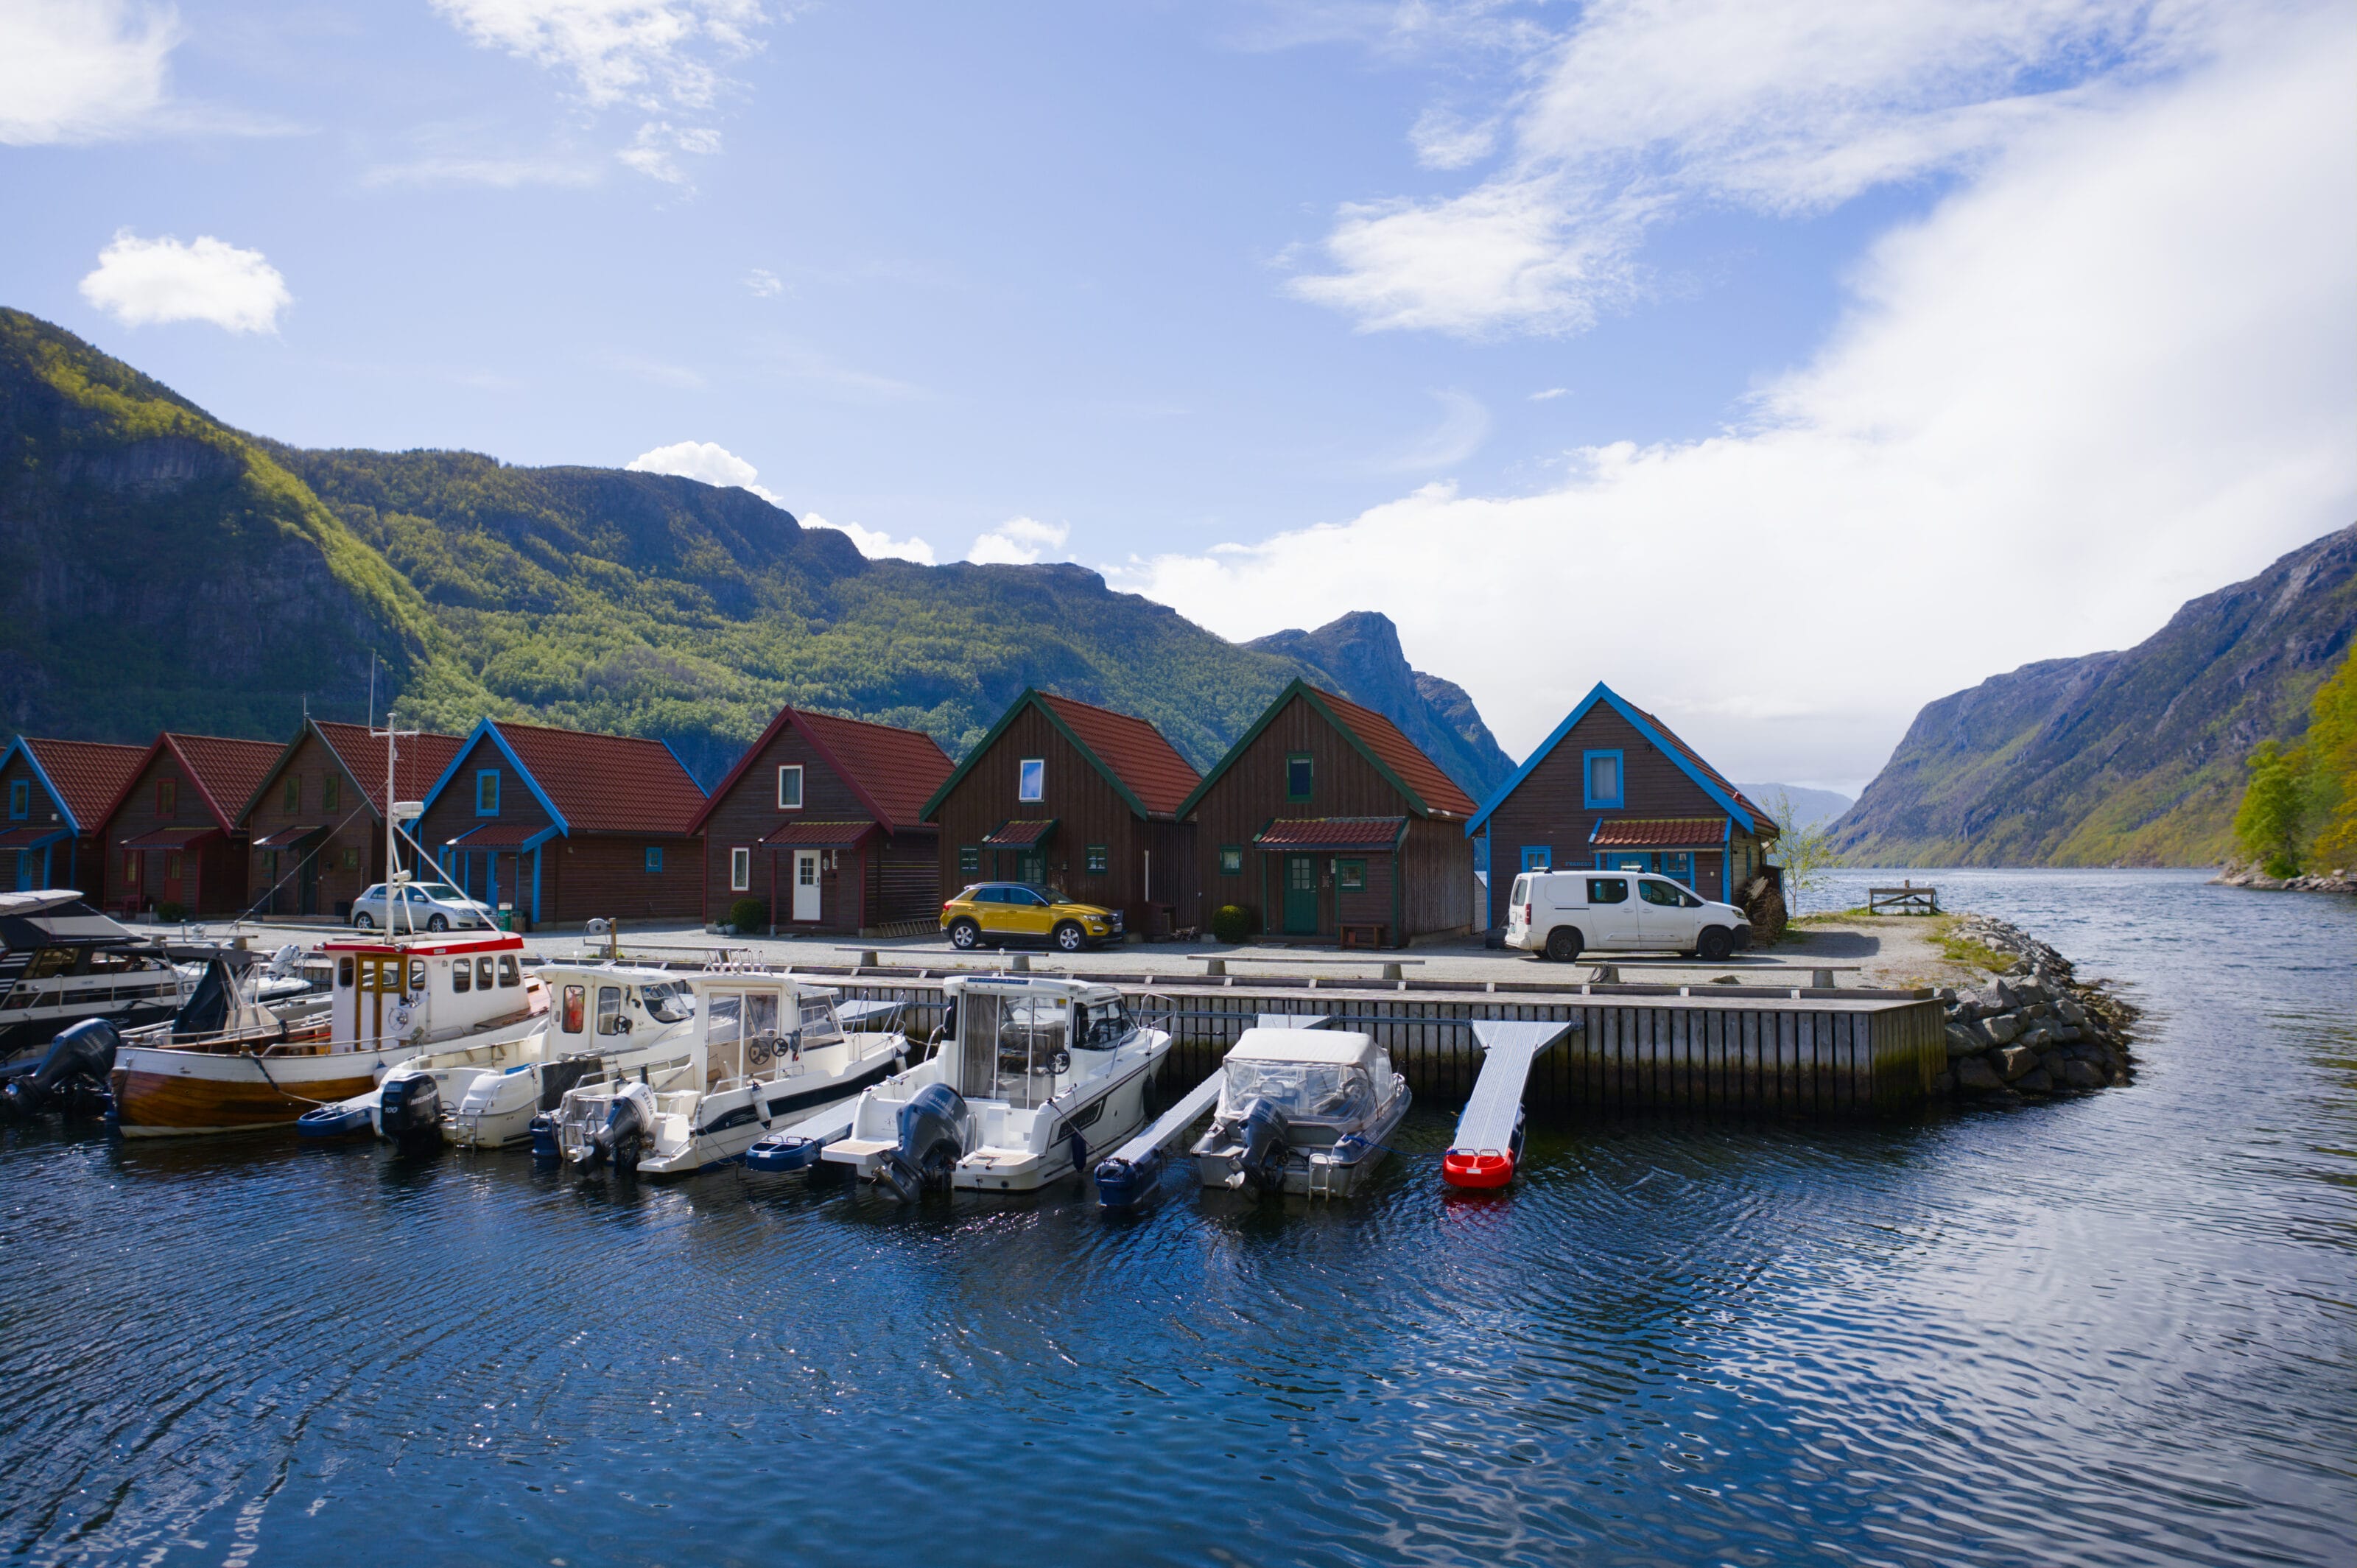
When people think of hiking in Norway, the same names often come to mind: Preikestolen, Trolltunga, or the classic trails of the Lofoten Islands. However, in our humble opinion, some of the experiences found a little further off the beaten path are just as magnificent. That’s exactly how we felt when we discovered Frafjord and the hikes in the surrounding area.
Today, we’re taking you on a few hikes in the Frafjord region, which still retains a peaceful, unspoiled atmosphere, far from Norway’s major tourist routes. Yet the valley is home to some of the most spectacular hikes in the country’s southwest, such as the famous Månafossen waterfall, Frafjordhatten, and Ramnstoknuten.
Selvigstakken: a scenic hike at the entrance to Frafjord
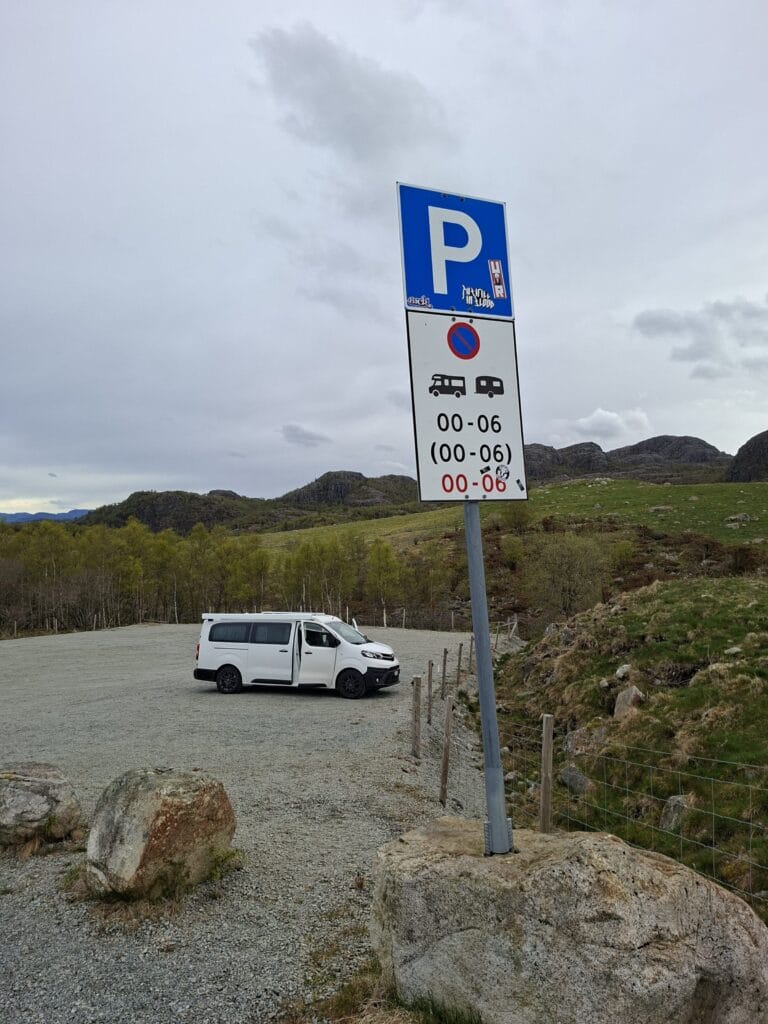
We’ll start this article with a hike that, although not “officially” in Frafjord, offers a magnificent view of the fjord. Actually, I say “not officially” because the trailhead is closer to Stavanger, but if you’re heading to Frafjord, you’ll almost inevitably pass by it, so we’ve decided to include it here. 😉 To start the hike, head to the (free) parking lot located along Route 508 (GPS coordinates for the parking lot). Please note: it’s clearly stated that you’re not allowed to spend the night there in your vehicle. But don’t worry—there are plenty of really great spots nearby.
A gradual climb through forests, rocky terrain, and lakes
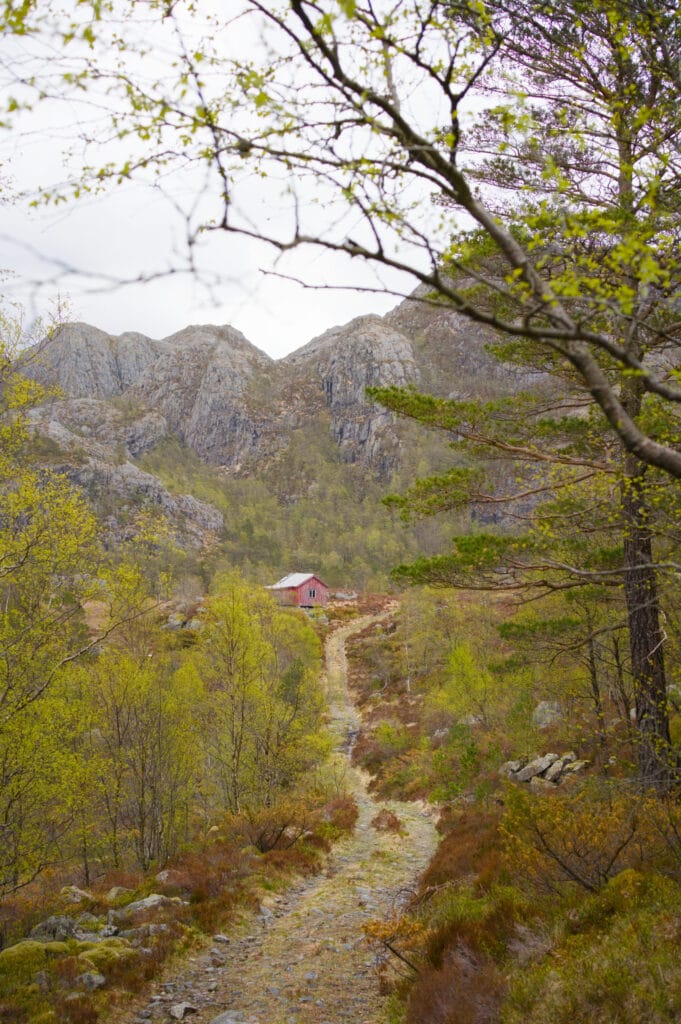
The hike begins by following a small farm road through a flock of sheep. This is actually our first time crossing a flock of sheep with Winchy (our dog). Since we’re used to walking near cows in our mountains, we’re always a bit cautious when it comes to taking a dog around farm animals.
So the good news is that apparently neither the sheep nor the dog care one bit about each other. Of course, Winchy is always kept on a leash, but we were a little worried that the sheep might have a protective instinct. Because, yes, it’s spring, and almost every ewe has two or three lambs clinging to her teats!
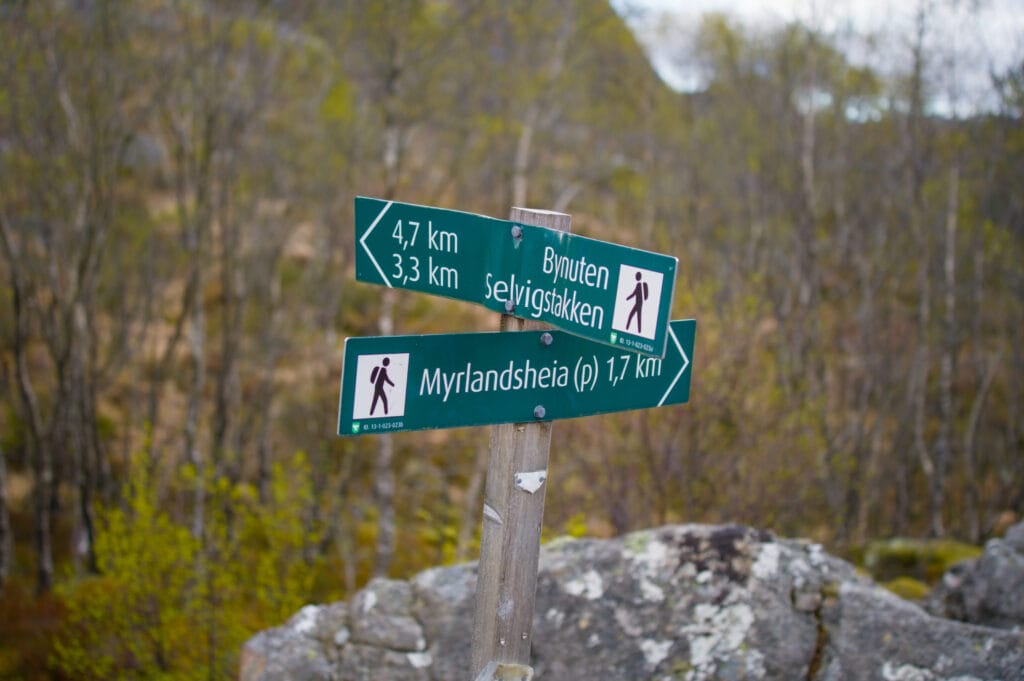
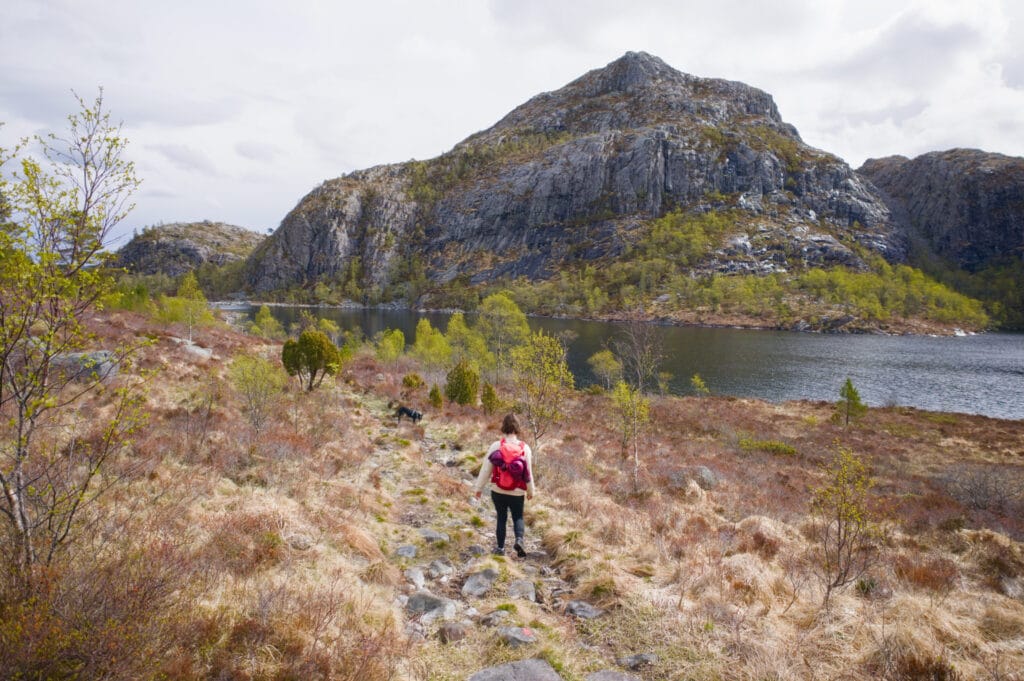
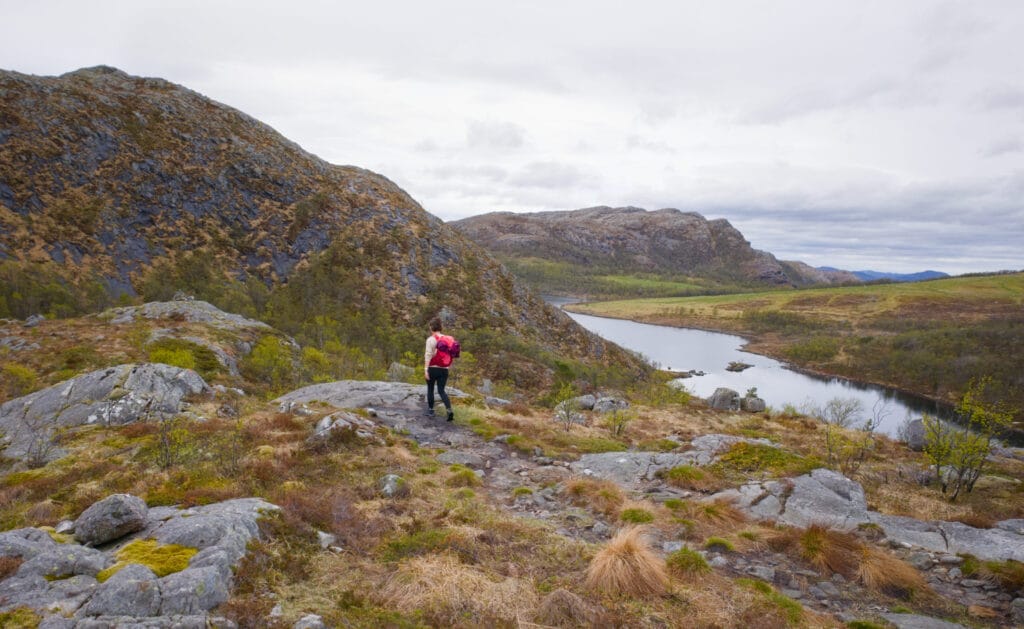
When you leave the road, you come to a trail that runs alongside several lakes. Well, I say “trail,” but I think at this point it’s more like a big swamp with rocks and roots, and you try to navigate it more or less gracefully so you don’t get your feet (too) wet.
After hiking for 4 km, my watch tells me we’ve “only” climbed 130 meters. I figured it seemed a bit too easy of a hike. 😉 The remaining 400 meters of elevation gain are mostly concentrated in the last kilometer and a half.
The summit of Selvigstakken and its spectacular view
Once you leave the lake area and the forest, you quickly find yourself in terrain that’s almost entirely rocky. The ascent is well marked, and we hardly got lost at all. I say “hardly” because we did veer off course two or three times, but it’s pretty easy to realize you’ve taken a wrong turn since there’s essentially only one path where the climb remains a “hike” rather than rock climbing.
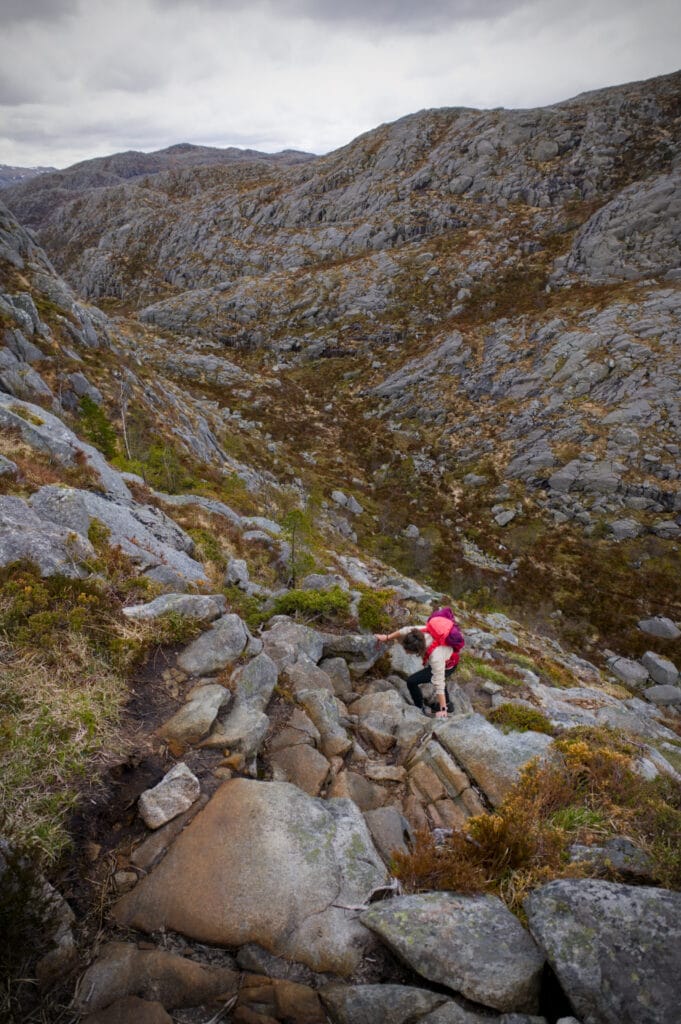
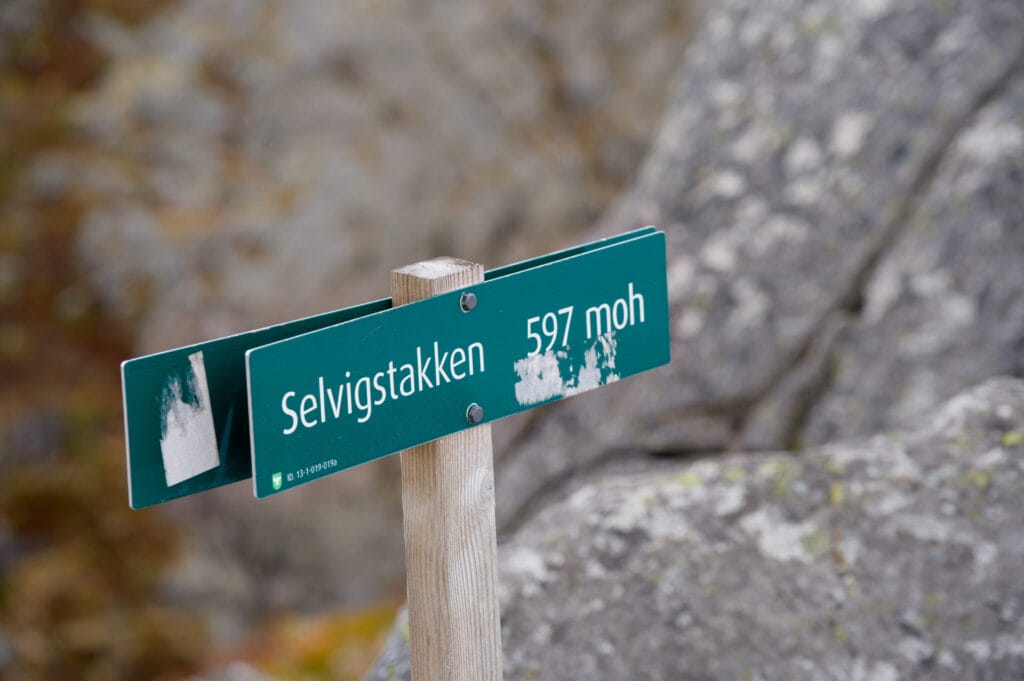
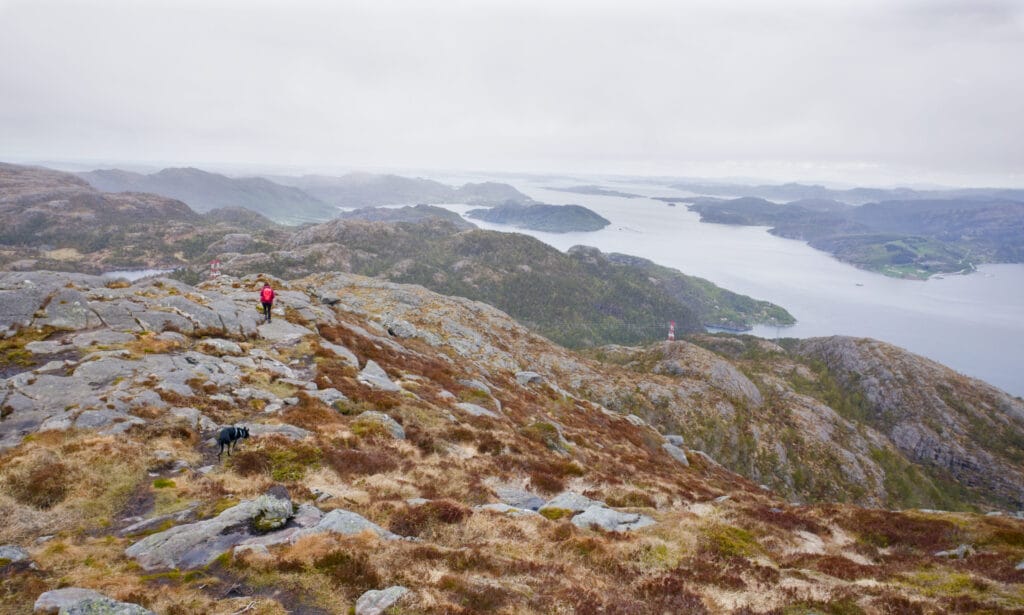
But seriously, I found that last part pretty tough, but I didn’t have any issues with vertigo, and the few spots where I had to use my hands went smoothly. The dog did well too; we had to help him on a few spots (especially on the way up), but there aren’t any ladders or sections that are truly impossible for a dog in good shape to climb. The pug I had 15 years ago probably would never have made it to the top (but let’s be honest, neither would I back then, haha). But for Winchy, no problem at all.
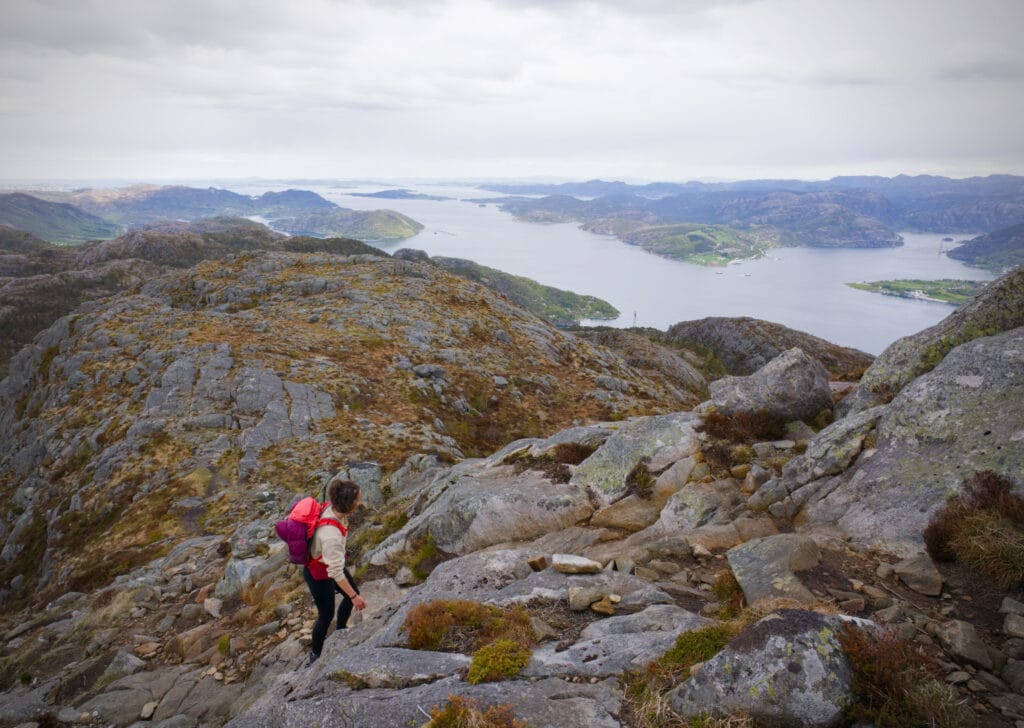
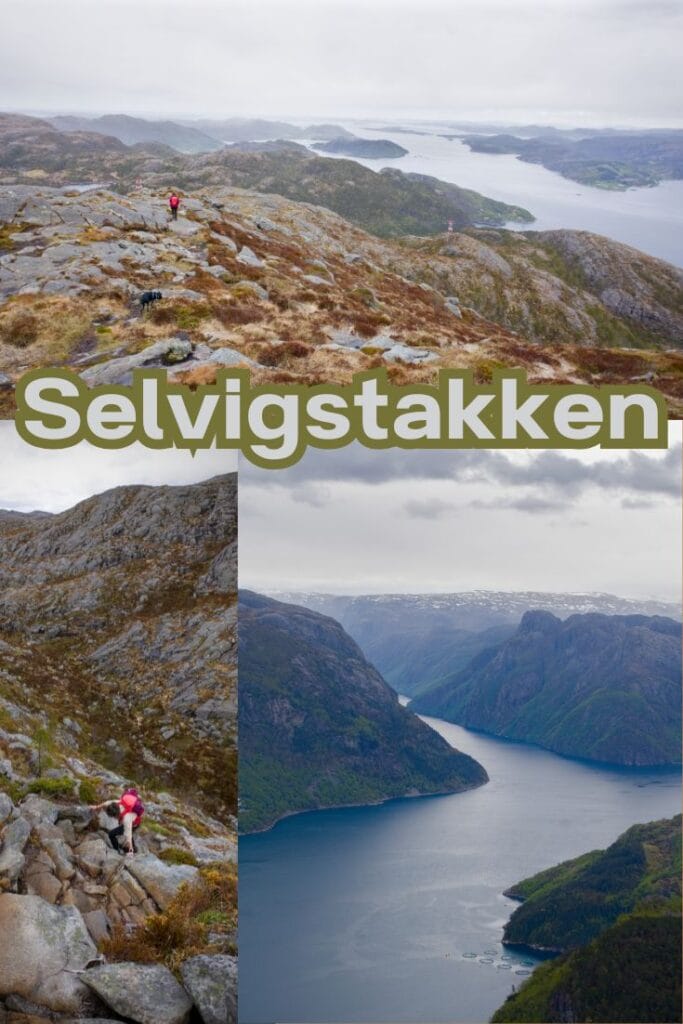
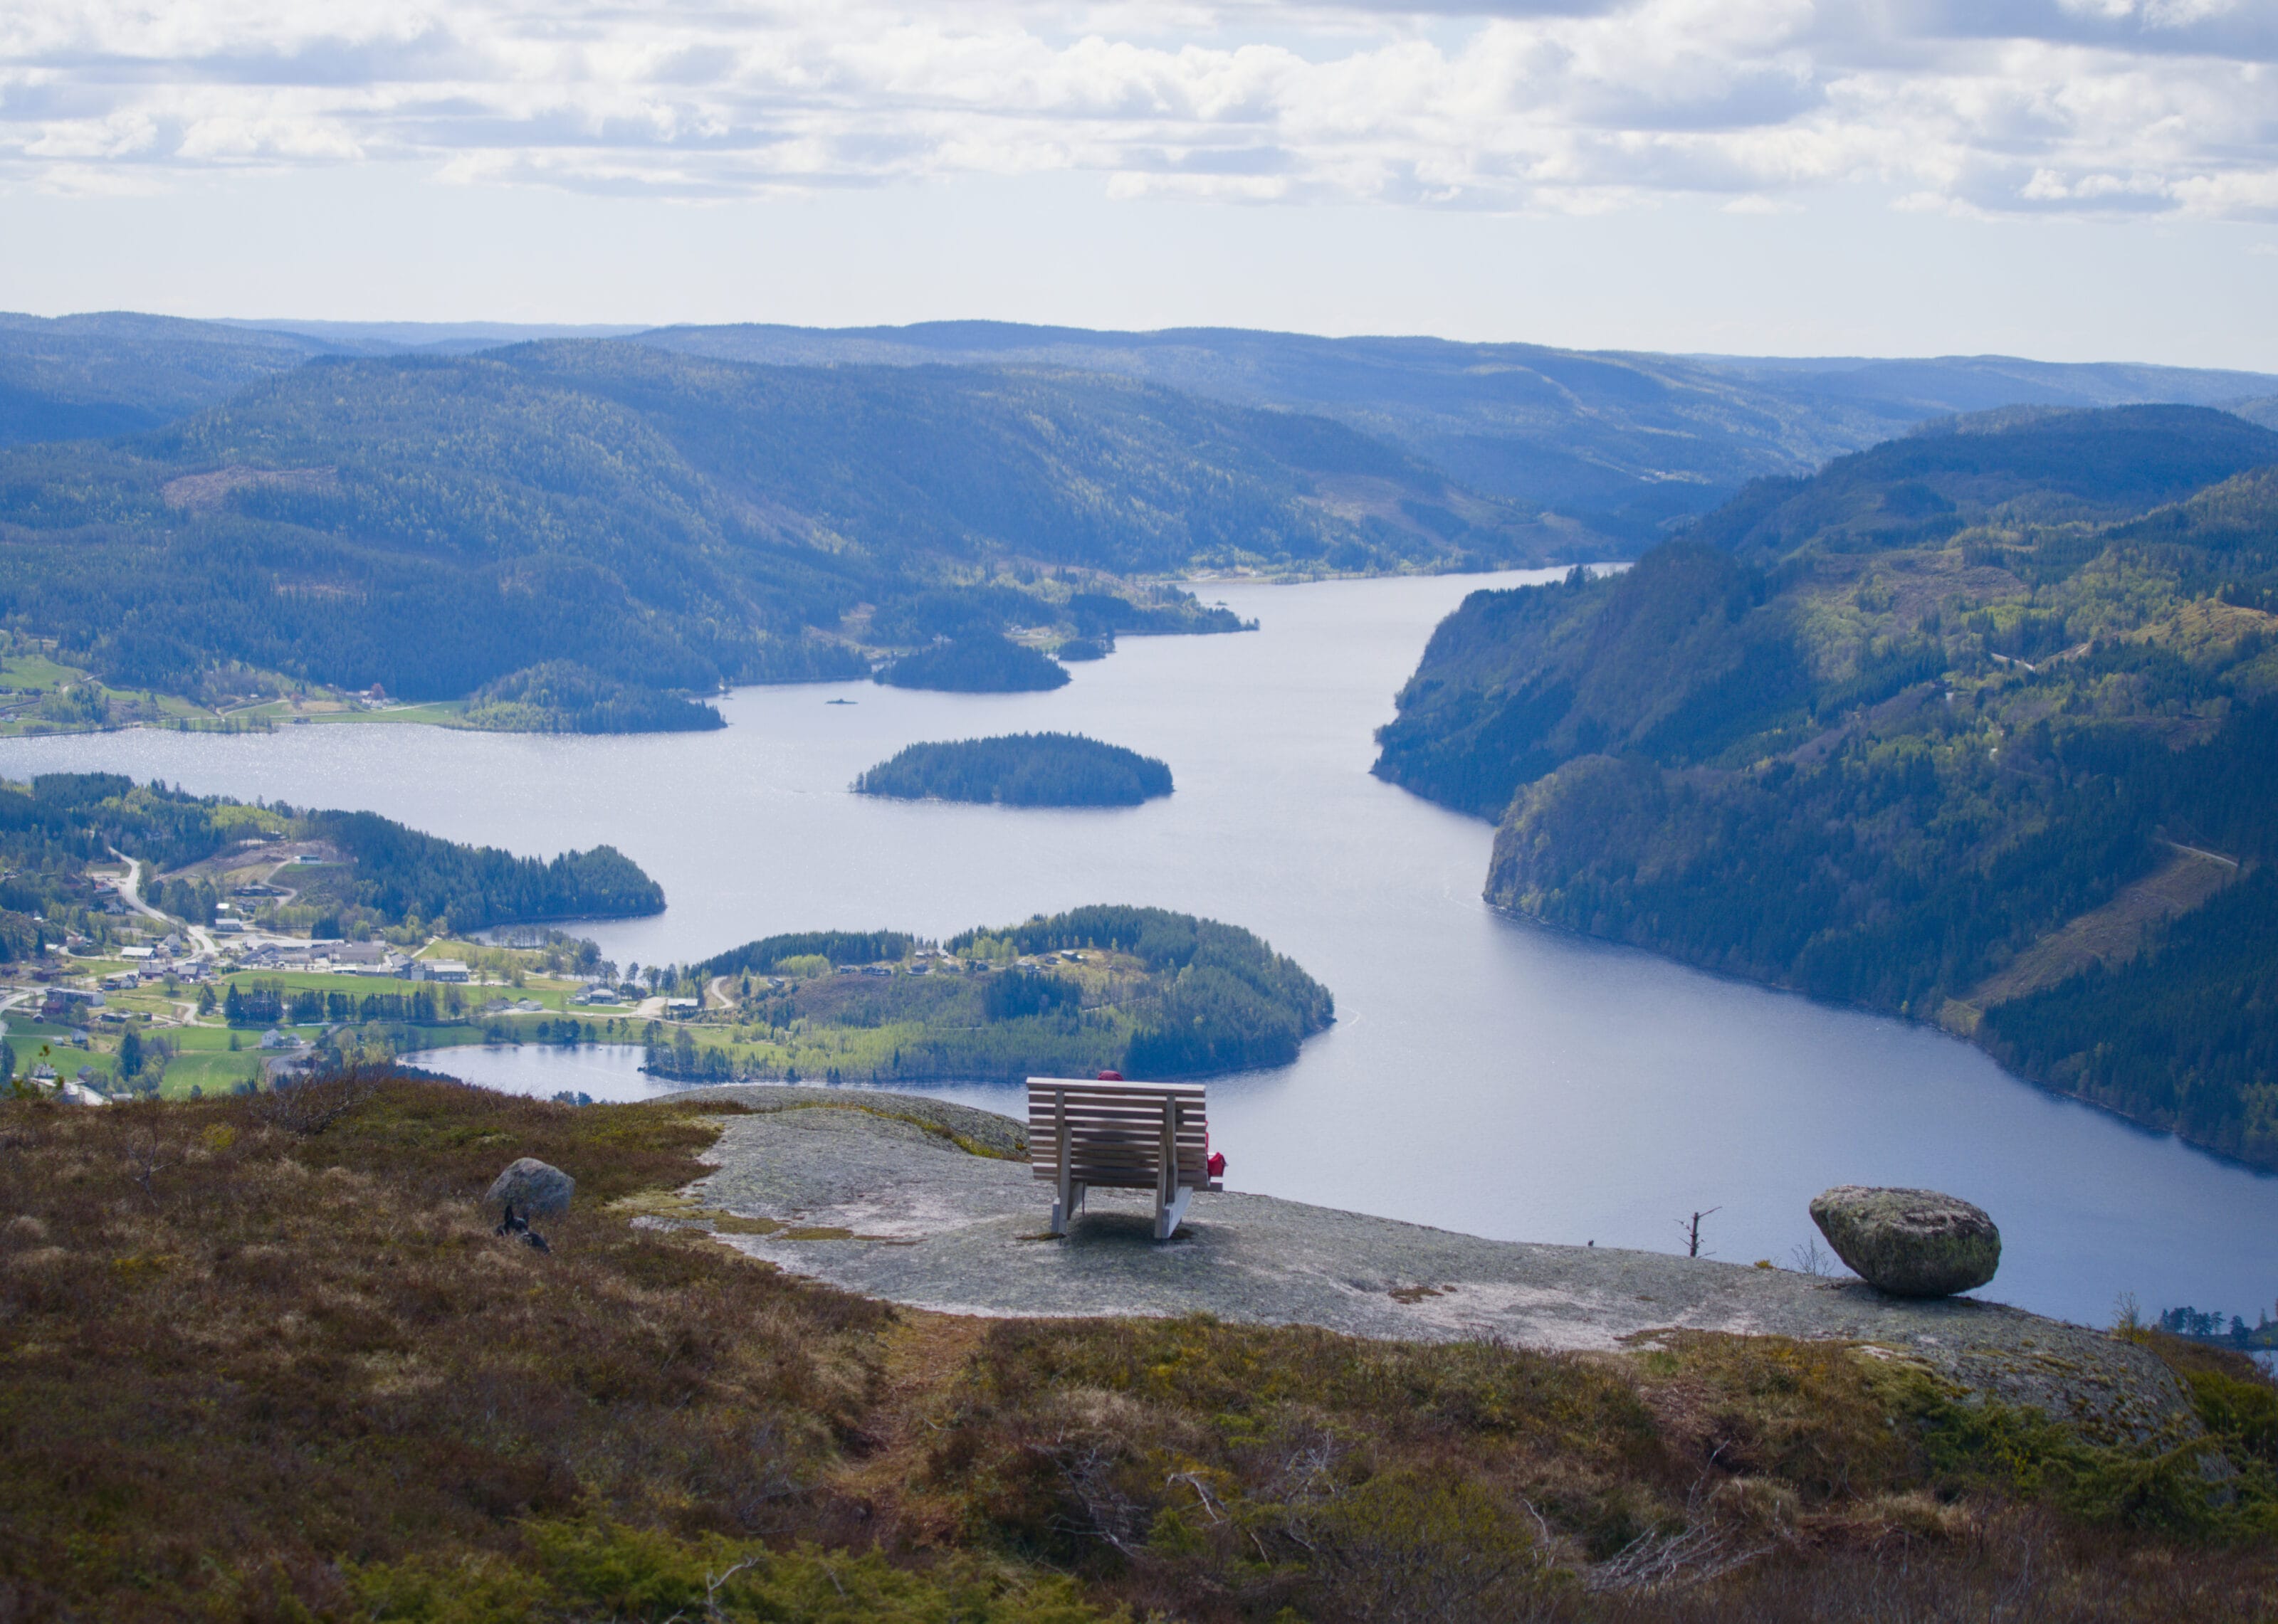
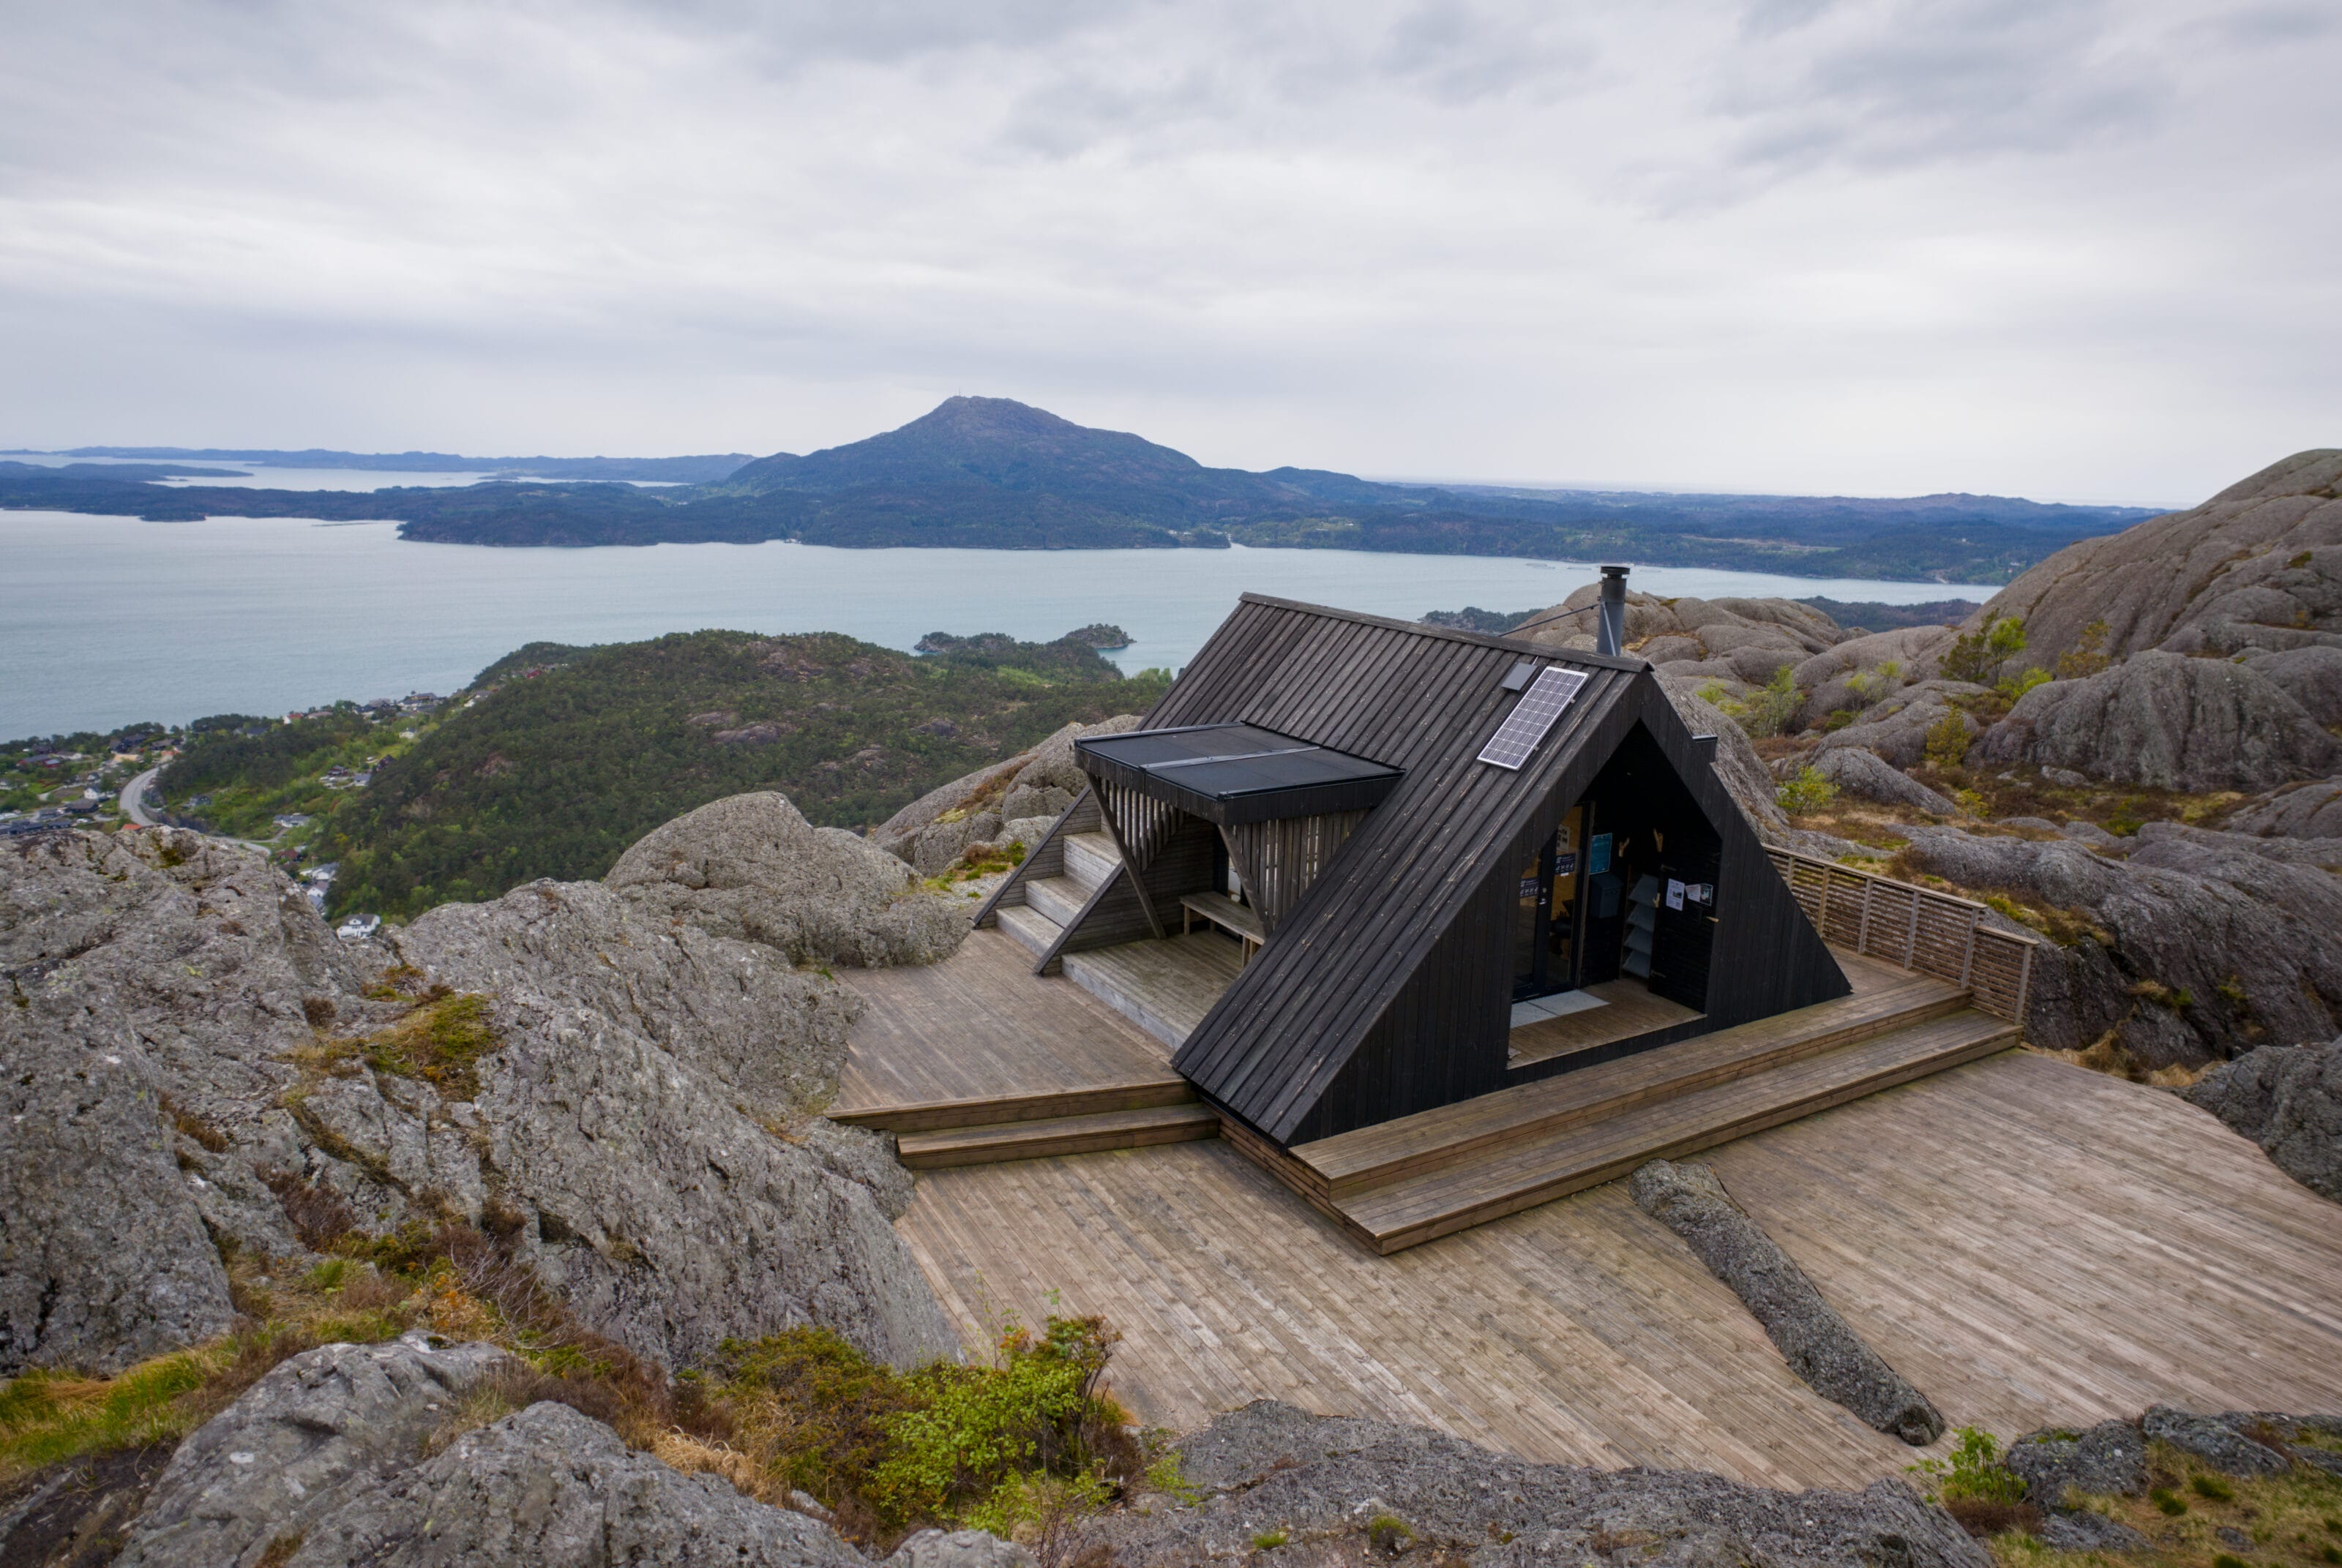
And well, once you reach the summit, you’re truly rewarded with a magnificent 360° view!
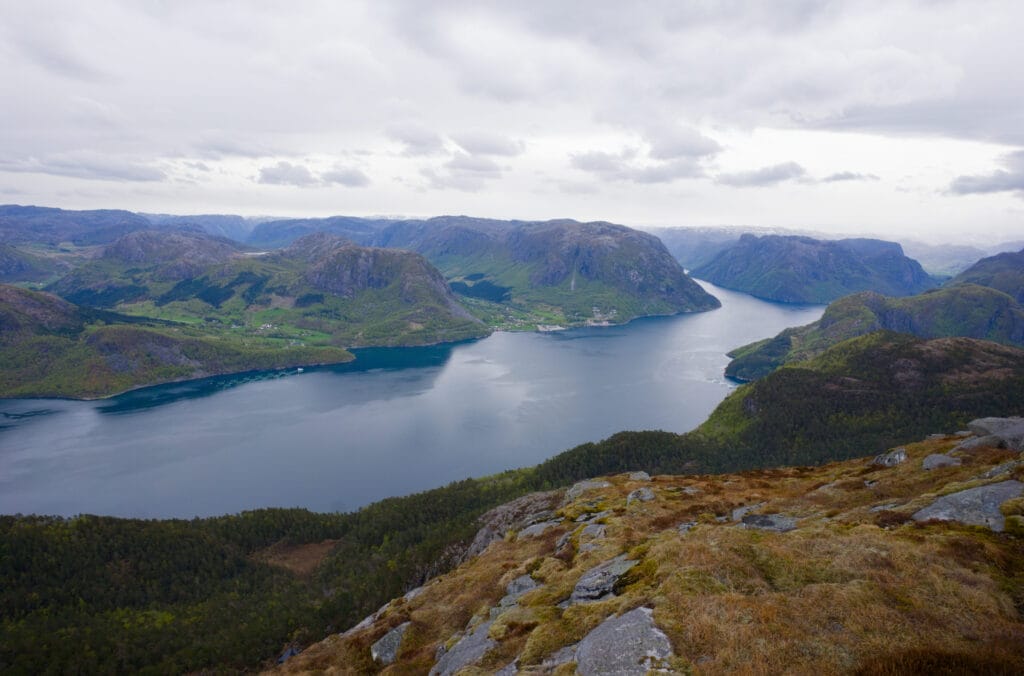
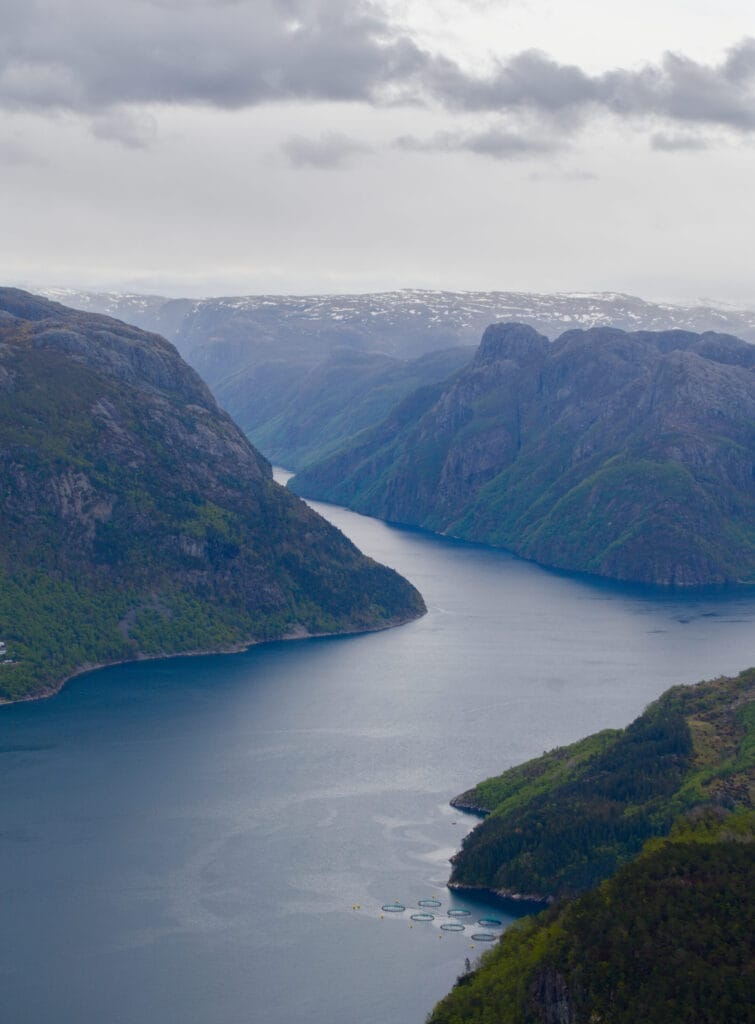
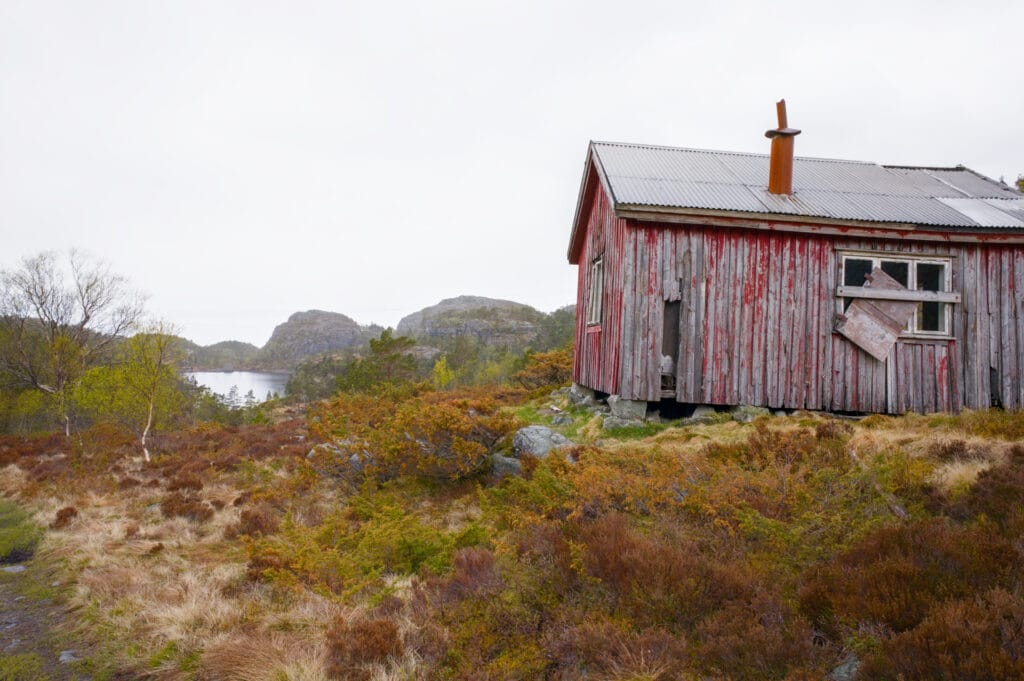
On the way back, the descent down the steep section follows the same route as the ascent. But after that, we decided to head right instead of going back via the lakes. This route is a bit less scenic, but it has the advantage of following an old trail for most of the way, which helps keep your feet a bit drier and, above all, allows you to walk at a more steady (and faster) pace. 😉
Map and practical information for the Selvigstakken hike
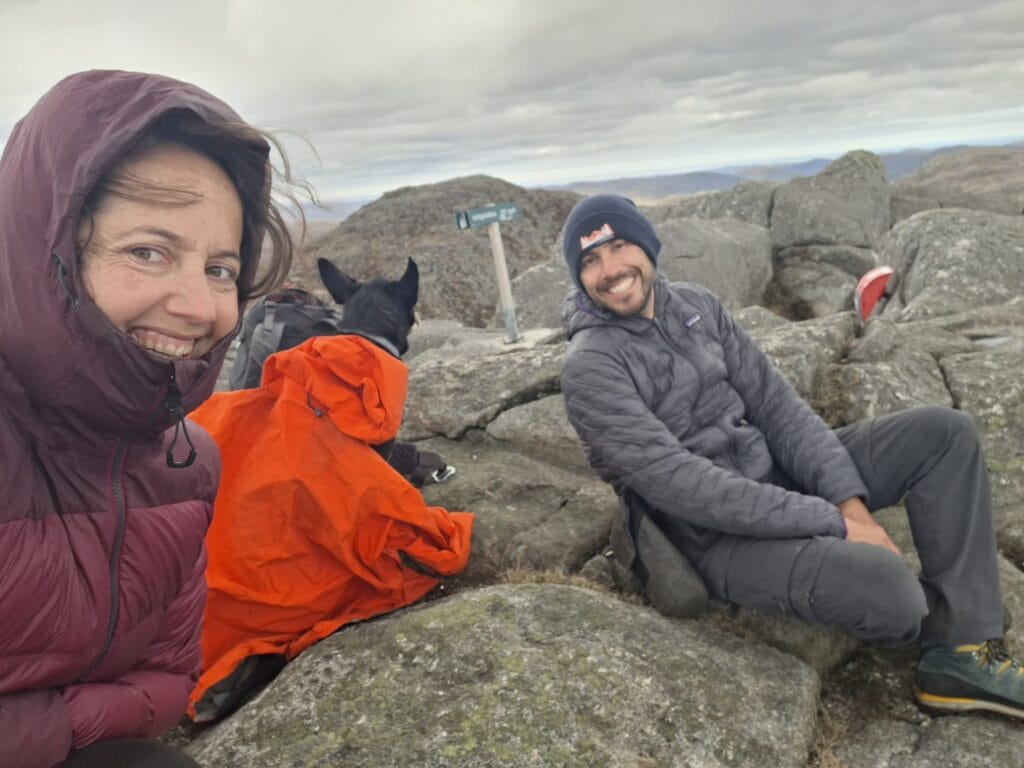
In total, the Selvigstakken hike is 9.6 km long with an elevation gain of 515 m (both uphill and downhill, since it’s a loop). It takes about 3.5 to 4 hours to complete the route. I strongly recommend wearing waterproof shoes for the first part of the hike! And as always in Norway, be sure to bring a rain jacket and a down jacket (a light shower or a few gusts of wind are always possible, and it can get pretty chilly at the summit, even if you might be wearing just a T-shirt on the way up). 😉
There’s also a variation of this route that includes the summit of Serifjellet. I’ve included that route below as well, in case you’re interested. As for us, we decided to stick to just one of the two summits. Selvigstakken is higher and closer to the fjords, so it seemed more logical to us to choose that one. 😉 Here, the loop is 10.8 km long with 550 meters of elevation gain.
Manafossen Waterfall
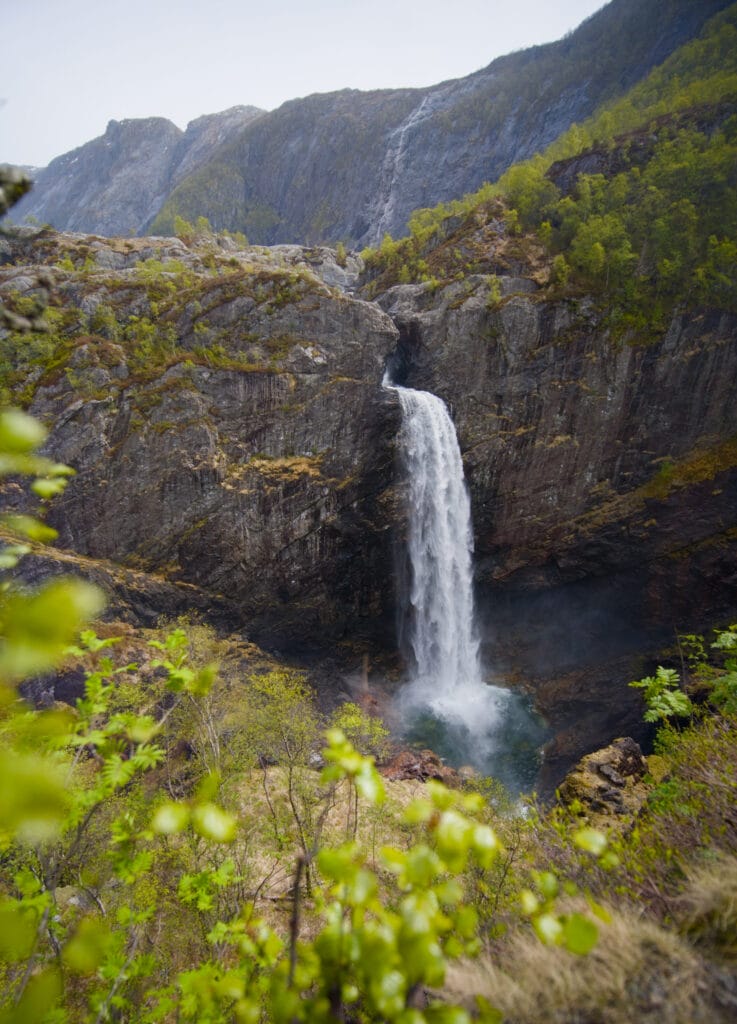
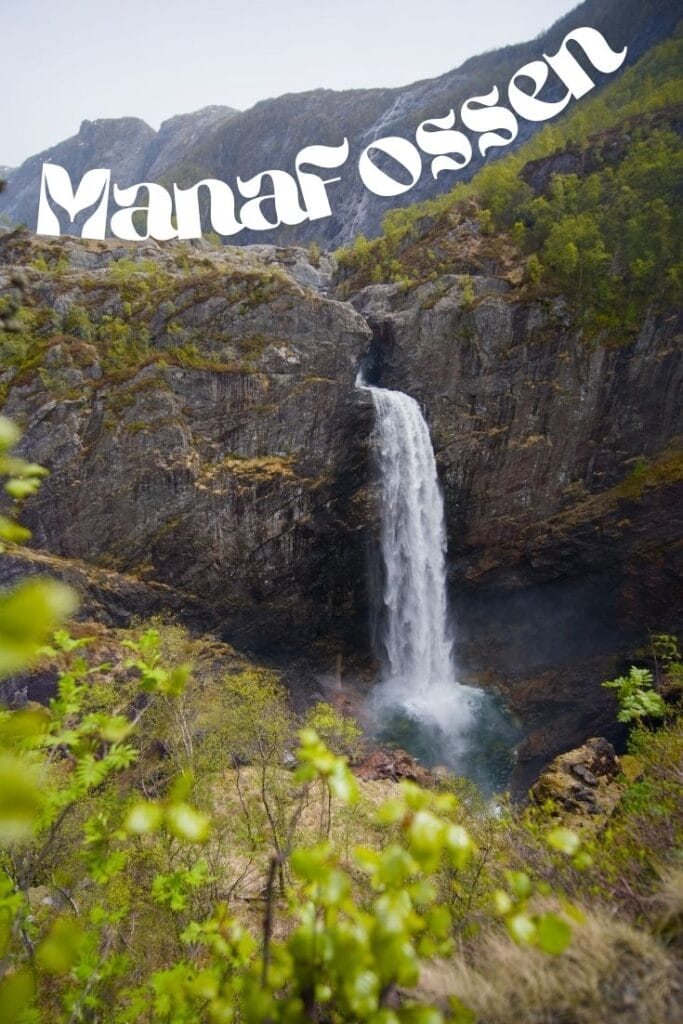
What would a road trip in Norway be without visiting at least a few waterfalls, you might ask? Well, I promise we’ll be showing you plenty more in our posts, but for today we’ll settle for just one—and not just any waterfall: Manafossen.
Most of Norway’s iconic waterfalls are concentrated in the western part of the country, particularly in Vestland (the region north of Bergen). But Rogaland isn’t to be outdone, and Manafossen, with its 92-meter drop, isn’t exactly what you’d call a “small waterfall.” 😉 (though it’s not a huge one by Norwegian standards either)
Map and practical information for the hike to Manafossen Waterfall
The hike to the waterfall overlook is very short, but we won’t lie to you—it’s steep! It’s perfectly well-equipped, with ropes and cables installed at the toughest spots, but let’s just say it’s not the place to climb if you have knee problems, for example (we saw several people turn back). Then again, it’s all relative, right? We also saw a Norwegian family where the mom had a baby just a few months old, and their 3- or 4-year-old was climbing the steps with Dad’s help, haha
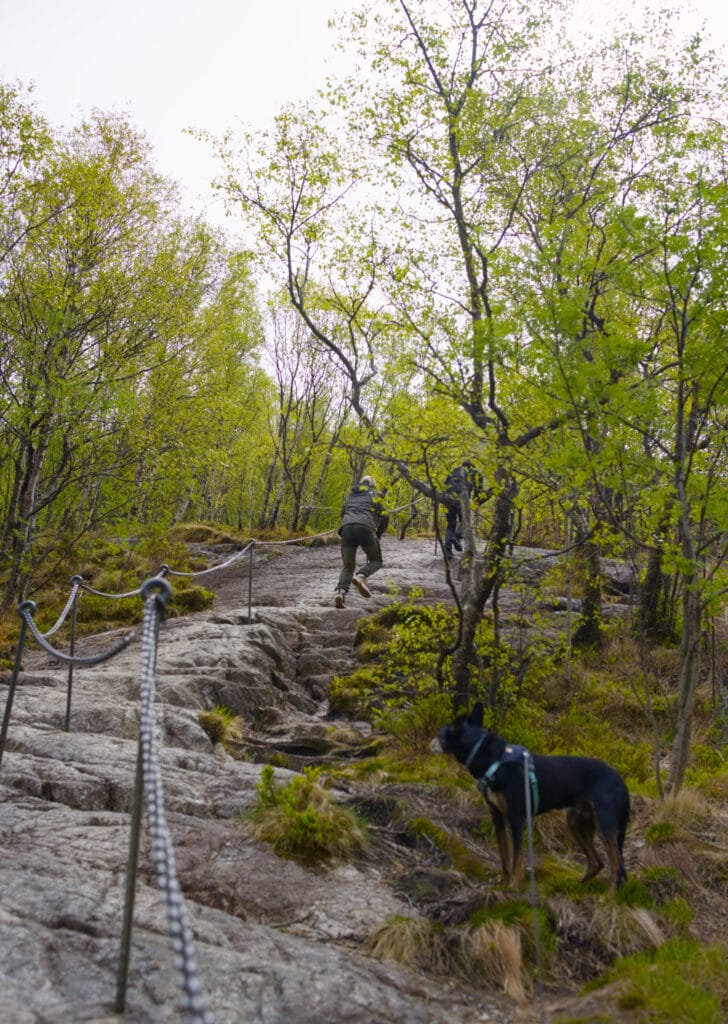
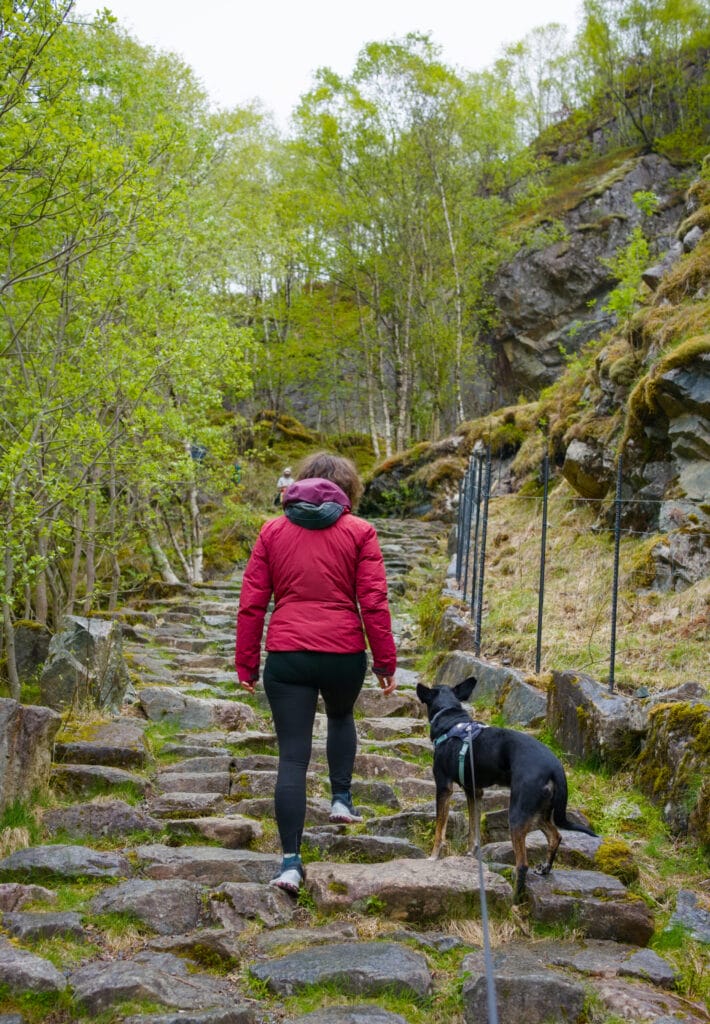
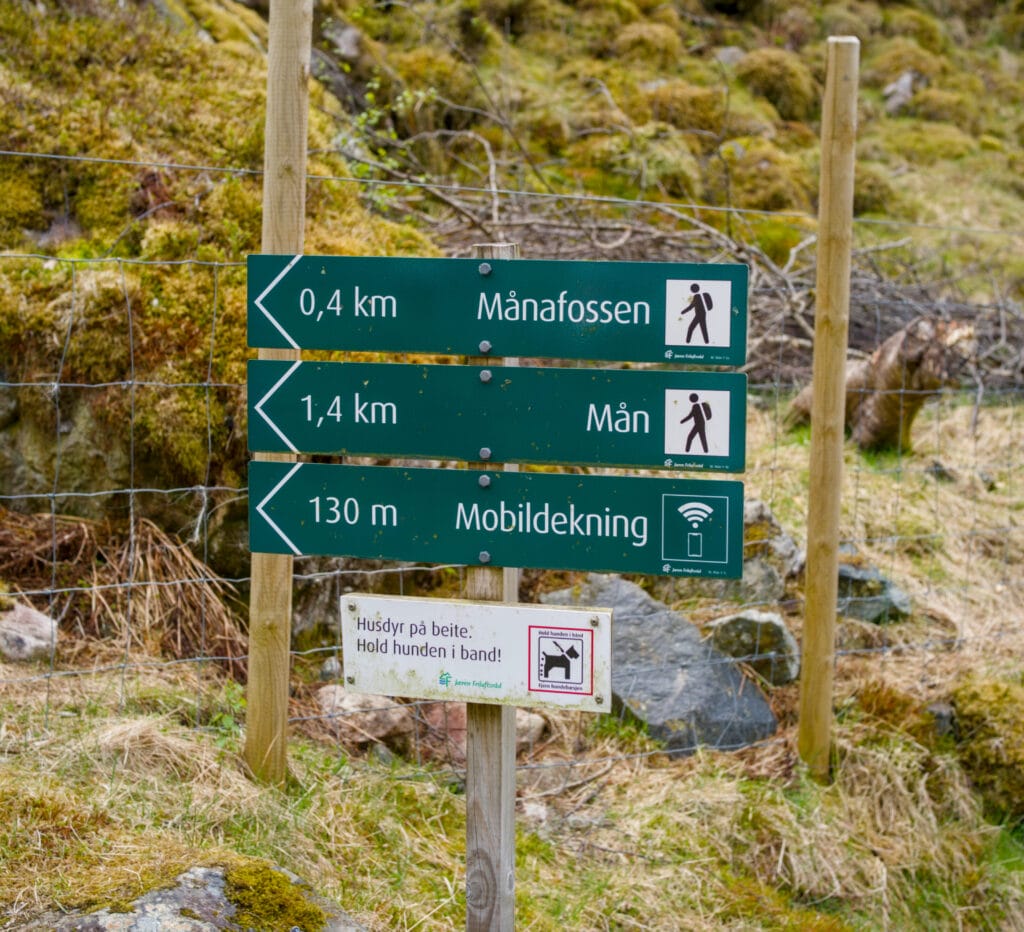
The round trip to the two lookout points (where we took the photo) takes about 20 to 30 minutes. The total distance (round trip) is 1 km, with an elevation gain of about 100 meters. During our hike, we had initially planned to extend the hike to the plateau above. Unfortunately, the weather was turning bad, so we decided to turn back. But I’m still including the full route below. Nothing is stopping you from turning back after the viewpoints, just as we did.
The Frafjord Hat
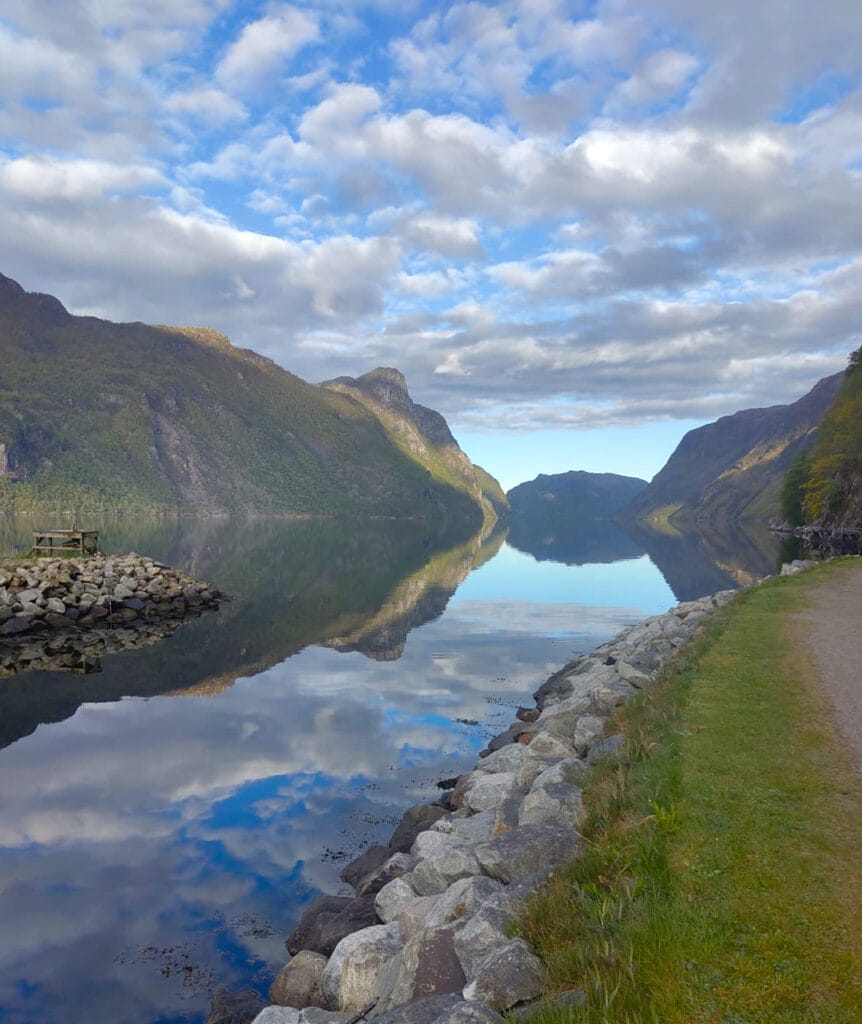
For this summit, I’ll let Benoit tell the story, since he hiked up there all by himself one morning in trail running mode while I was sleeping in at the van. 😉
So I apologize in advance for the quality of the photos—I only brought my cell phone (it’s easier for running). But I hope they’ll give you an idea of the truly magnificent scenery along this route. That said, this hike is no walk in the park! It climbs very steeply at the start, the trail isn’t always easy to follow, and it can get quite swampy in places. In short, if you’re planning a hike, set aside the whole day for the round trip.
- Elevation gain: approximately 1,000 meters of total elevation gain and loss
- Distance: approximately 13.5 km
- Difficulty: This is a challenging hike. The first section is very steep (a classic in Norway), and the rest of the trail is sometimes poorly marked and quite marshy (if you’re not running, waterproof shoes are a must)
. Duration: 5–7 hours
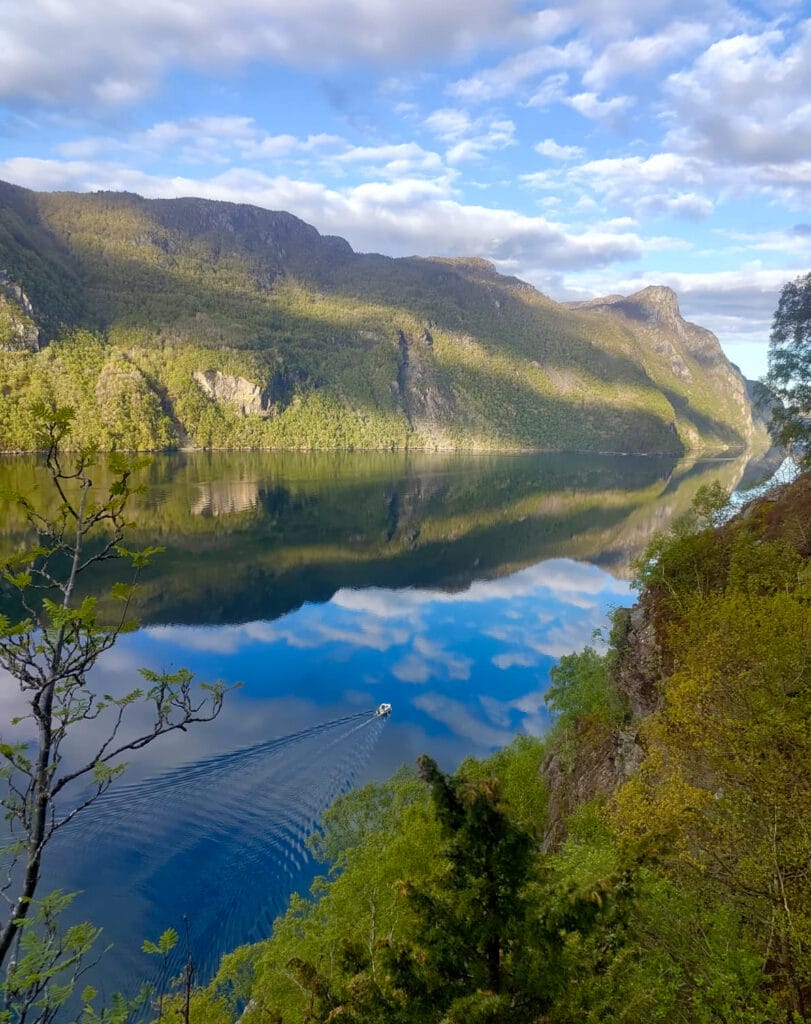
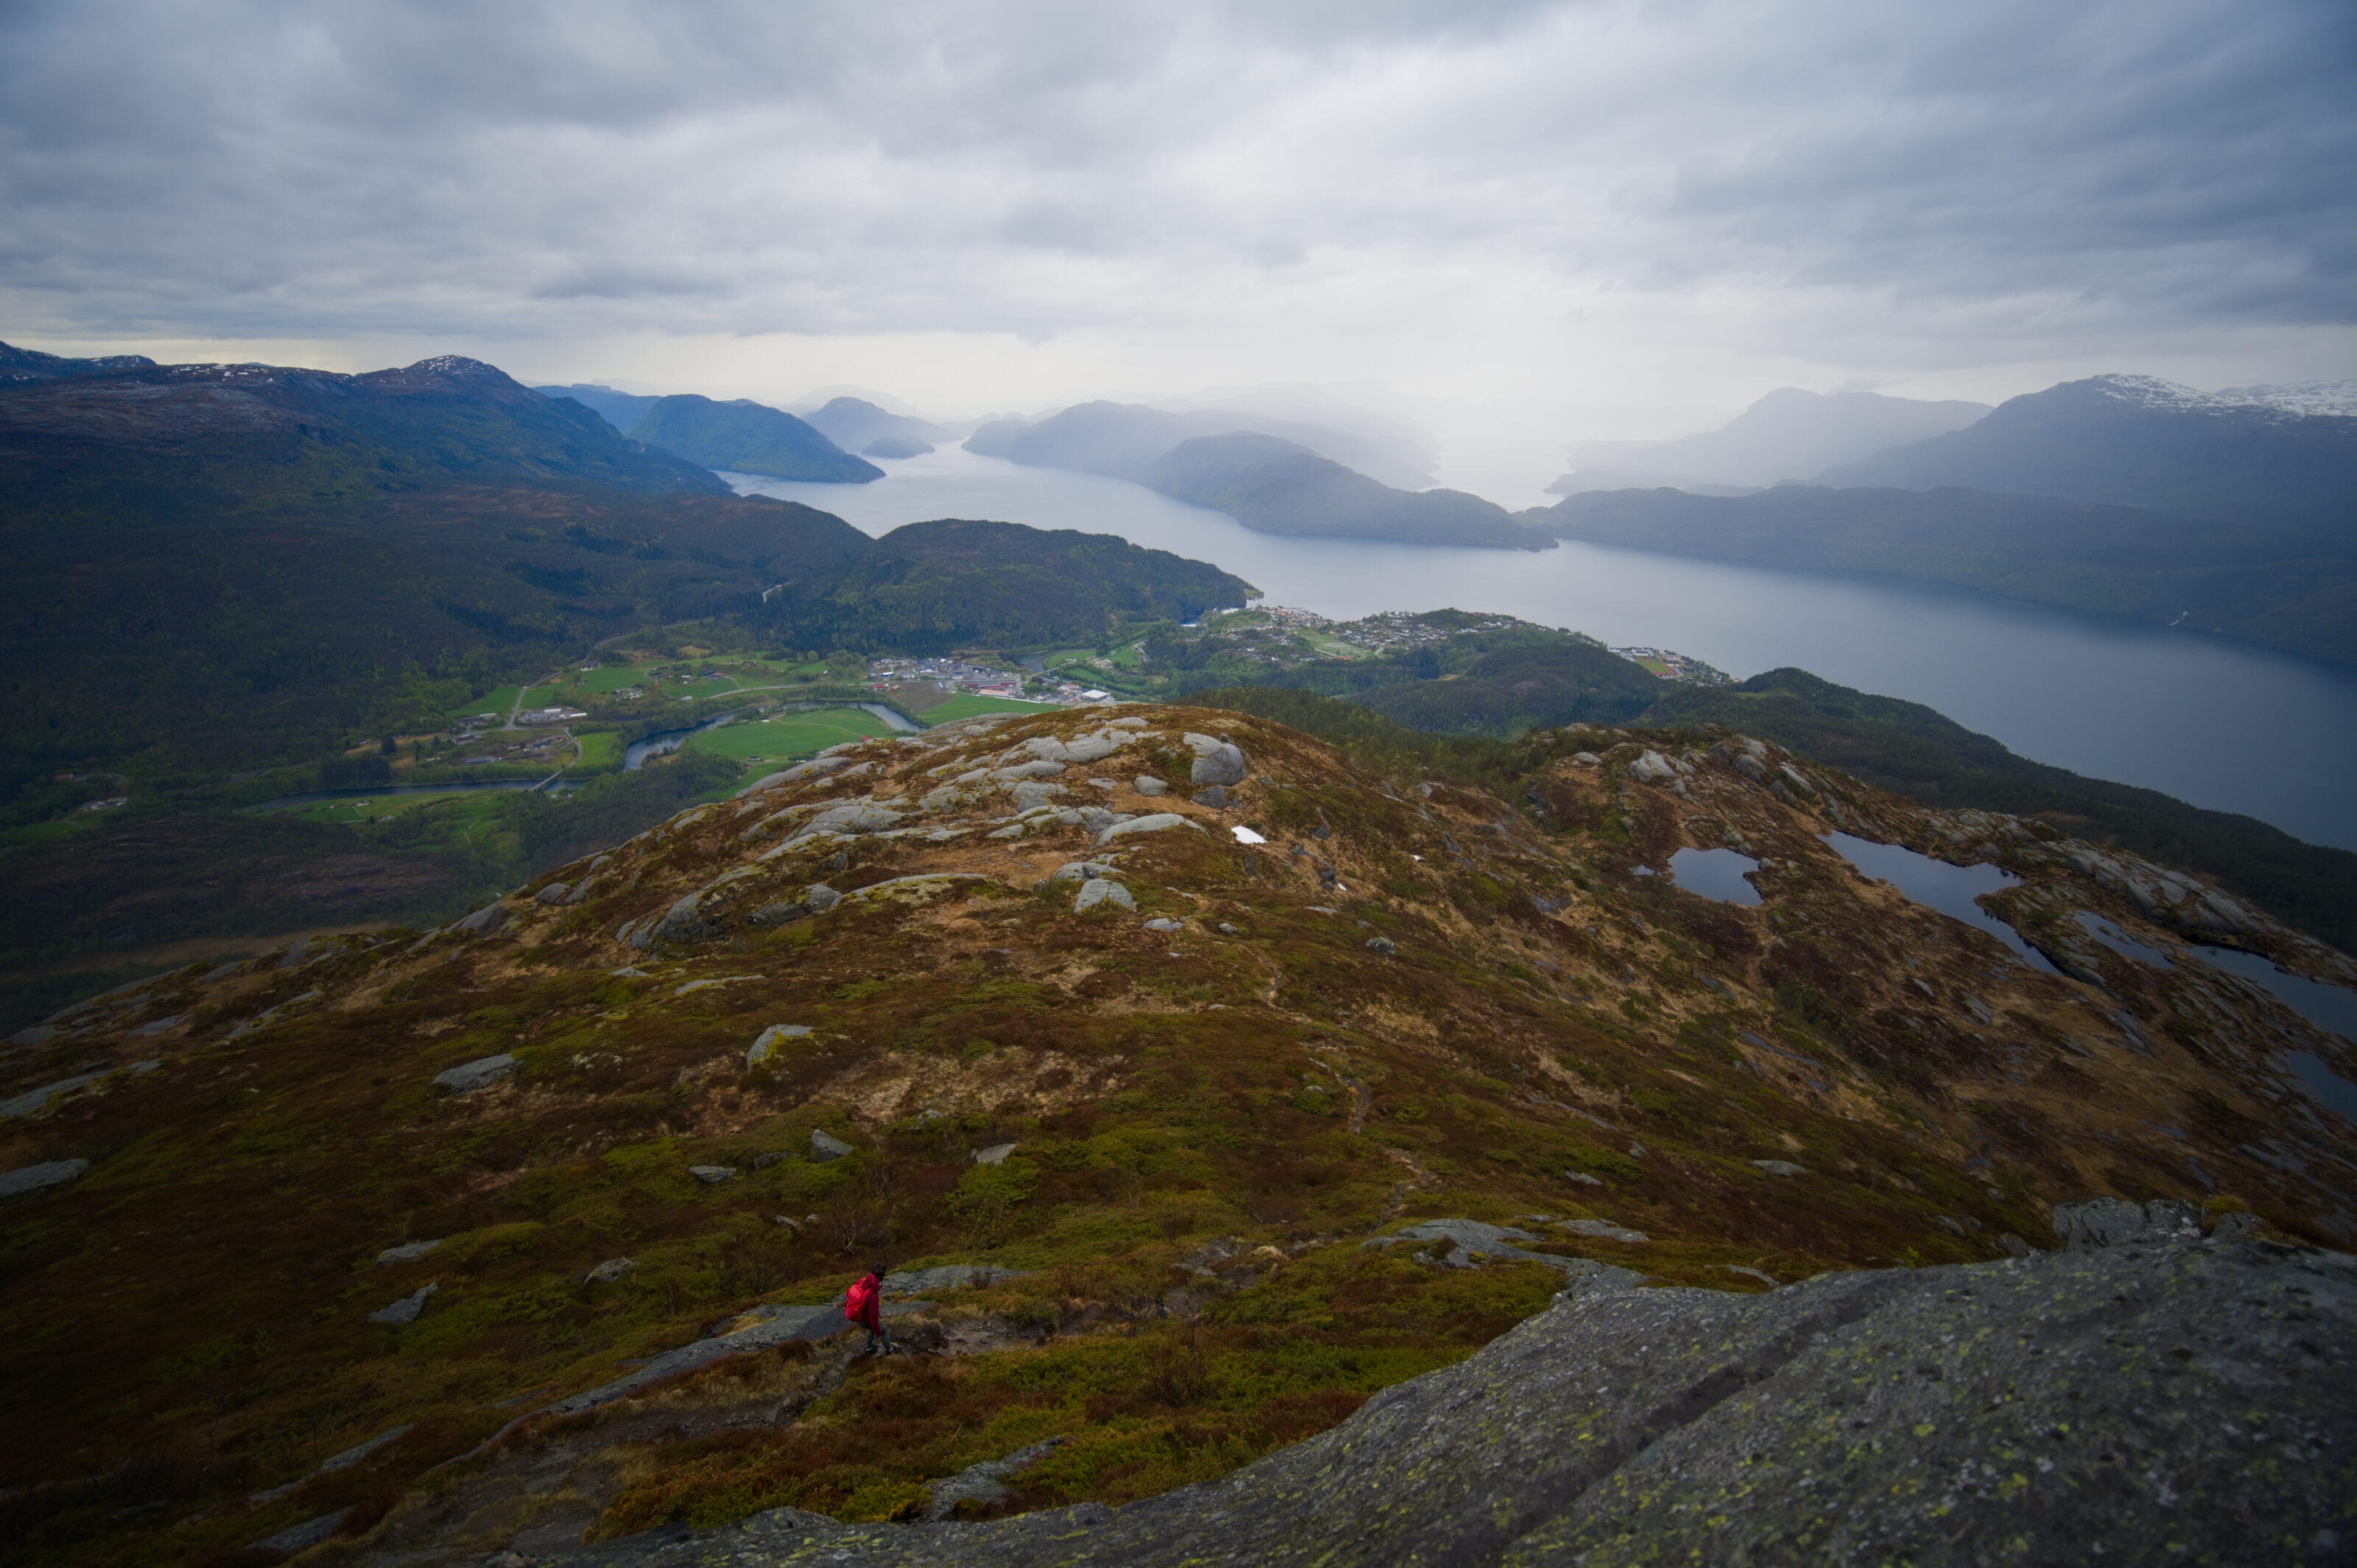
The trail starts at the Frafjord campground (a great campground, by the way), right after the sign pointing to TilFjells. There’s no time to warm up—it heads straight up right away. During the climb, there are a few clearings in the forest that offer magnificent views of Frafjord below. With the beautiful morning light, it’s truly stunning.
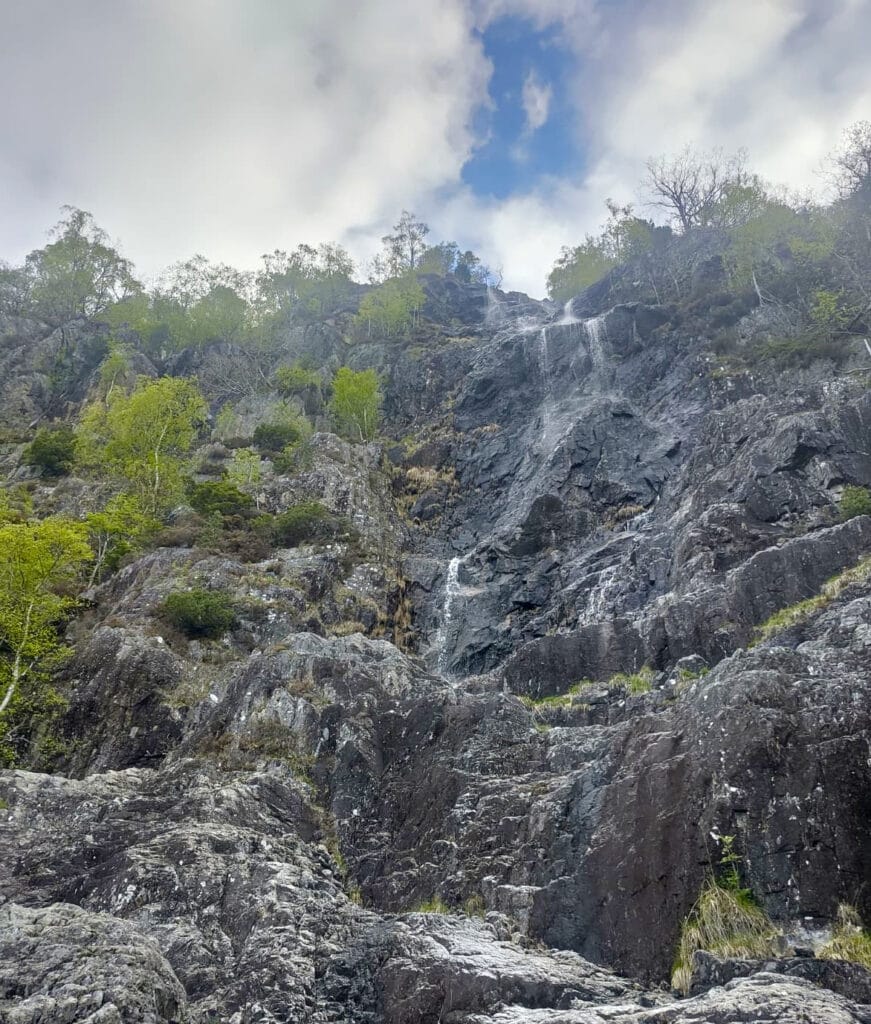
I pass right below two waterfalls and keep climbing straight up until I reach a plateau where the slope finally levels off (after about 2 km)
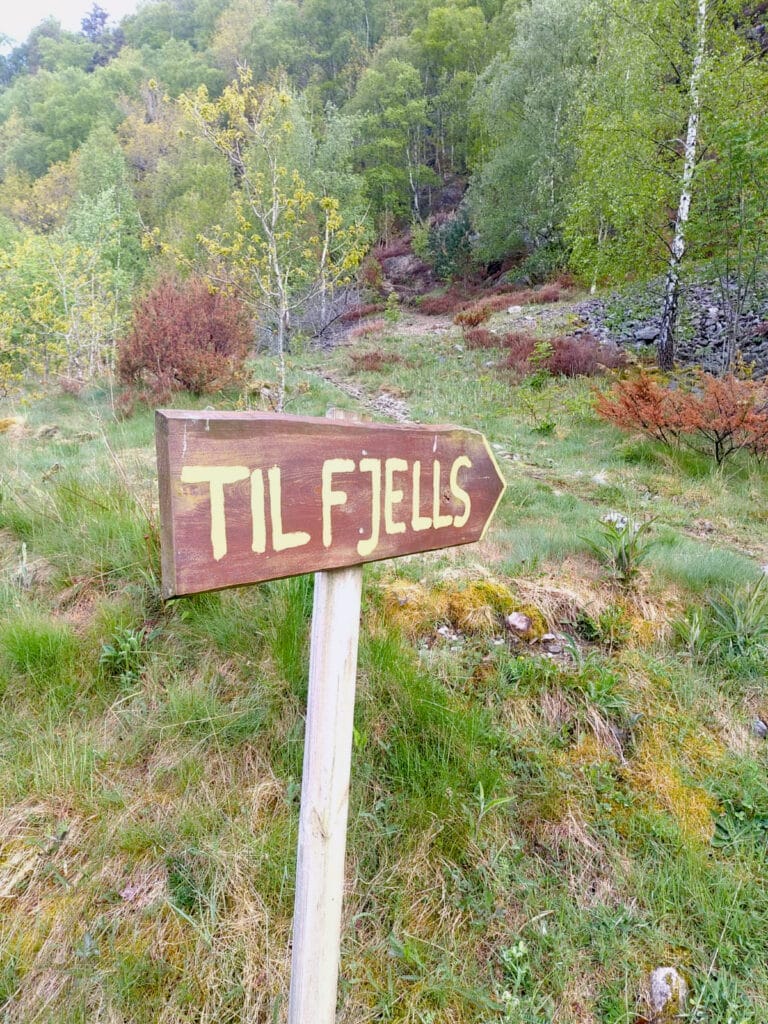
The rest of the hike isn’t nearly as steep, but that doesn’t make it any easier. As is often the case in Norway, when the terrain flattens out, it also gets wetter. By that I mean you’d better have waterproof shoes, because in some spots it’s literally a swamp, haha.
On this plateau, I first pass by a lake and then arrive at the edge of a second one. At this point, the map shows a more direct trail that climbs to the left. So that’s the one I took, but I wouldn’t recommend you do the same. It’s not really a trail, and there are no markers (so you can easily get lost). Then you come to a marshy area that I chose to go around (off-trail, haha) rather than get my feet soaked. I went back down the other side (as shown on the map), and the trail is much better.
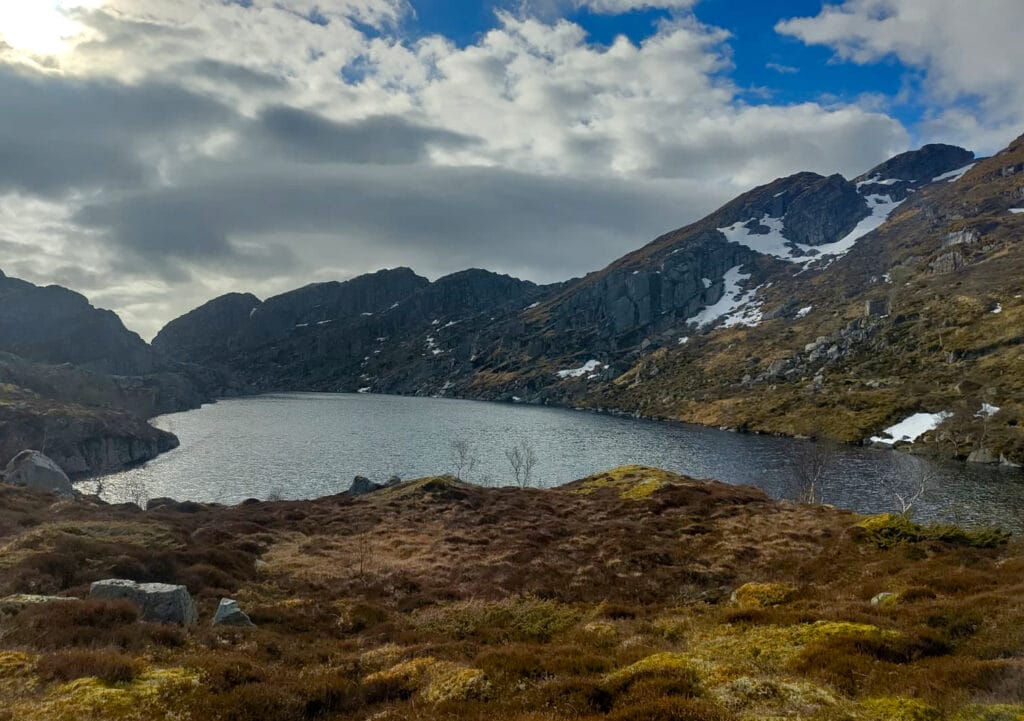
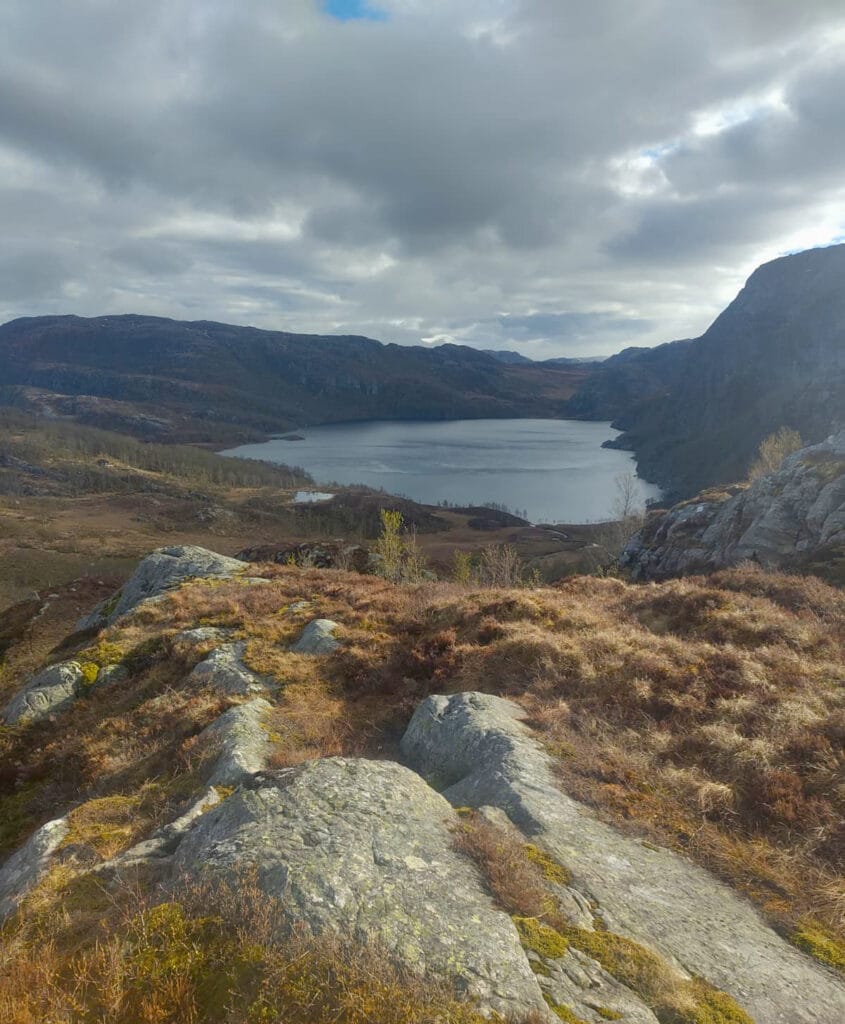
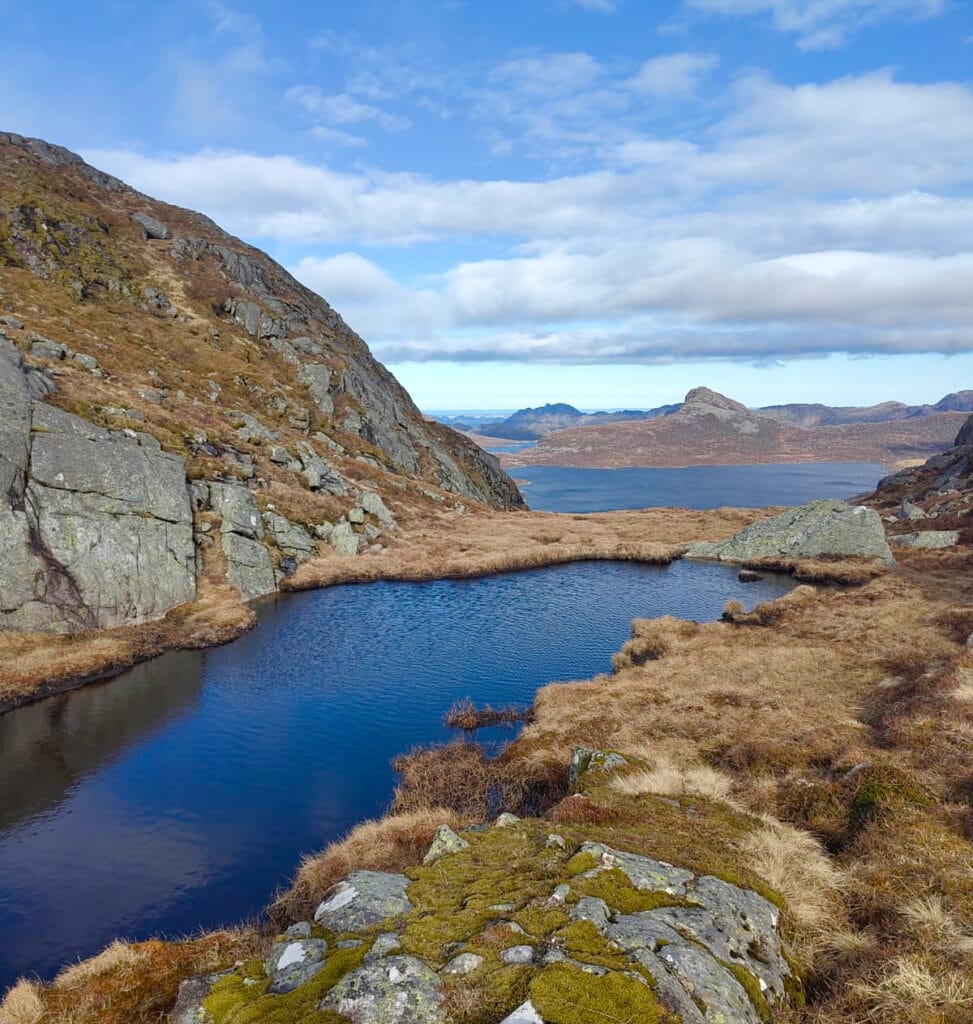
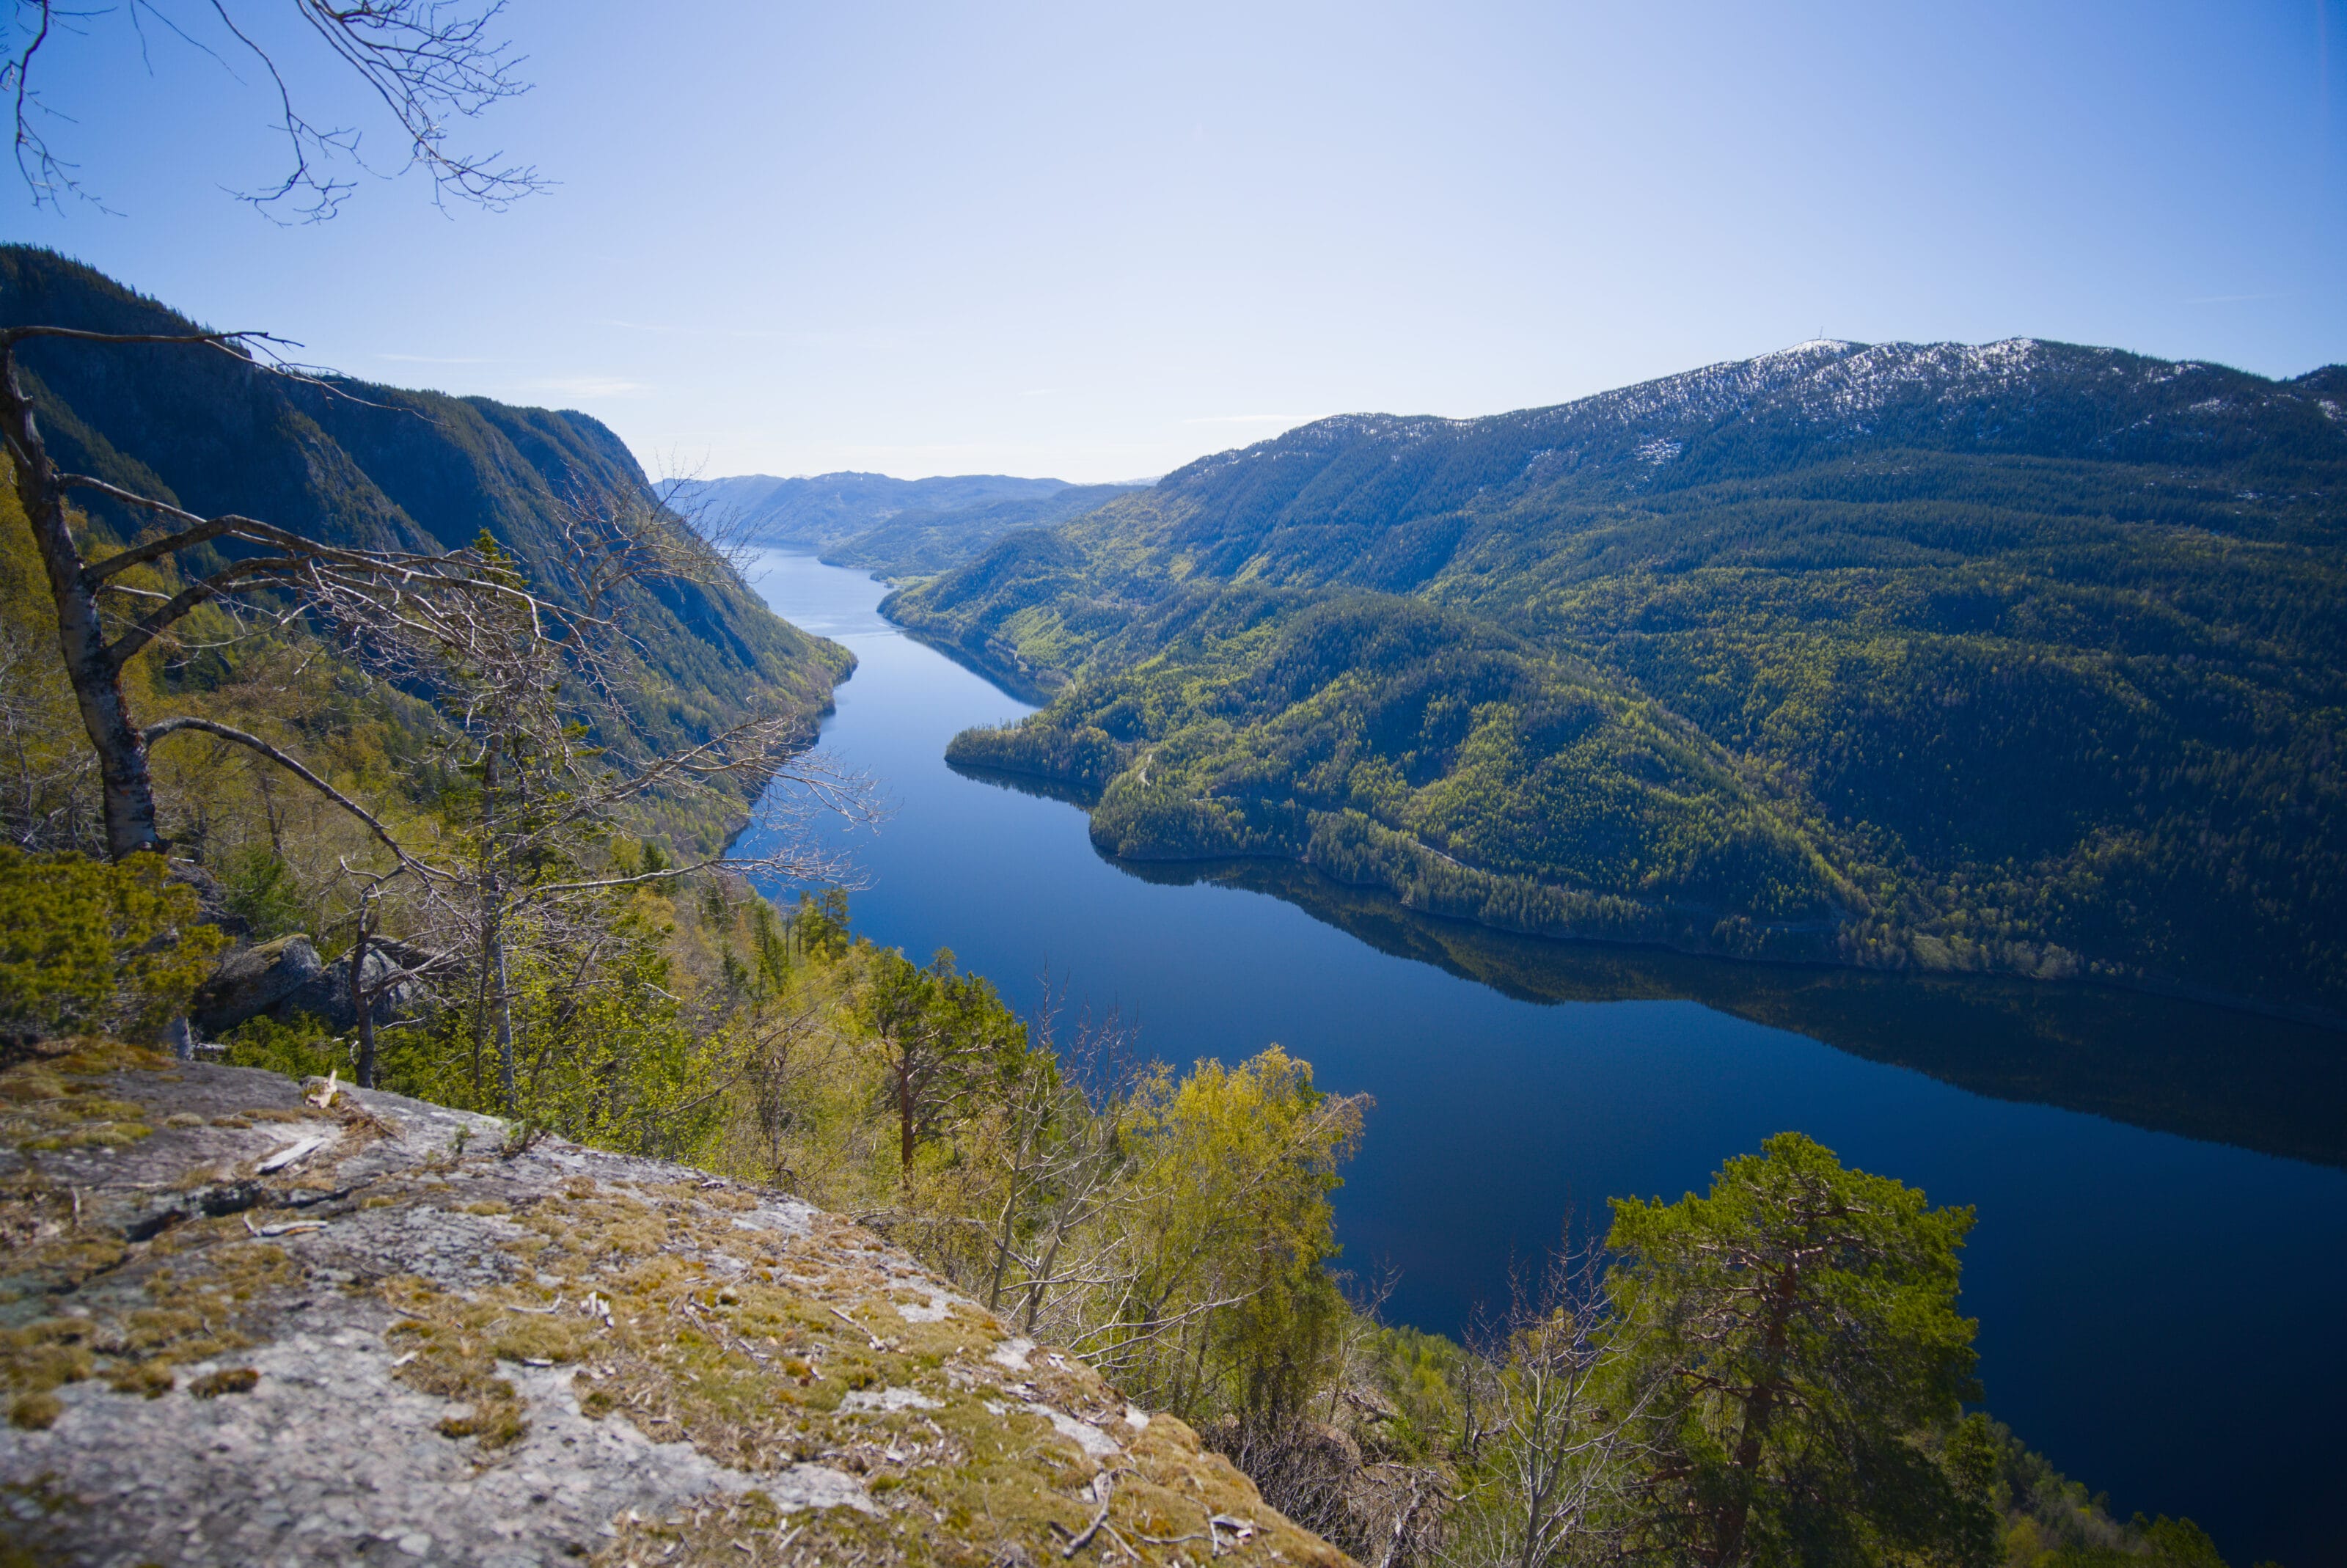
Finally, we catch sight of the summit of Frafjordhatten (which is set back quite a bit) and tackle the final climb. Here we’re back on solid rock, and it’s much easier going than in the mud, haha. Once at the summit, we’re rewarded with a spectacular view of several lakes below.
The other side of Frafjordhatten is truly impressive, with a 300-meter cliff that drops straight down to the lake (if you’re afraid of heights, don’t get too close to the edge). In the distance, you can even see all the way to Stavanger beyond a series of lakes.
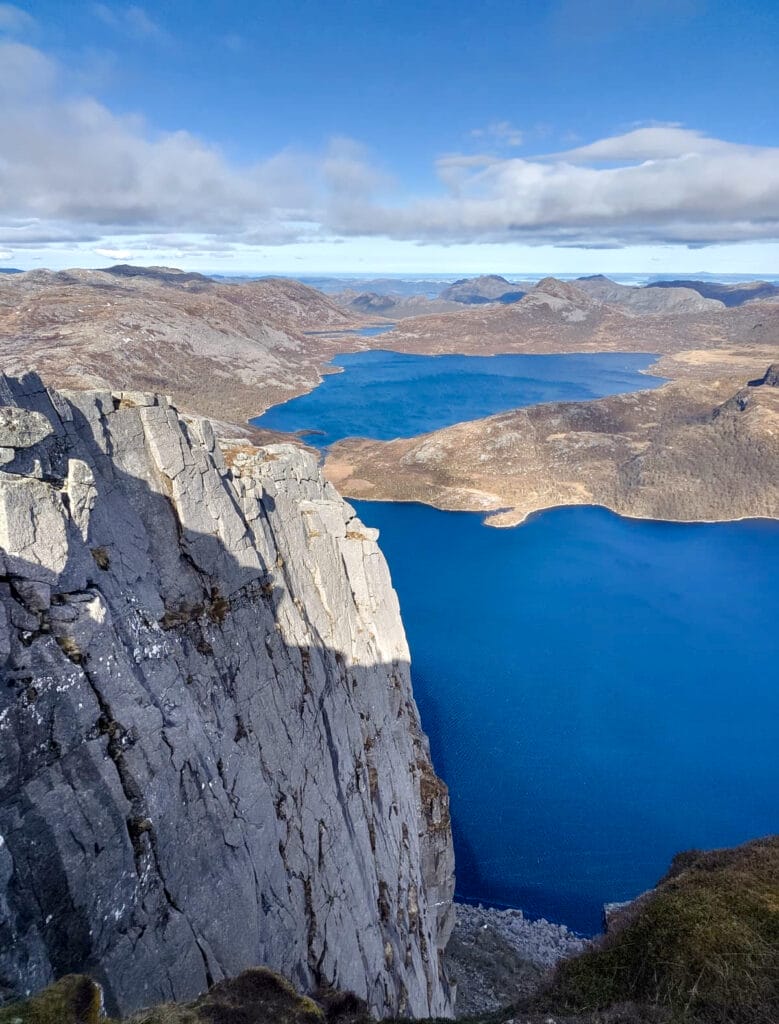
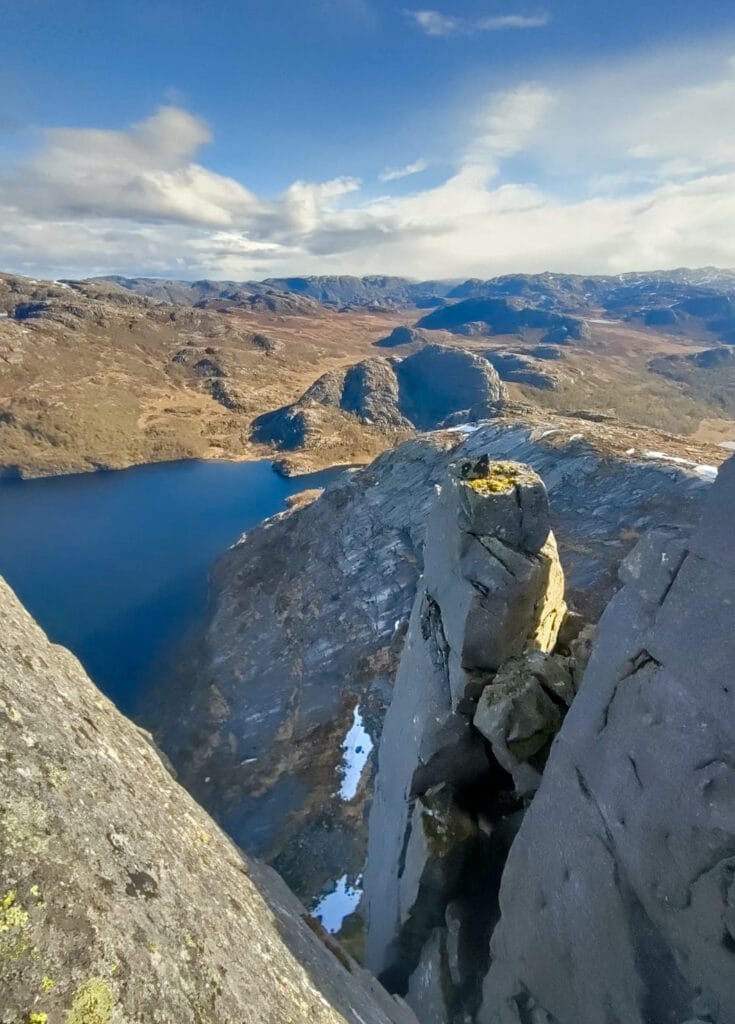
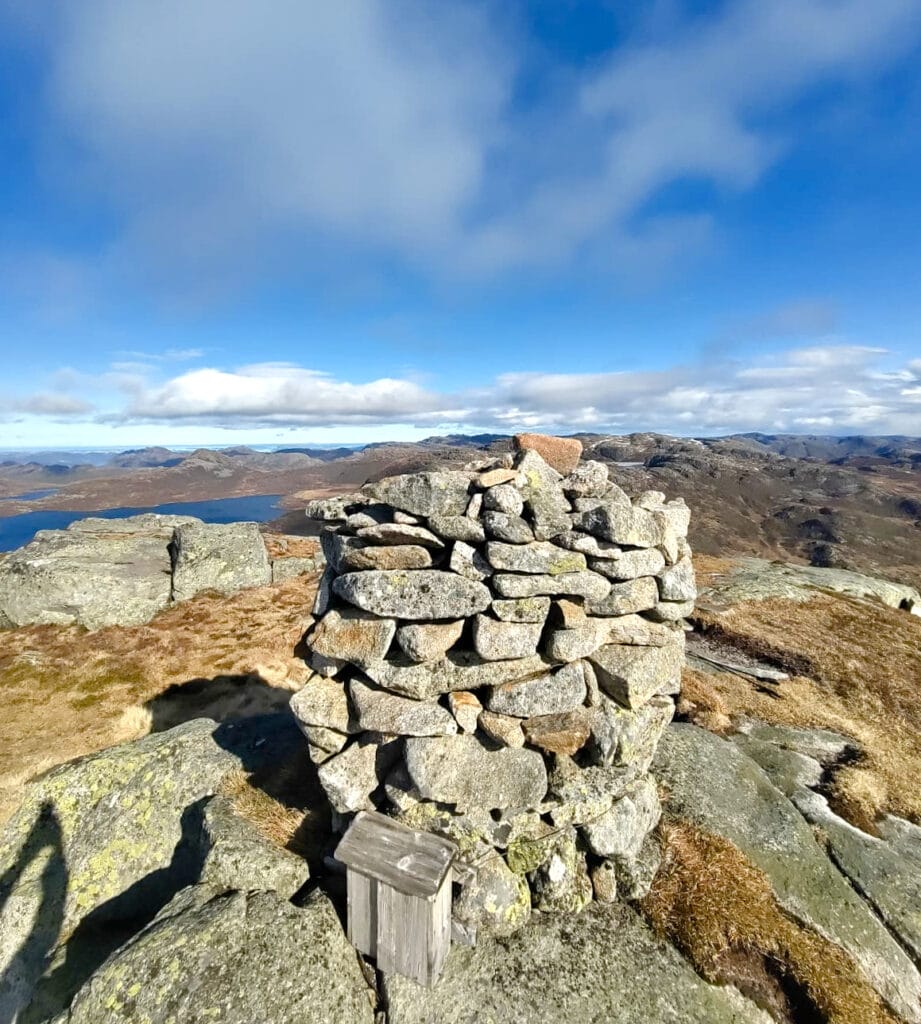
To head back down, I decided to take the same route I used on the way up. However, you can also turn left at a small cabin to head down toward Halandsvegen. That said, once you’re back down, you’ll have no choice but to follow the road to get back to the campground.
Ramnstoknuten and Mulen
The second iconic hike in Frafjord is definitely Ramnstoknuten, thanks to its breathtaking views of the surrounding fjords and peaks. That said, I should warn you right away—this route probably isn’t for everyone. 😉 As for us, we decided not to go all the way to the summit (we’d already walked a lot, and to be honest, I wasn’t really up for another physical challenge that day). Instead, we did the first part of the hike and stopped at a spot called “Mulen.” Sure, the view isn’t quite as sweeping as it is from the summit, but it’s definitely worth the trip!
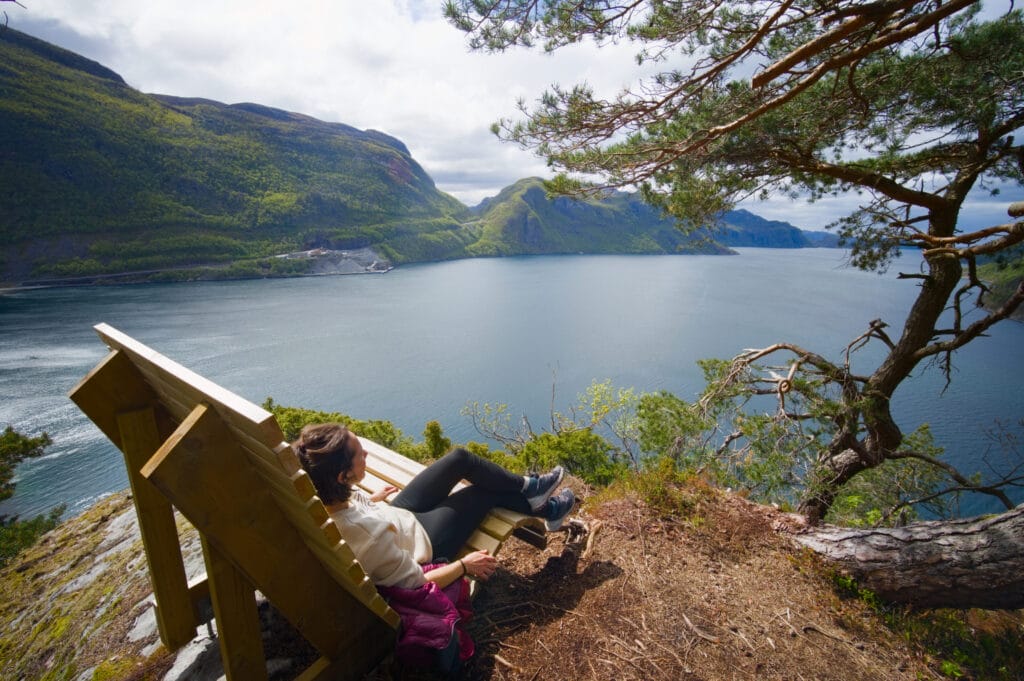
Climb to Mulen
The easiest way to get to Mulen is to park at the Dirdal harbor and follow the trail markers from there. You start by walking along the river (on flat ground) and reach the base of the mountain. At this point, you quickly realize that the climb won’t be a walk in the park. It’s a really steep ascent through the forest! The trail is well-marked and signposted, but there’s no doubt your heart will be racing on the way up. To reach the Mulen viewpoint from the base of the mountain, there’s only a 100-meter elevation gain over a 300-meter distance. Yep, an average gradient of 30% for those who like stats, and a few “peaks” where the slope reaches 47%. I warned you. 😉
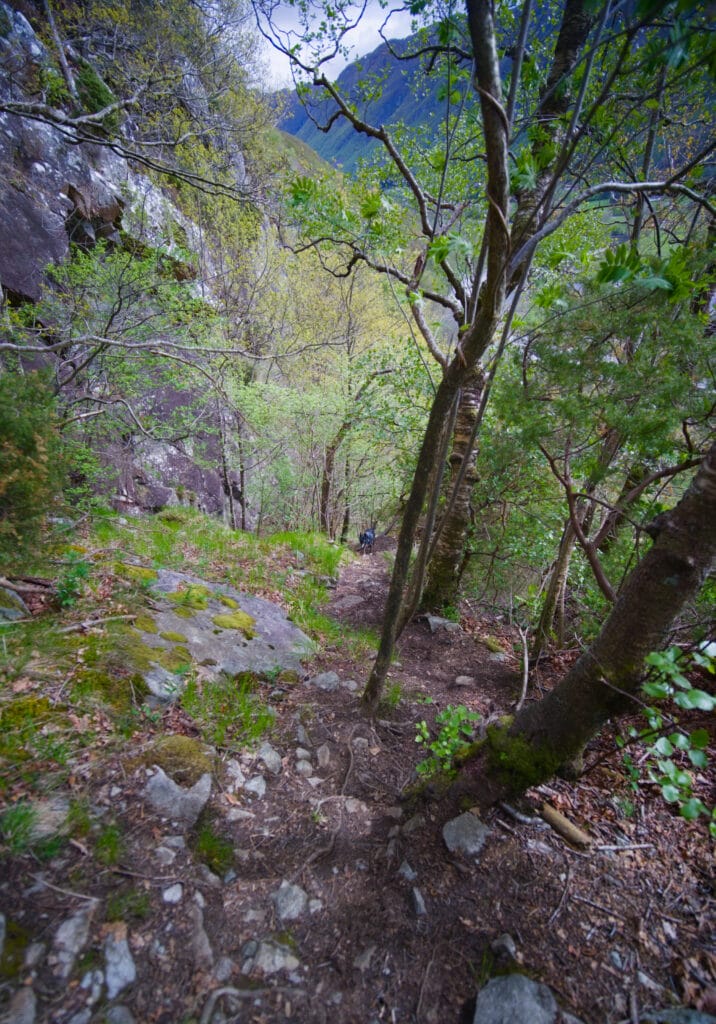
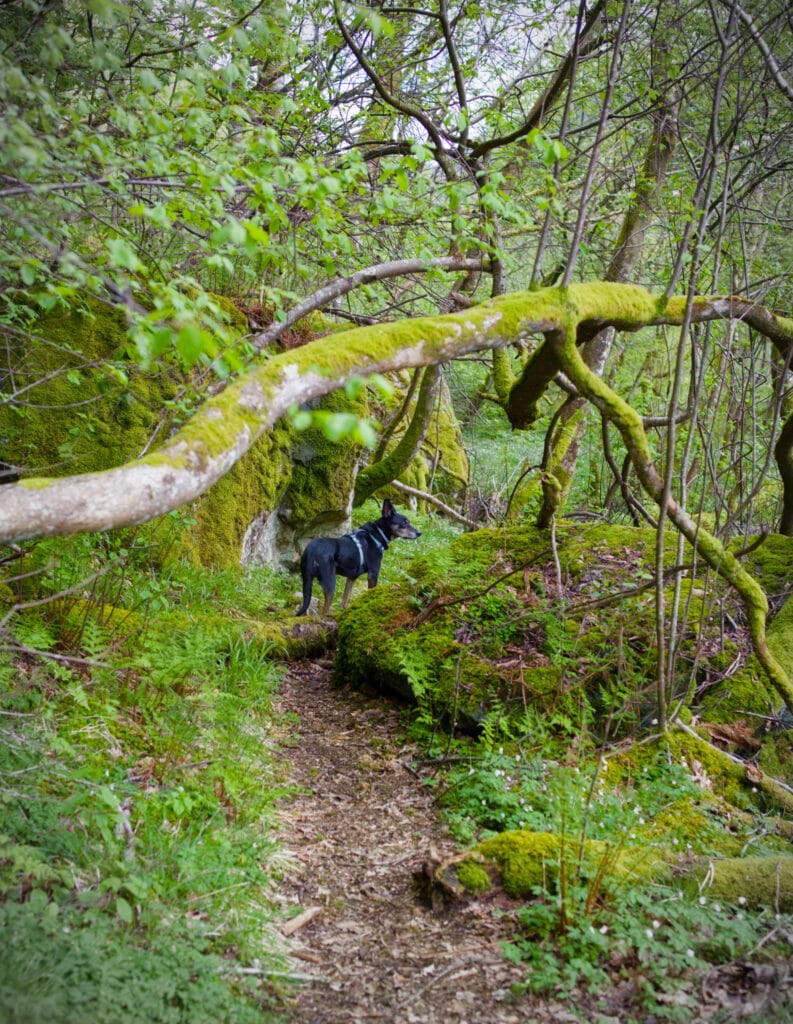
But seriously, the section up to Mulen is tough, but it’s definitely doable. Personally, I know the rest of the route wouldn’t have been for me. The climb up to Ramnstoknuten from that side is definitely marked as very difficult, with sections that require climbing (a 60% grade in places—basically a wall!). For Benoit, that wouldn’t have been a problem, but for both me and the dog, it was just too much.
The full loop at Ramnstoknuten
The round trip to Mulen is a short 3-kilometer hike (1.5 km one way) with a 100-meter elevation gain. We completed the hike in under an hour, and it was really nice. If your goal is Ramnstoknuten, the full route is 6.5 km with an elevation gain of 530 m. Online, the official recommended route is the one that doesn’t go through Mulen. The latter is still very steep, but slightly less so.
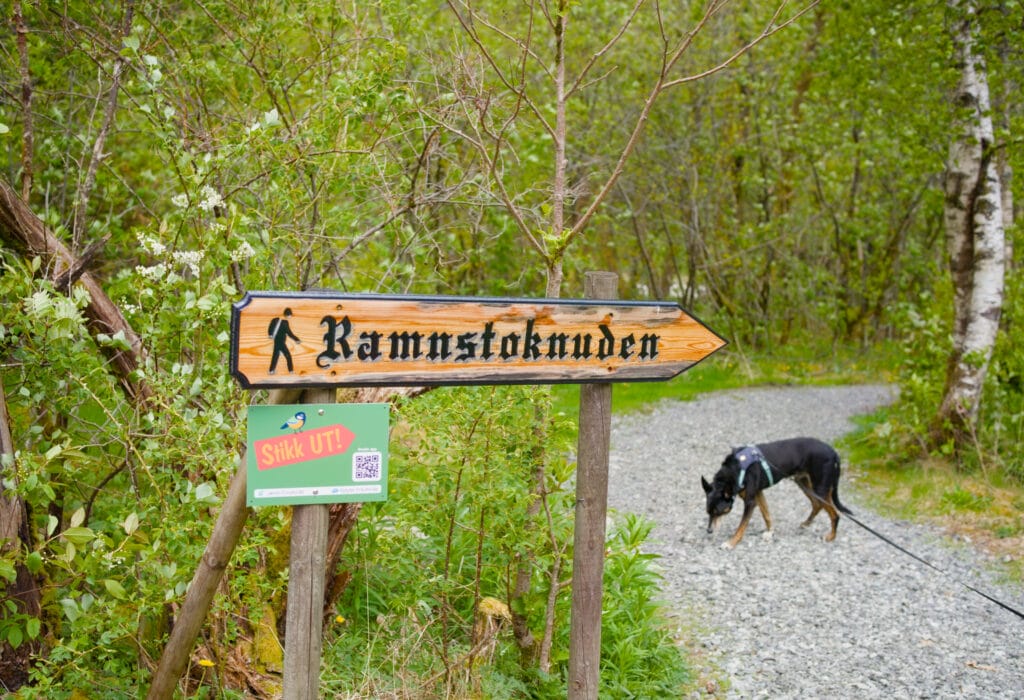
If you really want to complete the loop, we strongly recommend hiking up via Mulen and descending on the right side. From what we’ve read online, the section from Mulen to the summit is simply too steep to be safely descended. Of course, this route is not recommended if weather conditions are unfavorable. Aim for clear, dry weather!
Practical Information for Frafjord: How to Get There, Where to Stay
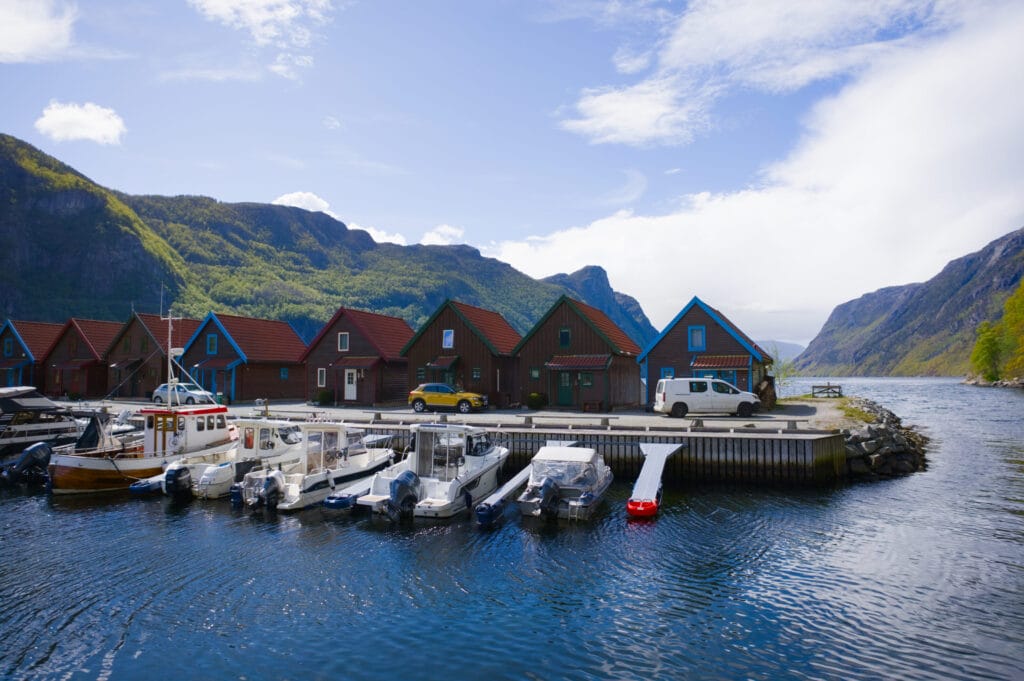
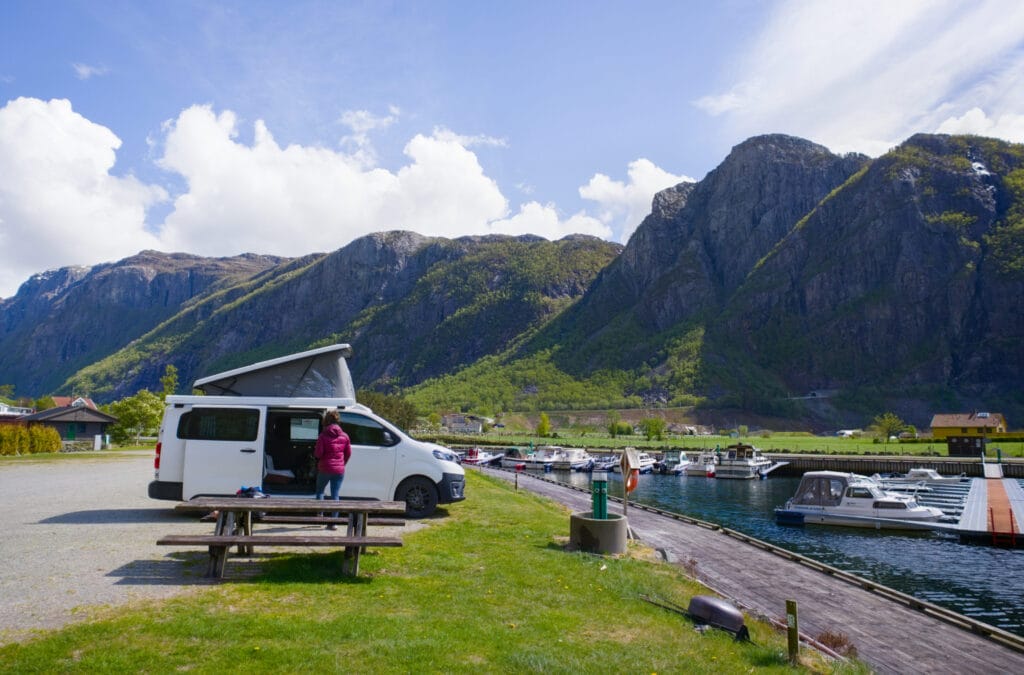
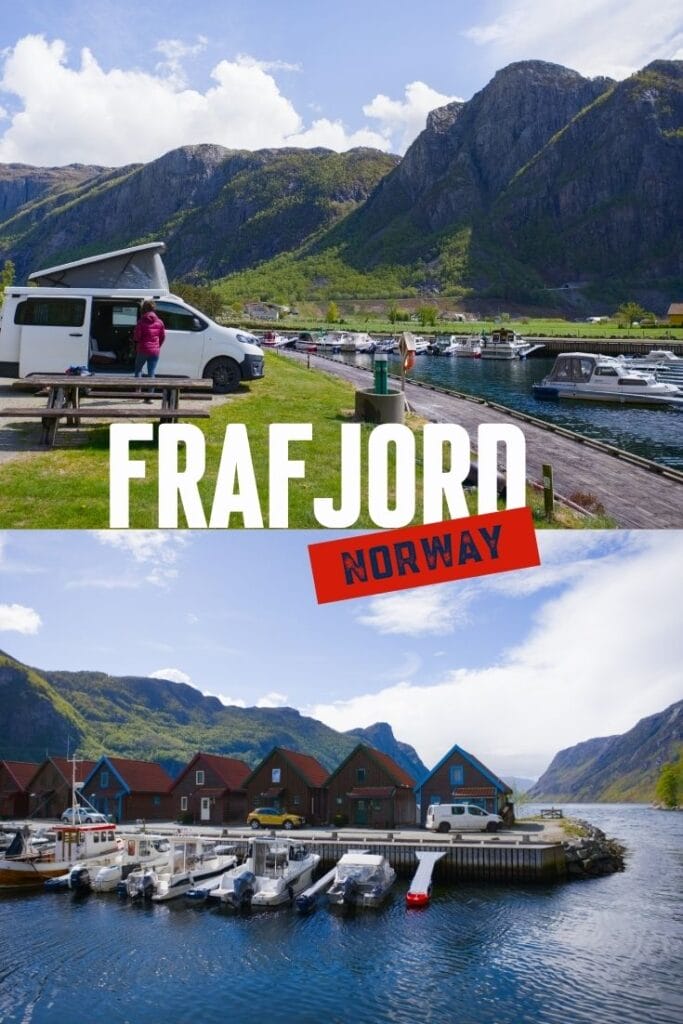
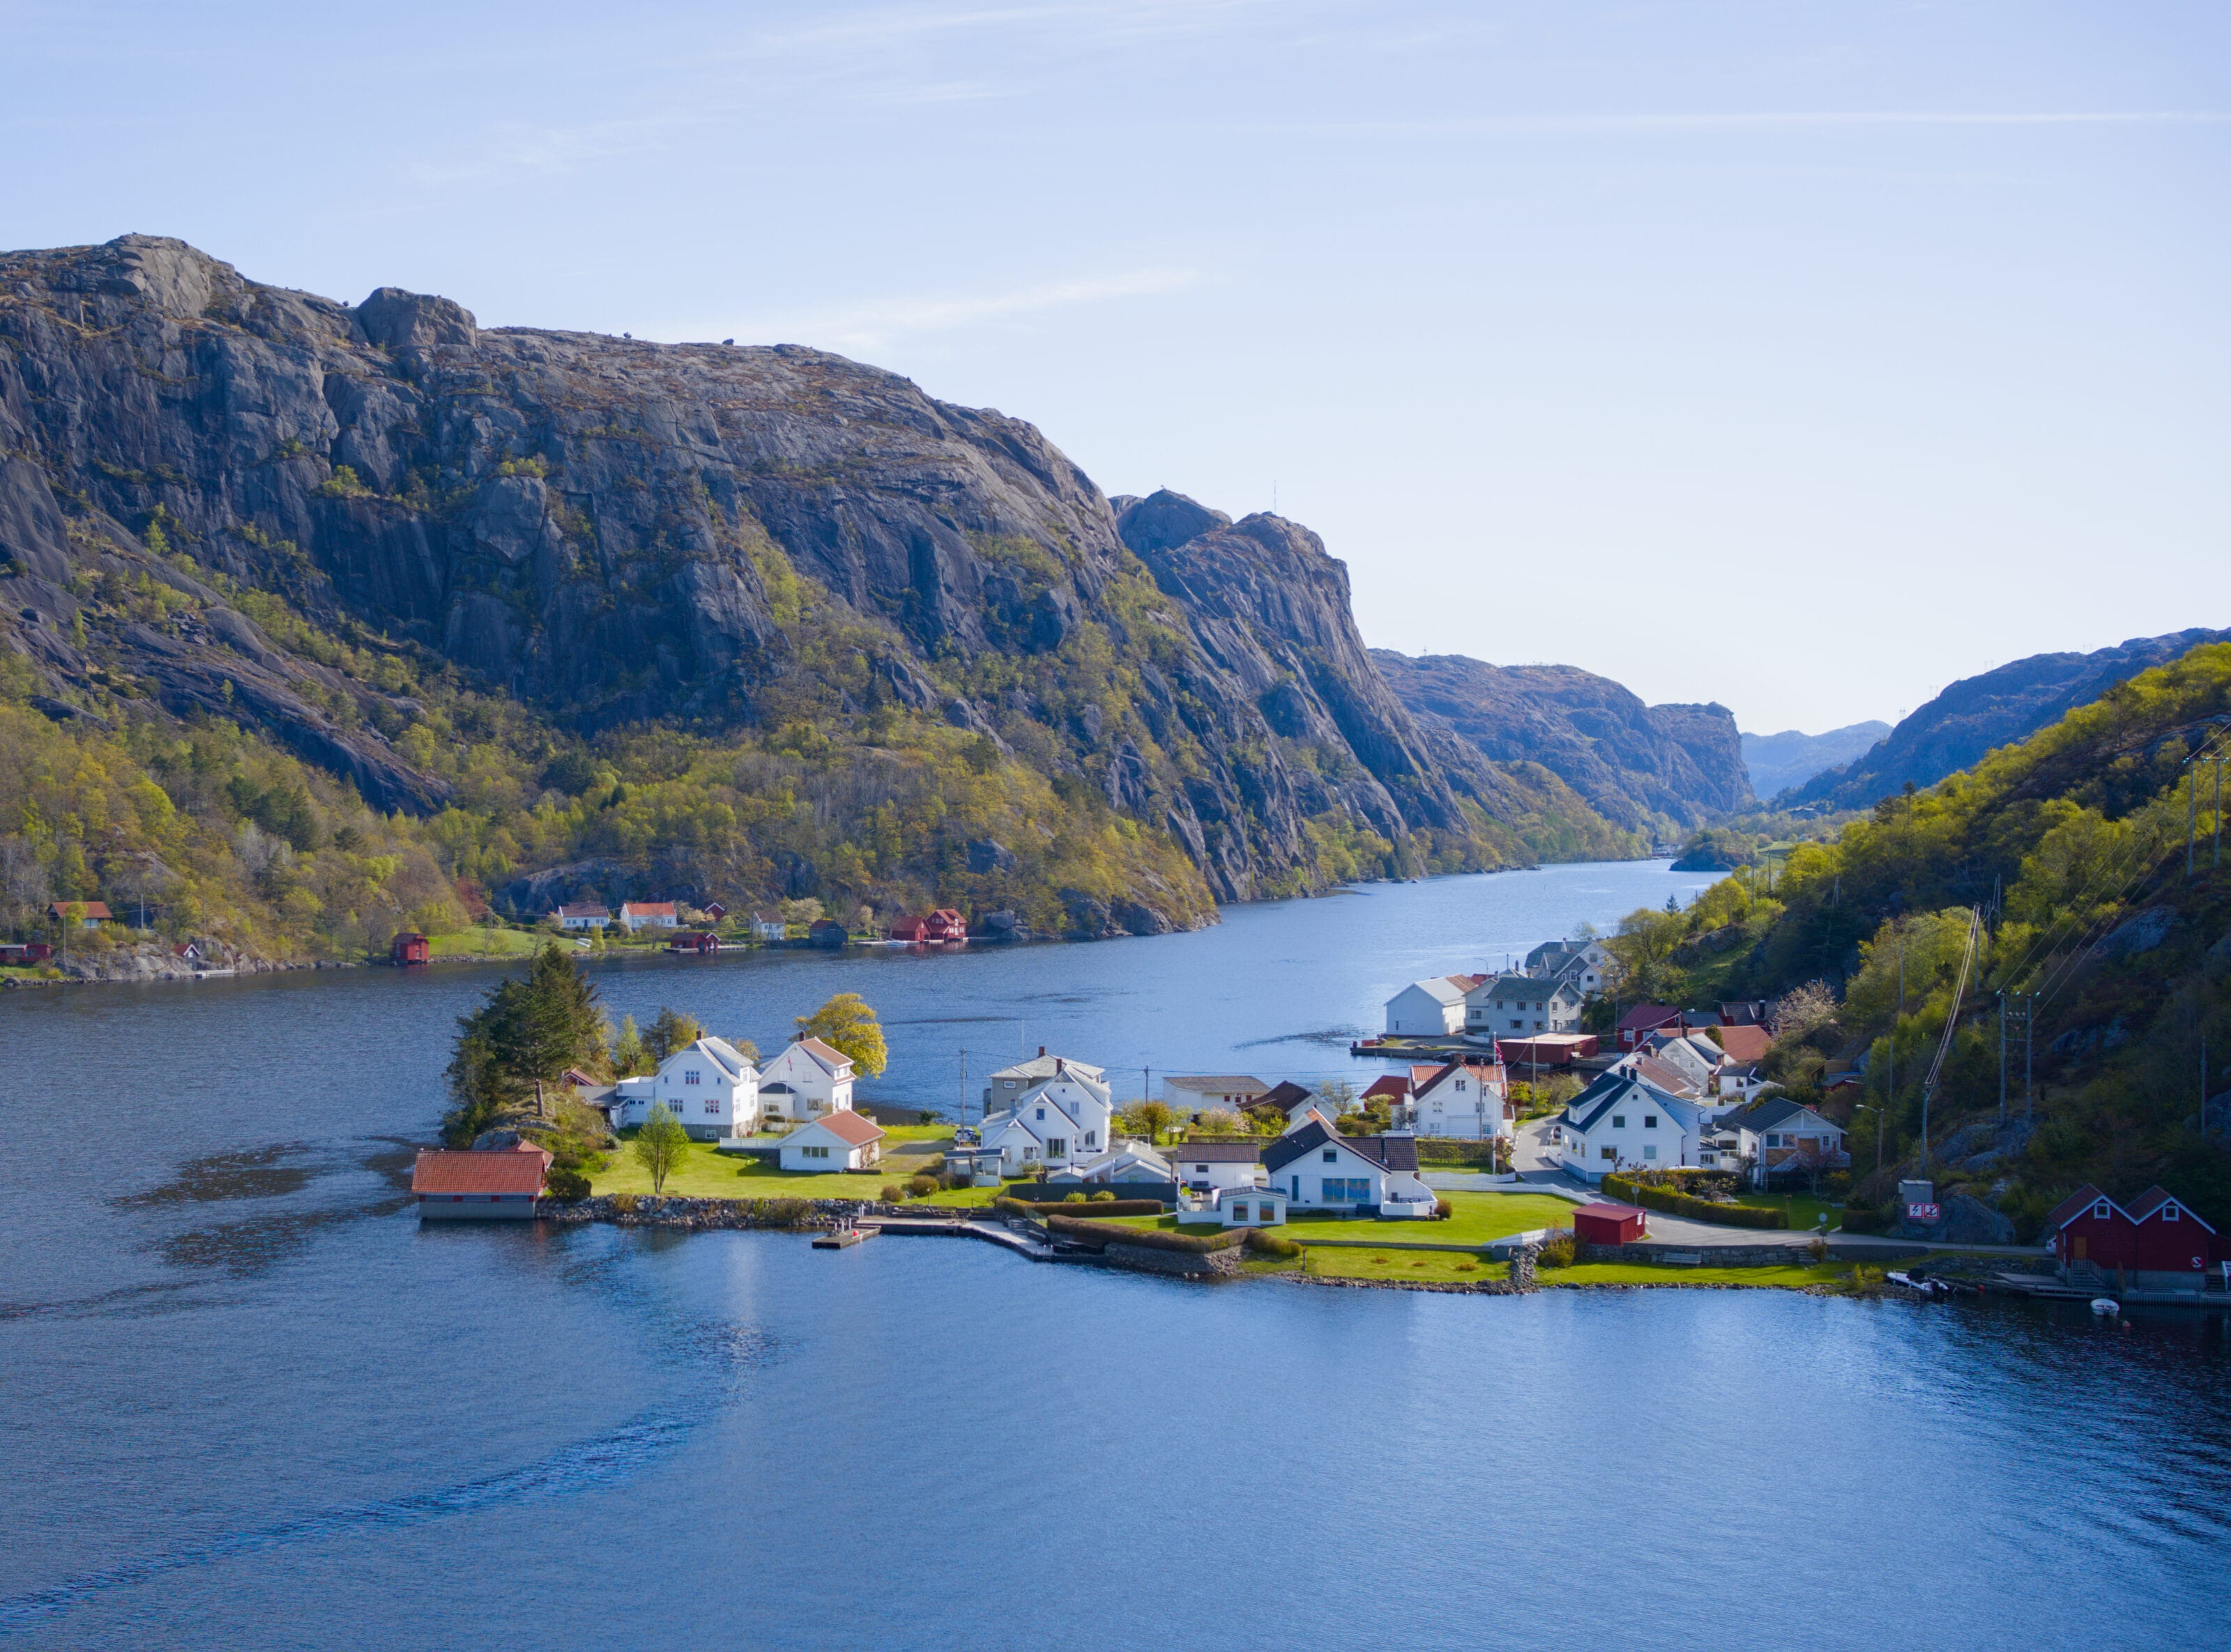
Frafjord is one of those places where you feel like you’ve reached the end of the world! Once you’ve passed through the long tunnel leading out of Gilja, you arrive at this tiny hamlet—which probably has no more than a hundred residents—and the road literally ends at the parking lot for Manafossen Waterfall. It’s actually pretty crazy to think that such a tunnel was built just to reach this little hamlet! In Frafjord itself, there aren’t exactly 12,000 options for lodging. If, like us, you’re traveling in a van or camper, you basically have two options: the small campground located at the harbor (flat rate of 300 NOK per vehicle, or about 28€). At this rate, hot showers, restrooms, and electricity are included, and you can do a load of laundry for 50 NOK.
The other option is to spend the night in the parking lot by the waterfall (the only place where overnight parking is allowed). Honestly, it’s a good option, especially since there are restrooms on site. However, there is absolutely no cell service, so if, like us, you like to be able to get some work done in your car, you’ll need to keep that in mind.
As for us, we decided to camp (it was actually our very first paid night of the trip), but we really needed a shower and to do some laundry. Honestly, we loved camping! There were probably only 5 or 6 vehicles there at most, and the view of the fjord is absolutely stunning.
If you don’t have a van or campervan, there are a few accommodations available on Booking, but the easiest option is probably to stay in Stavanger and make a day trip (it’s about a 1-hour drive from downtown).
That’s it for today! We hope you enjoyed this little tour of the Frafjord, and we’ll see you very soon for more articles on Norway.
Pin this post

Join the discussion