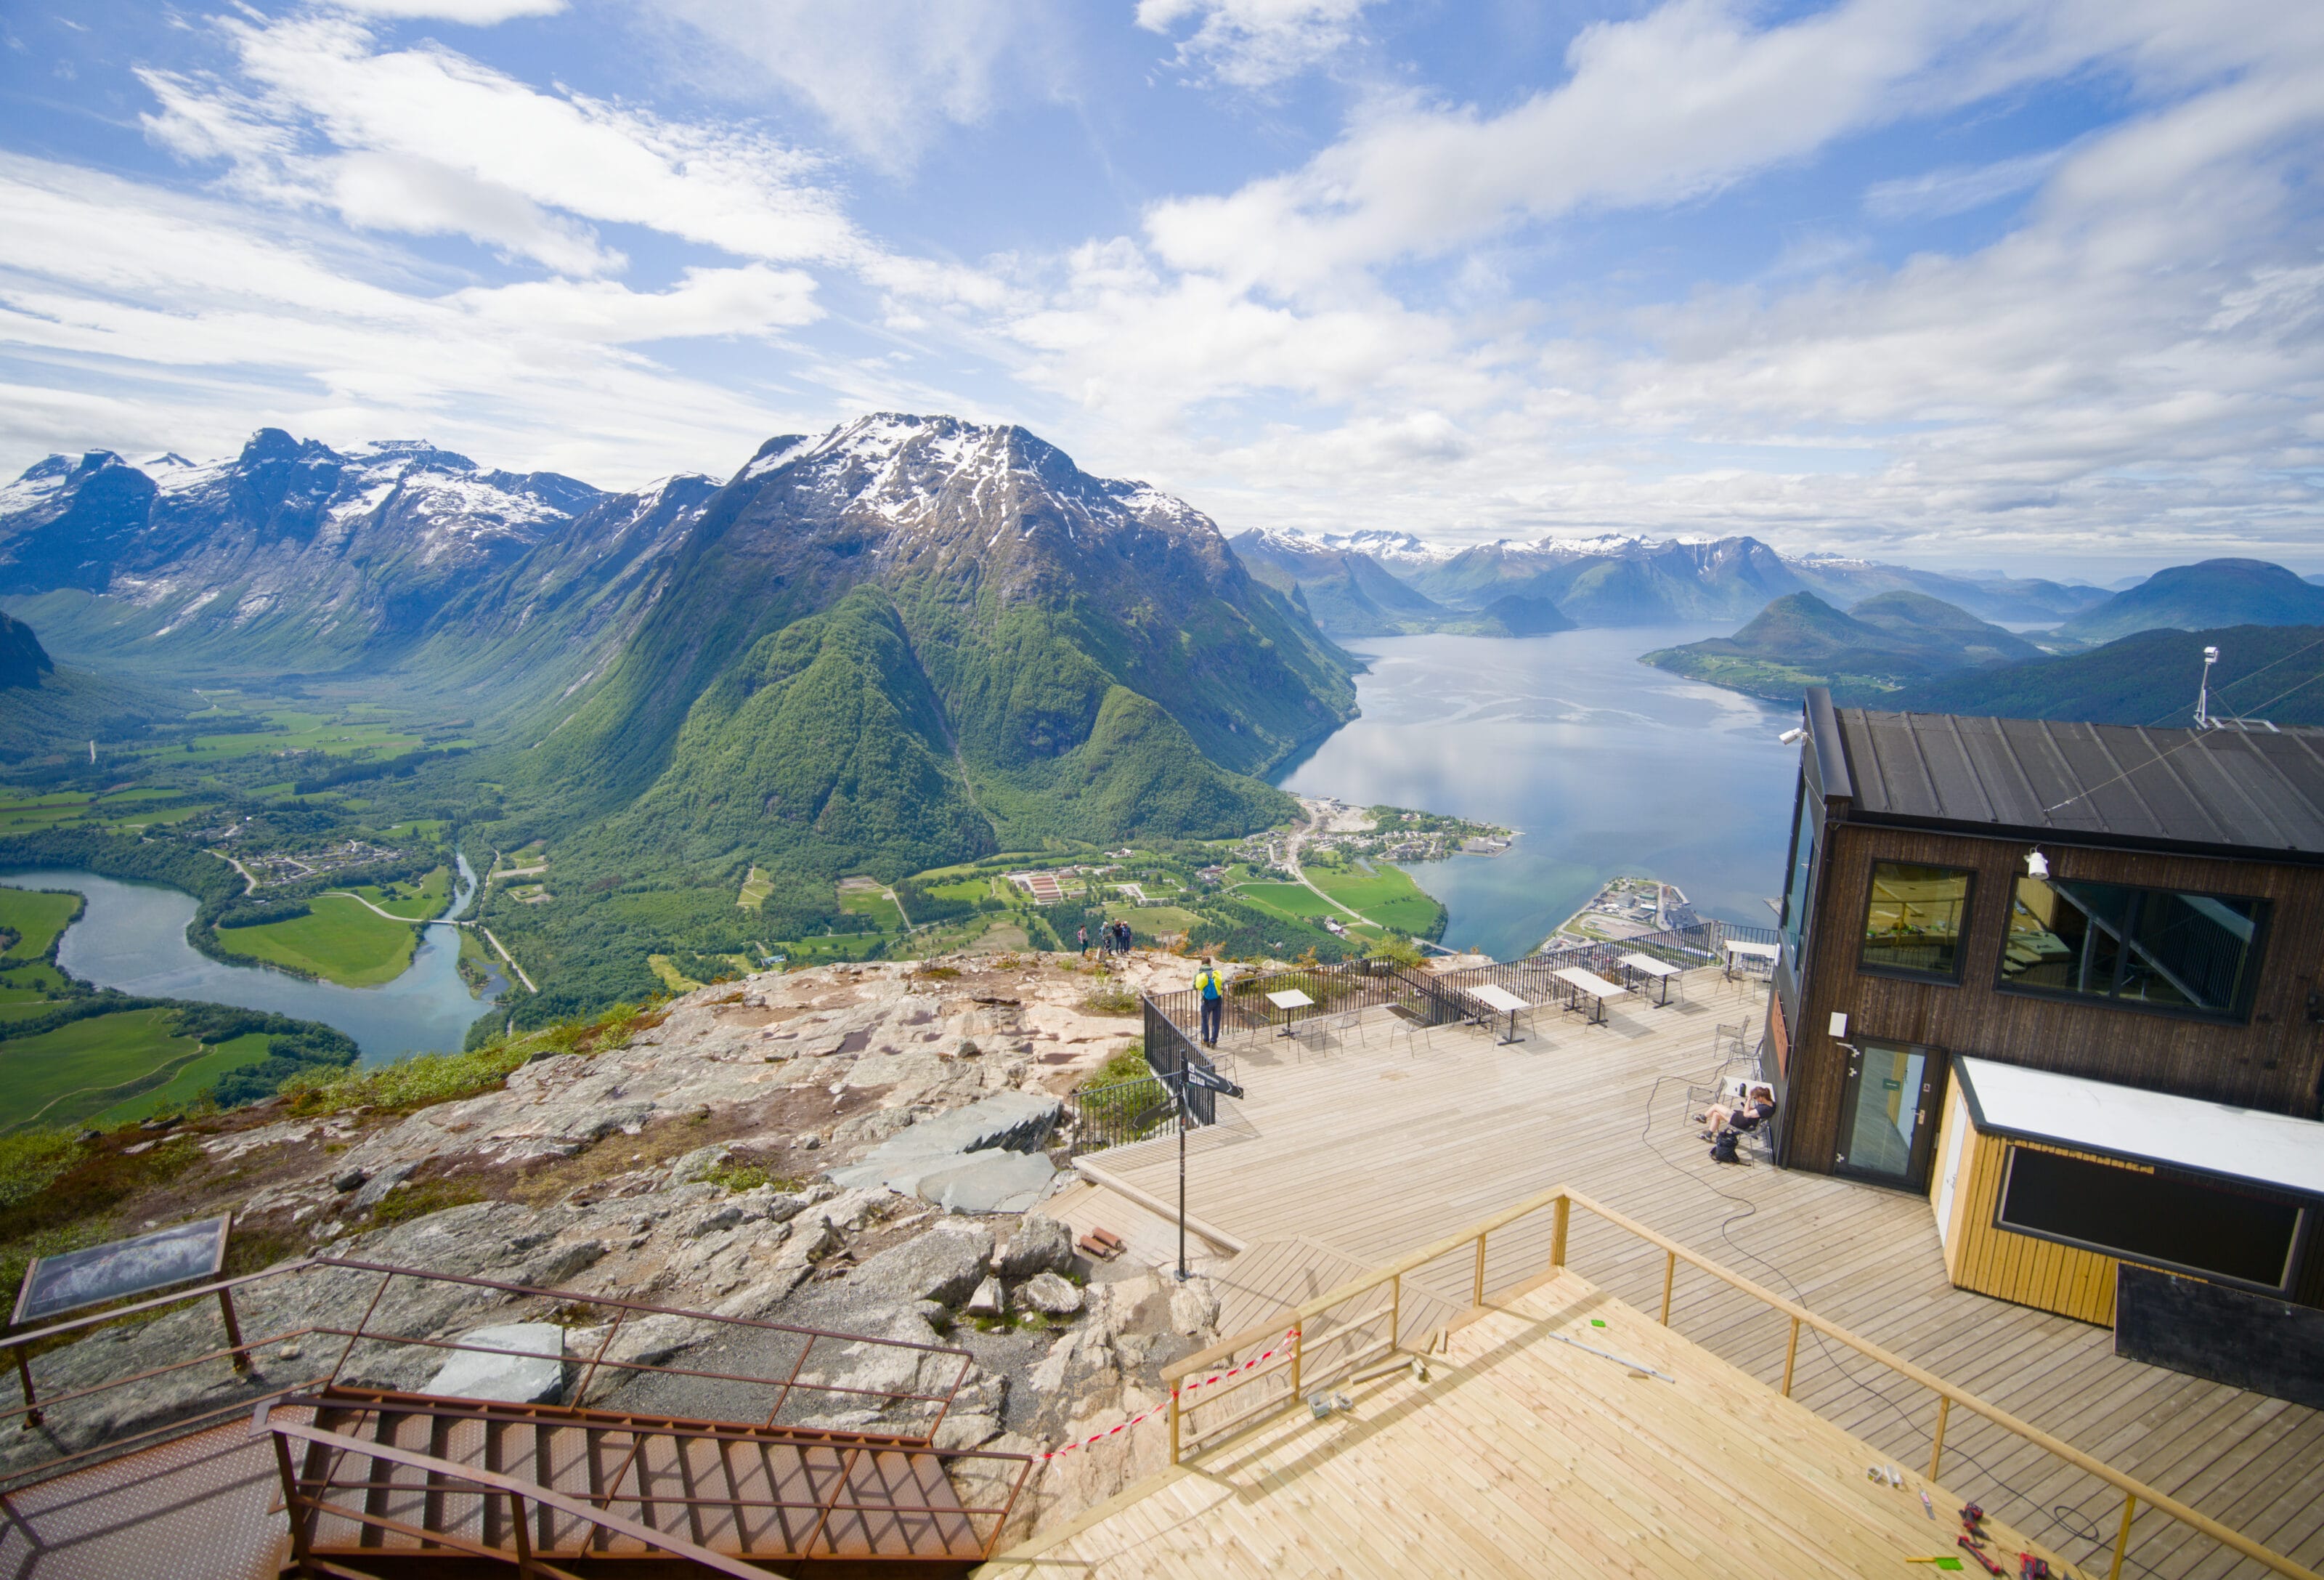
After visiting Runde and the small town of Ålesund, we had, so to speak, reached the northernmost point of our road trip, and we began our return journey toward Switzerland. Well, that was only half the trip, since we’d planned to spend roughly six weeks in the country, and the idea was to travel up to Ålesund in three weeks and back down over three weeks, following a different route. Our first stop on the way back was the small town of Andalsnes, where we’d spotted the magnificent hike that leads up to the Rampestreken viewpoint.
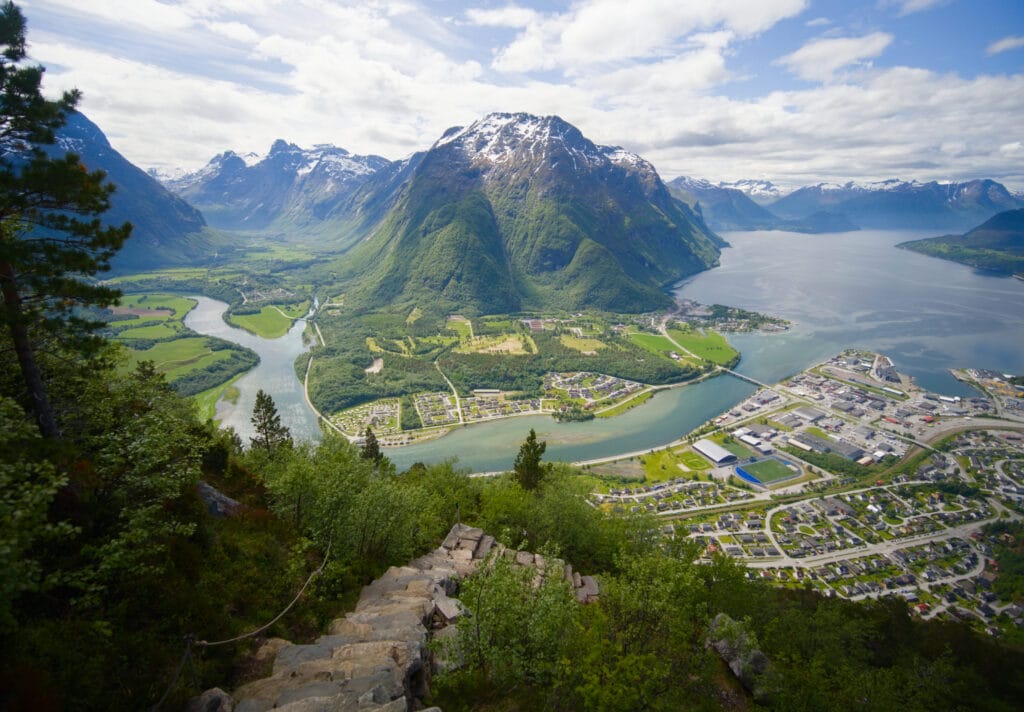
It’s funny because I stumbled upon the Rampestreken viewpoint “by chance” while browsing Google Maps, and I made a note of it for our road trip. I had no idea the place was so popular. 😉 But as you’ll see in the article, we were really pleasantly surprised by how few people we encountered along this route.
Åndalsnes, a small town in the fjord region
Åndalsnes is often called the mountaineering capital of Norway, and naturally we had made a note to stop there. Despite its population of about 2,000, this small town is a true playground for nature lovers. In particular, it’s the starting point for the spectacular Romsdalseggen hike—considered one of the most beautiful in Norway—as well as the famous Rampestreken viewpoint, perched high above the valley. Even those who aren’t as athletic can still enjoy the panoramic views thanks to the Romsdalen Gondola, which climbs to Mount Nesaksla in just a few minutes.
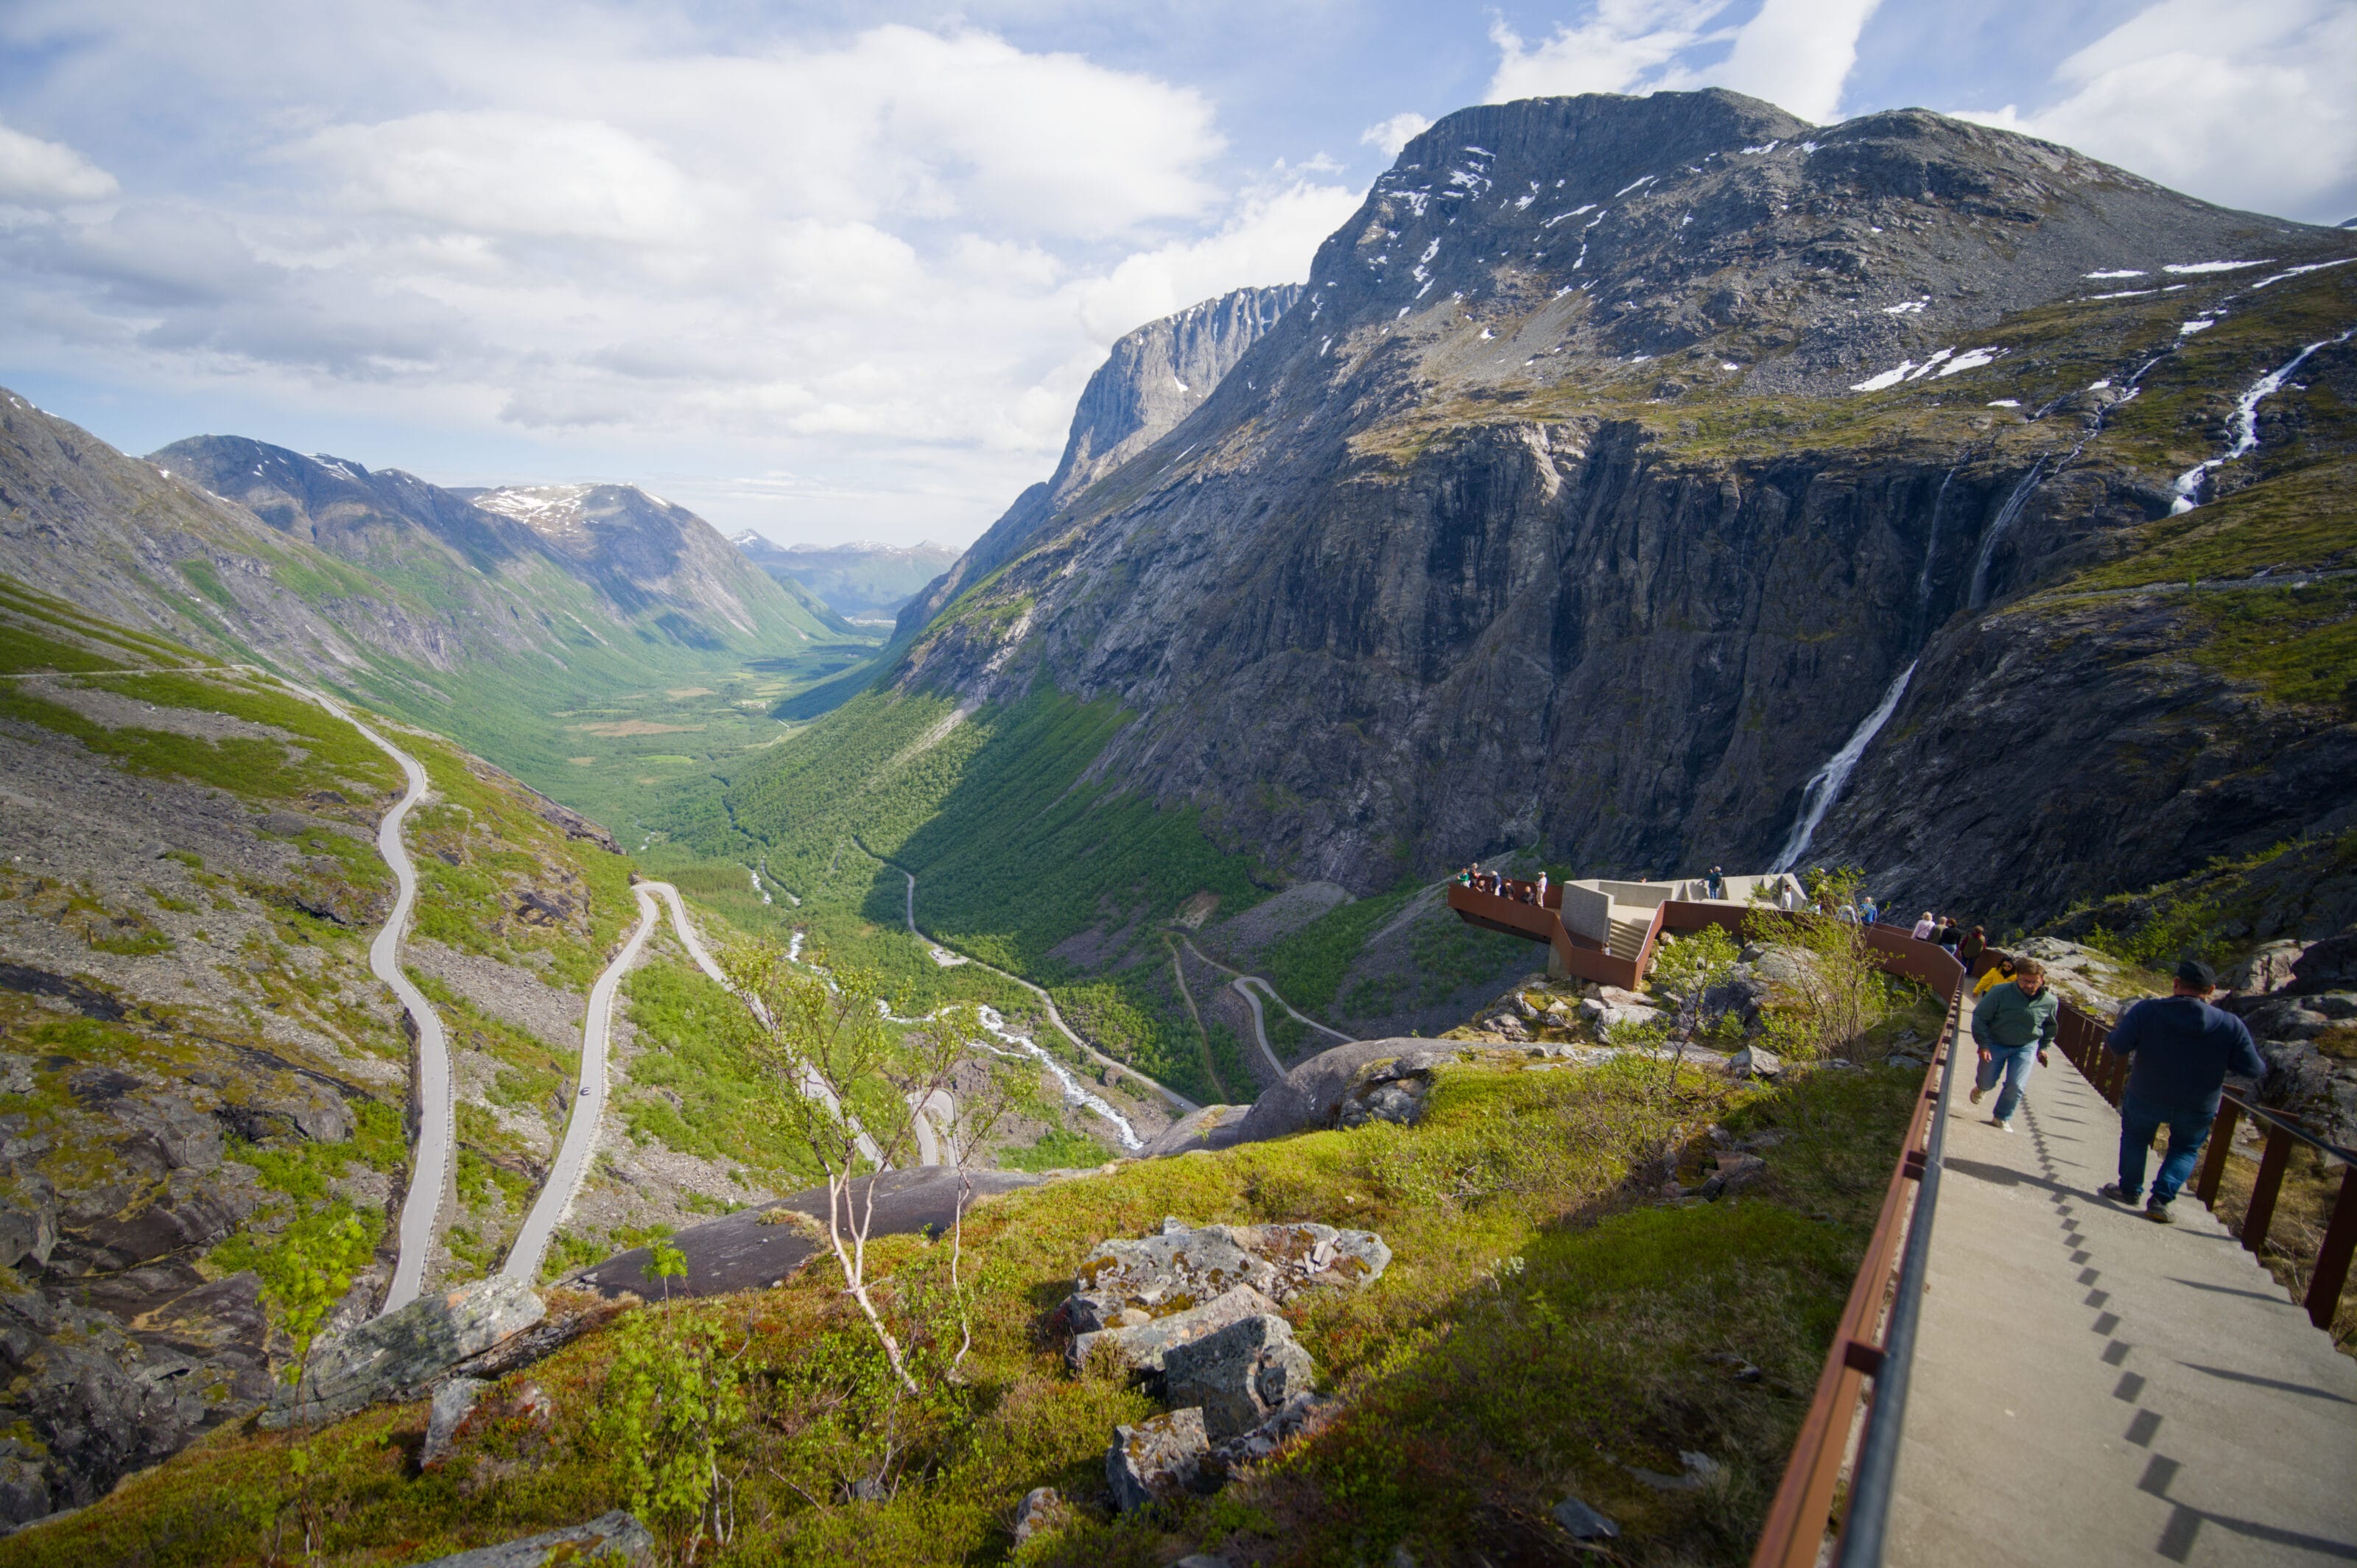
But Åndalsnes isn’t just for hiking. It’s also an excellent base for exploring some of the country’s most iconic roads and sights, such as the legendary Trollstigen (the Troll Road, which we’ll tell you more about in our next article) and the impressive Trollveggen, Europe’s tallest vertical rock face. Fun fact: the town was almost entirely destroyed during World War II, which explains why its architecture is more modern than that of many other towns along the fjords.
Calling all enthusiasts: Andalsnes is also home to the Norwegian Mountaineering Center (the Norsk Tindesenter). We’d made a note to visit the museum in case of bad weather, and honestly, it looks great! And here’s a fun fact: the museum is also home to Norway’s tallest indoor climbing wall. At 21 meters high, I think it’s pretty impressive! Back home, we’re more used to routes that are 15 or 16 meters long. But for once, the weather forecast was absolutely gorgeous, so it was without the slightest regret that we skipped the museum and the indoor climbing wall to focus on hiking and outdoor activities around Andalnses.
The Rampestreken Hike
We arrived from Ålesund, and it was around noon when we parked in Andalsnes. After a quick picnic by the van, we set off on our hike for the day: the Rampestreken viewpoint.
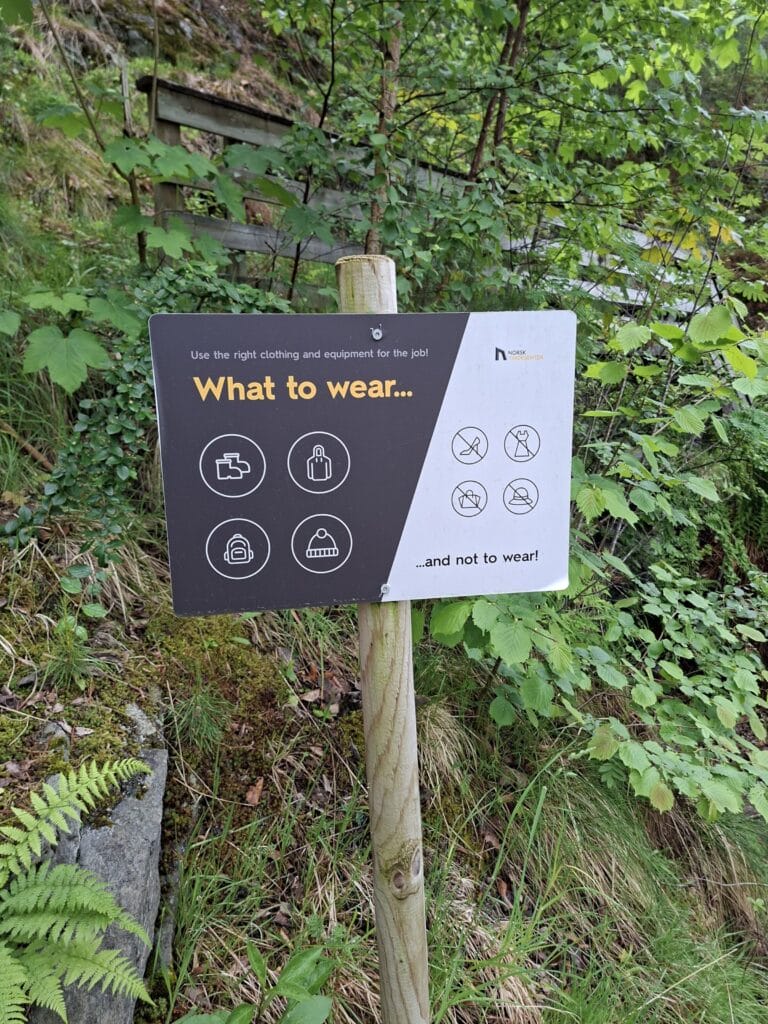
The trail starts in the city center, and within the first few meters we realized that this trail was probably pretty touristy. A sign listing recommended attire and prohibited clothing had us laughing. That sign wasn’t really useful to us, though, considering that for our two-month road trip, we didn’t have anything with us anyway other than hiking boots and hiking pants or leggings. Haha—not a single dress or pair of heels in our luggage, so we were in the clear, haha.
No, seriously, I think it’s “good” when signs like this warn visitors, even though I also find it a little concerning that this is necessary (but I guess if they put up the sign, it’s because they’ve had to step in to help people who weren’t properly equipped).
That said, the start of the hike is probably a bit misleading… Because, yes, the first few hundred meters follow large metal walkways that climb a very gentle slope! I’d noticed that there was over 500 m of elevation gain to the lookout point and the distance was only 2.4 km… so we quickly realized that this very gentle slope wasn’t going to last forever. 😉
Steep climb through the forest
When you leave the large metal footbridges behind, you’ll come to the trail that climbs almost straight up into the forest. It’s nice to be in the forest because it keeps you relatively in the shade, even though the slope is steep enough to make you sweat buckets. 😉
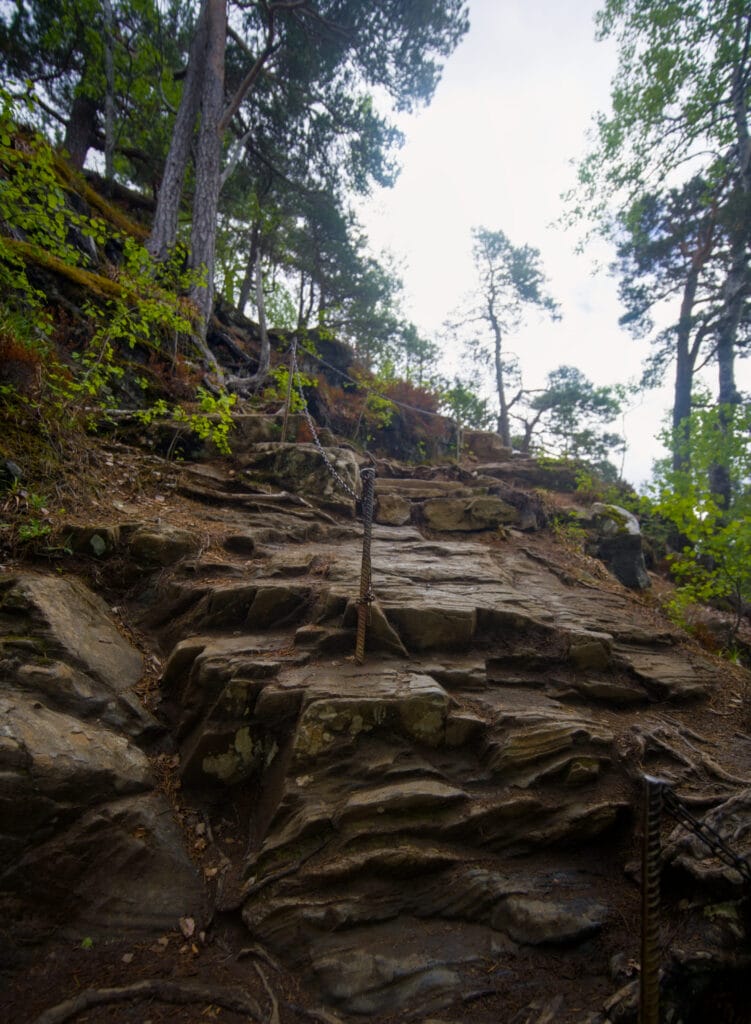
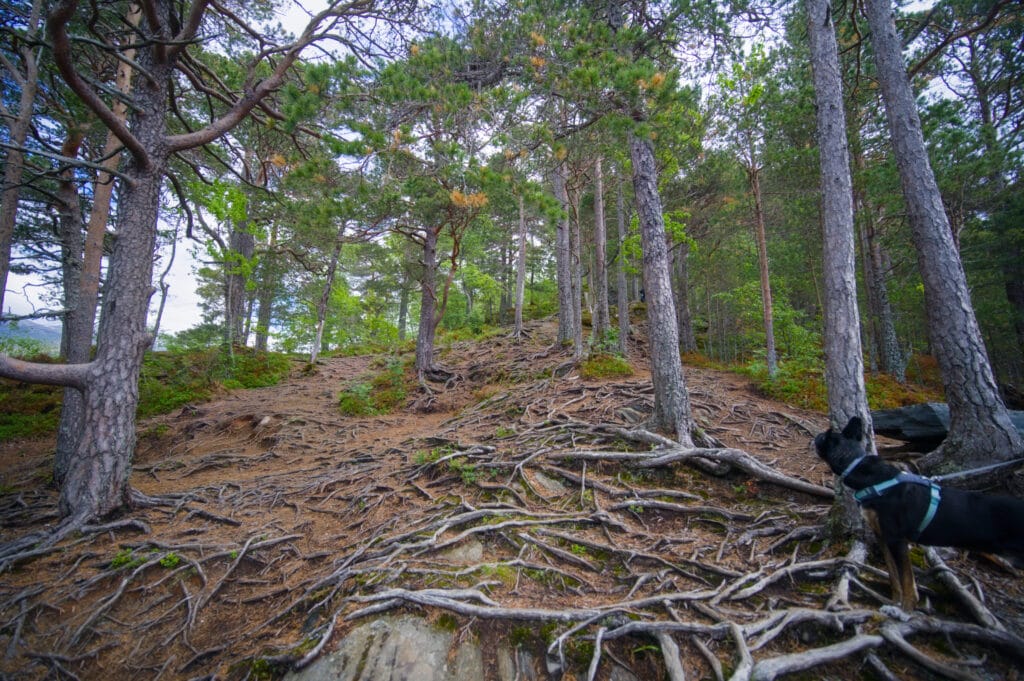
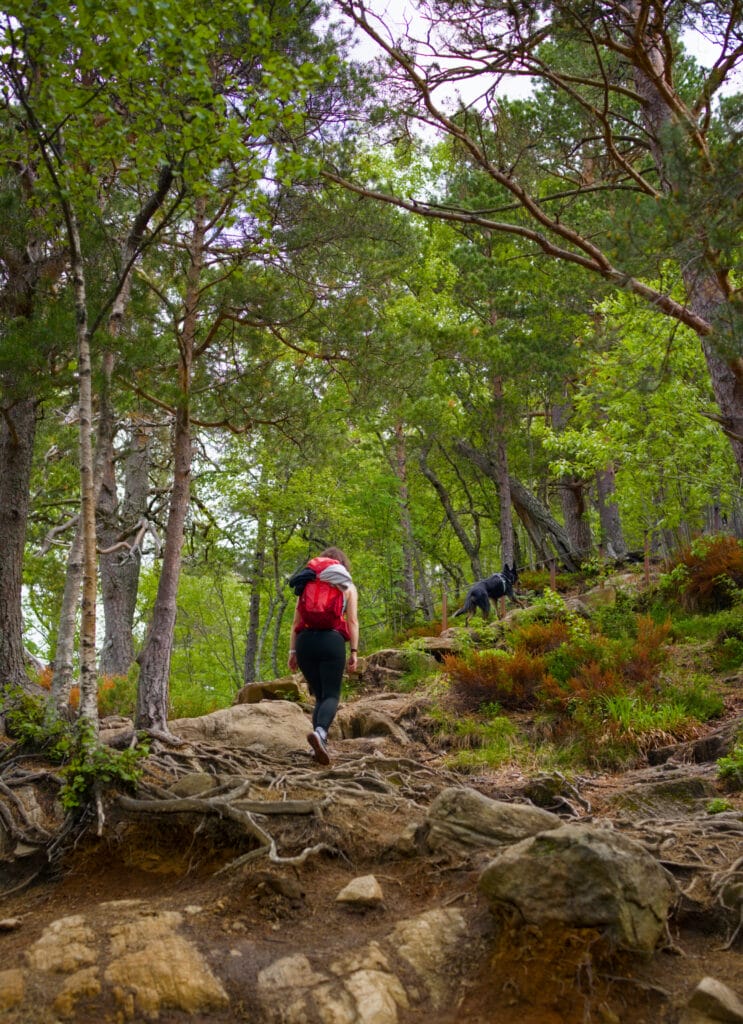
Here, the trail is more “natural”—by which I mean that it hasn’t been specifically maintained, but you can tell it’s heavily used. In dry weather, as it was during our visit, this route presents absolutely no difficulty other than the elevation gain. You just need to watch your step because the ground is quite uneven (rocks and roots).
In wet weather, I can easily imagine that the descent will be a bit more treacherous… Well, yes—wet rocks and roots are slippery! If the weather is wet, we recommend allowing a little more time for the hike and exercising caution.
Sherpa Stairs
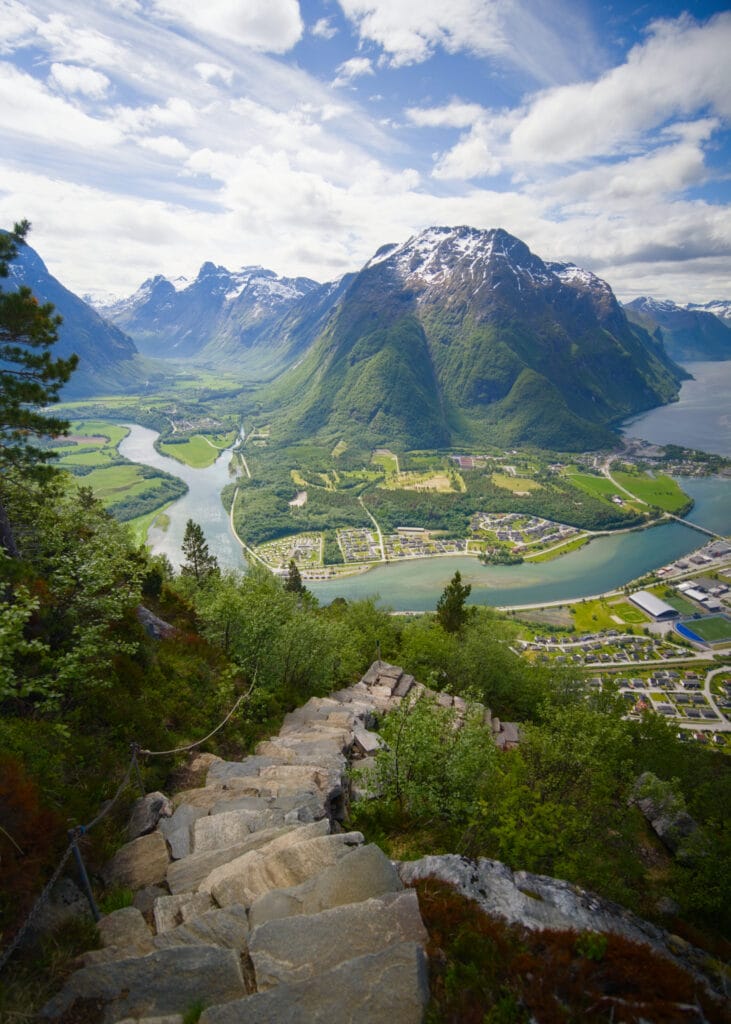
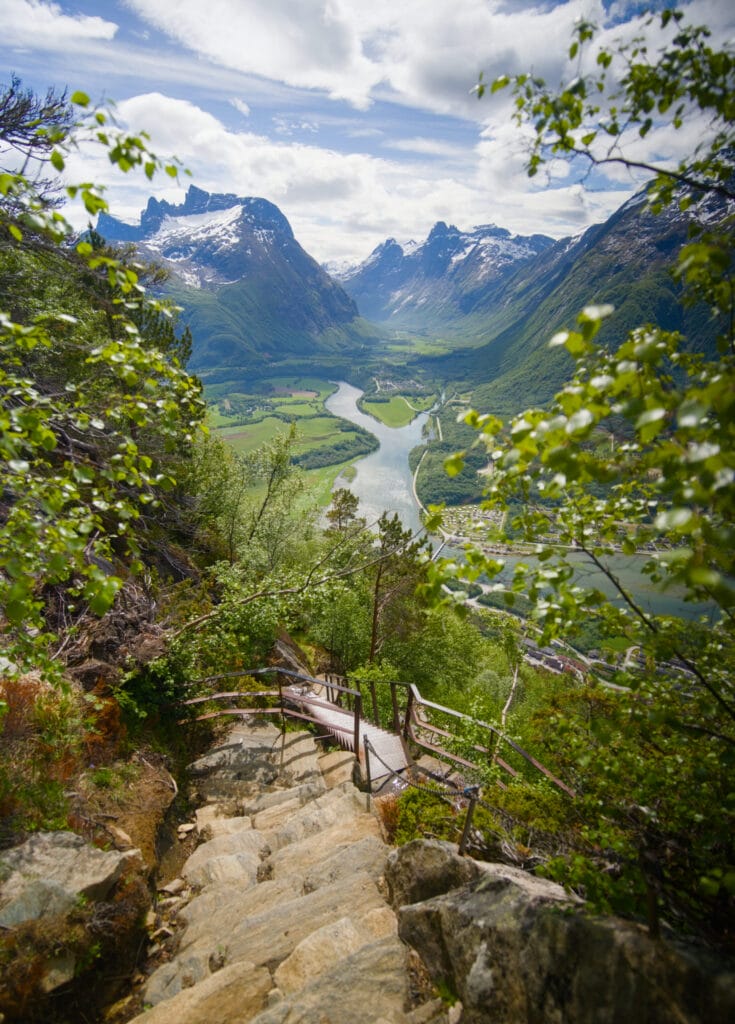
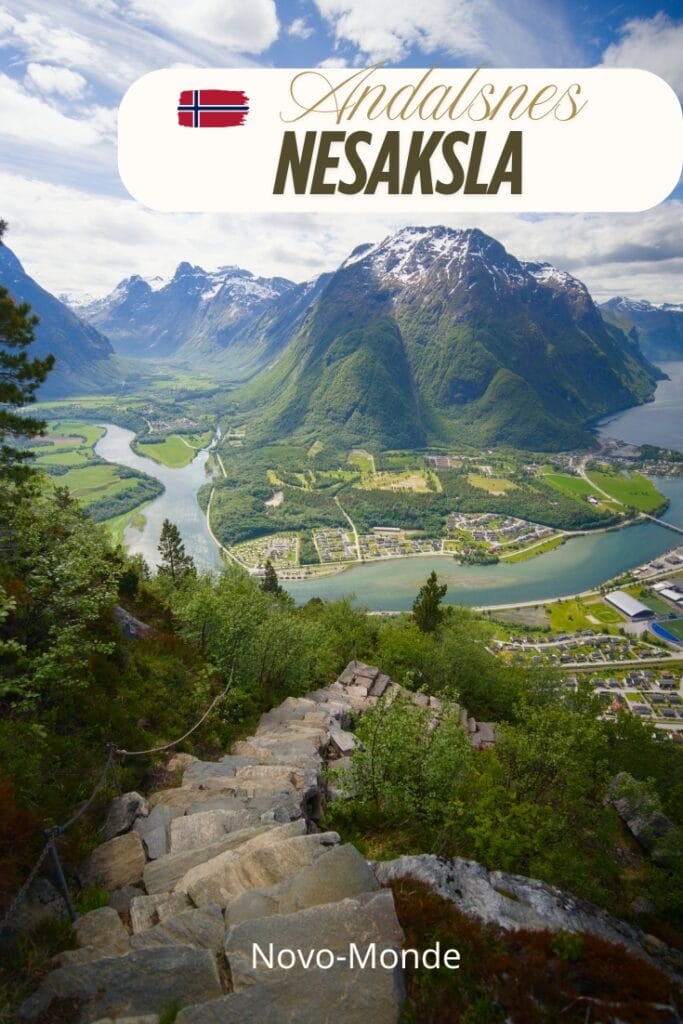
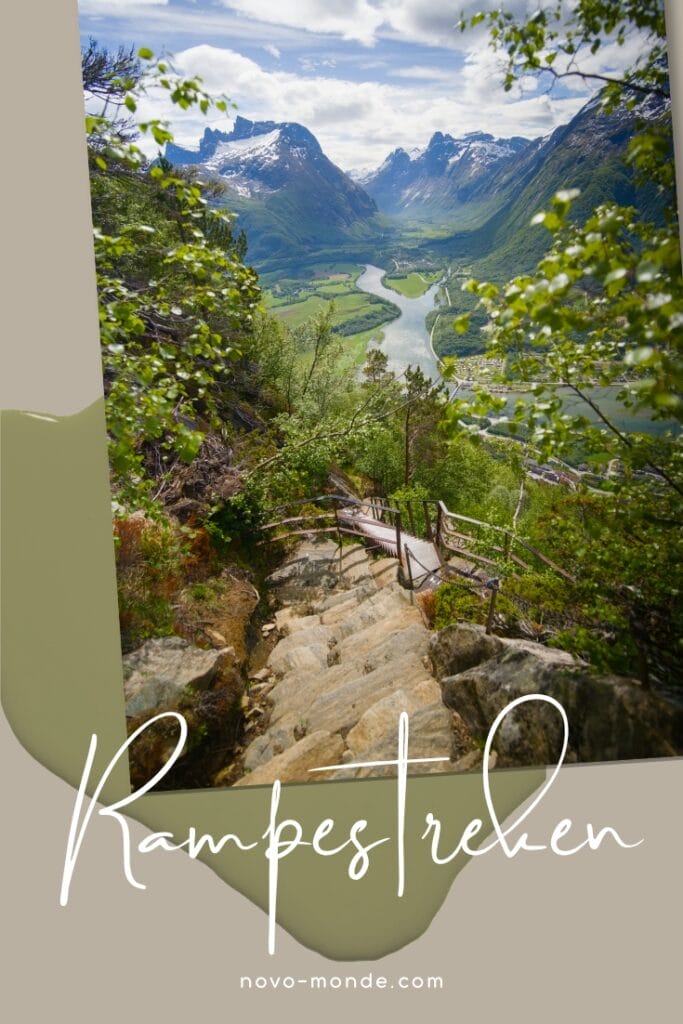
The final stretch before reaching Rampestreken is the steepest, but it’s also one of the most enjoyable. Why? In 2013, a team of Nepalese sherpas was hired to build stairs and make the climb safer. And honestly, there’s nothing to complain about…. It’s certainly steep, but the trail is perfectly maintained, and ropes and cables are installed in the steepest sections. As a bit of trivia, the Sherpas used only stones from the mountain itself, carving and repositioning them to build this immense staircase.
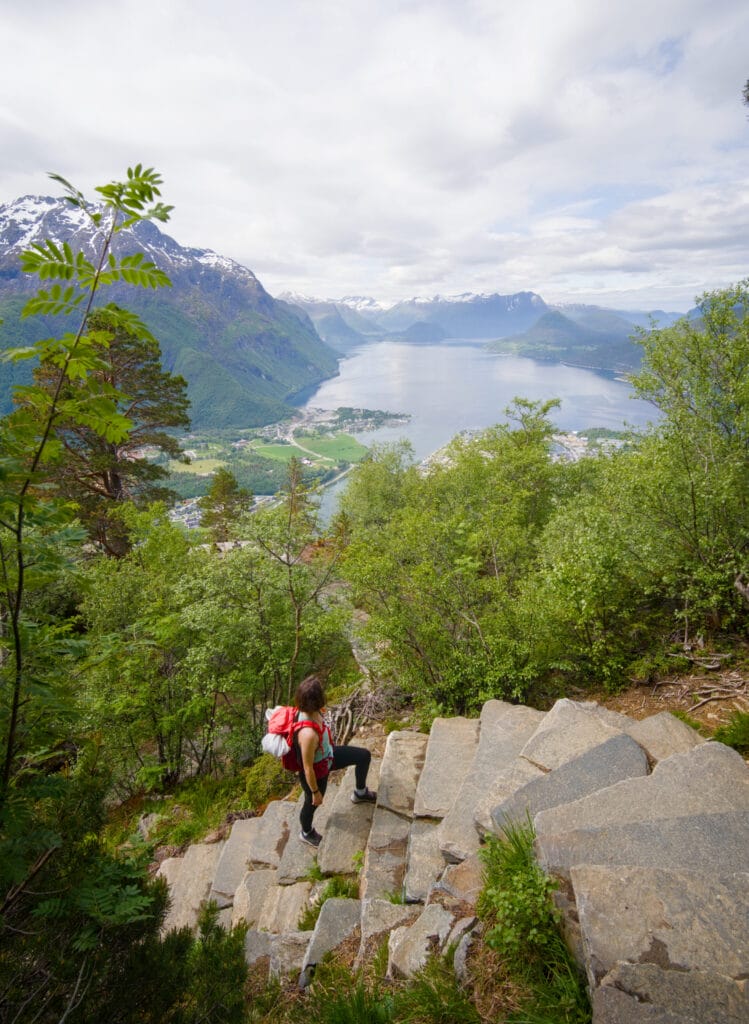
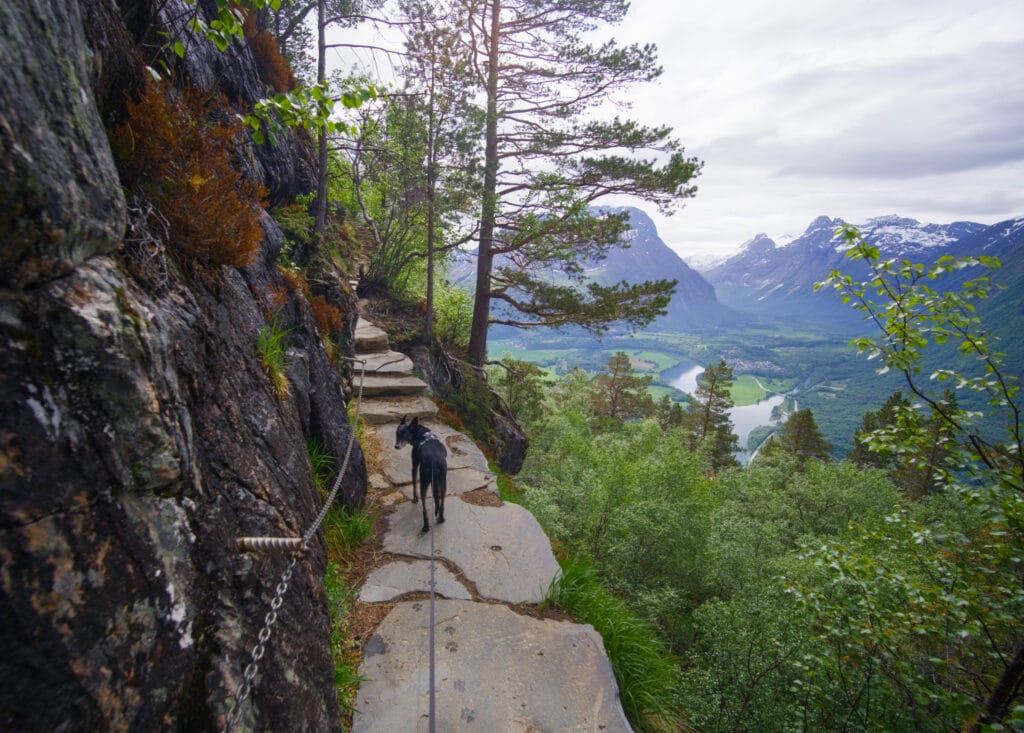
Personally, I thought the view from the stairs was just as beautiful and impressive as the one from the observation deck, and it’s definitely worth taking the stairs!
The Rampestreken Platform
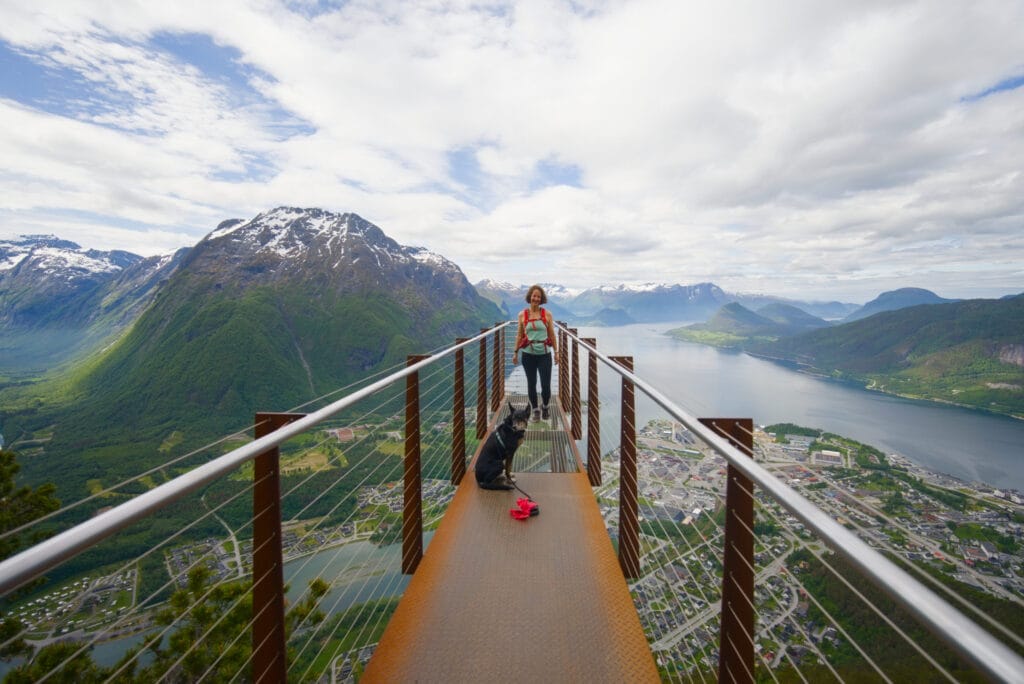
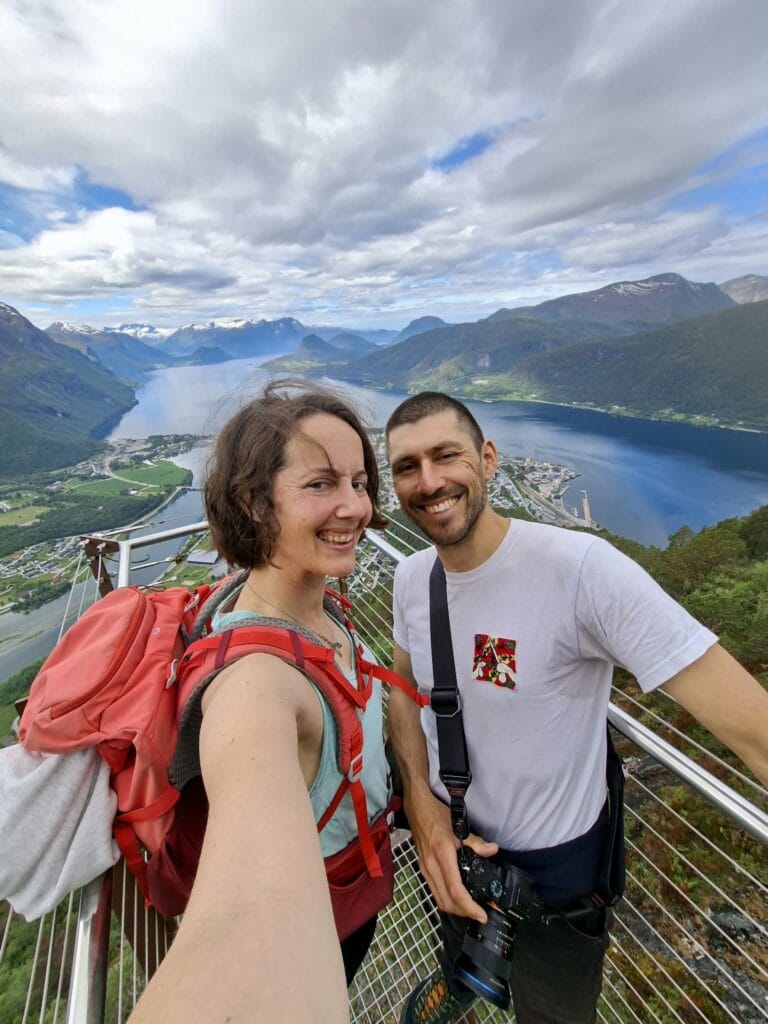
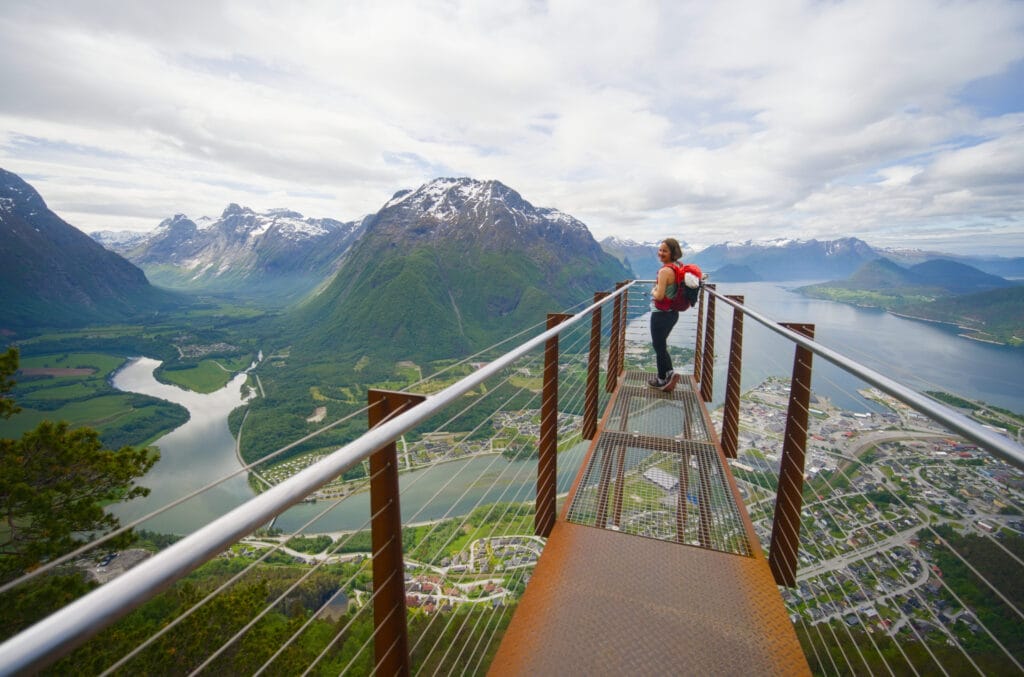
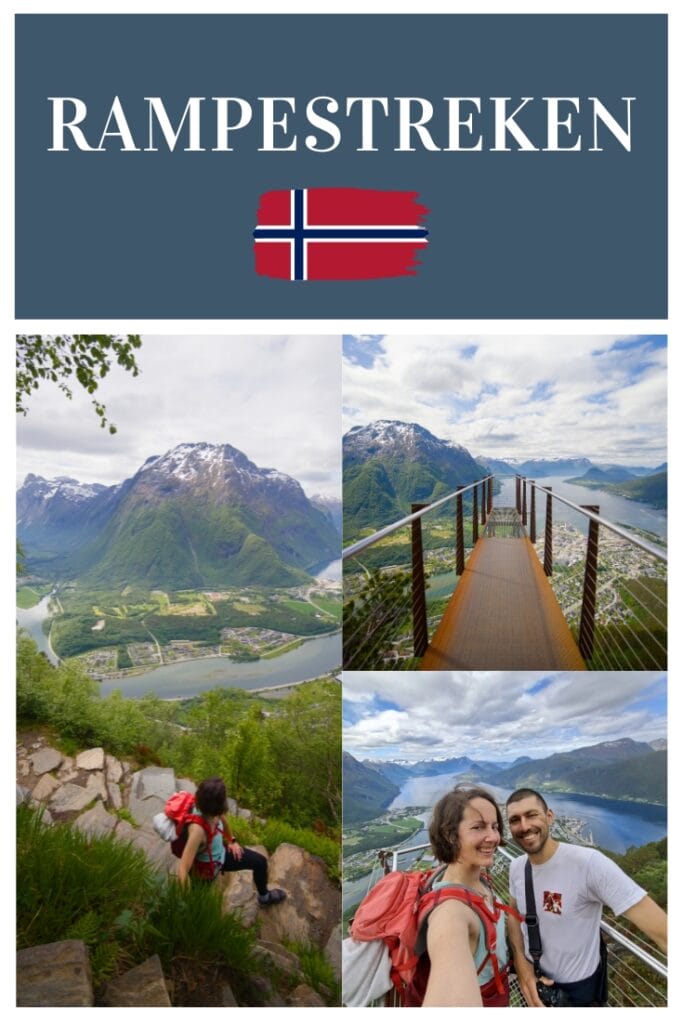
The last set of stairs before reaching the viewing platform are probably the toughest from a cardio standpoint! It’s really steep, but once you reach the viewpoint, you’re immediately rewarded. Rampestreken is actually a large steel walkway that extends about 8 meters out over the abyss, offering an absolutely incredible panoramic view of Andalsnes and the valley.
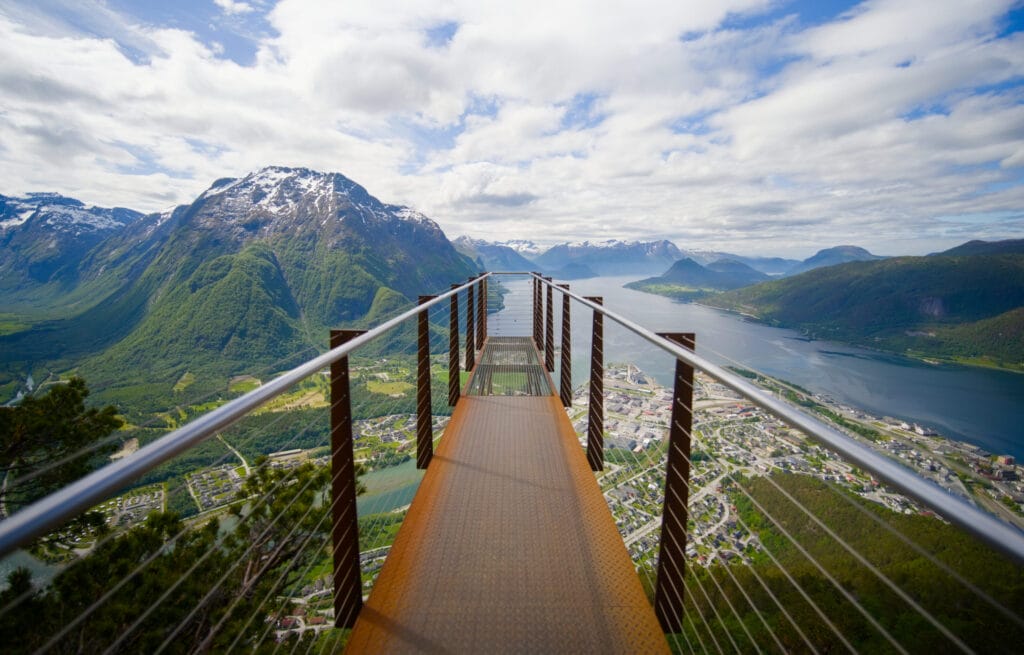
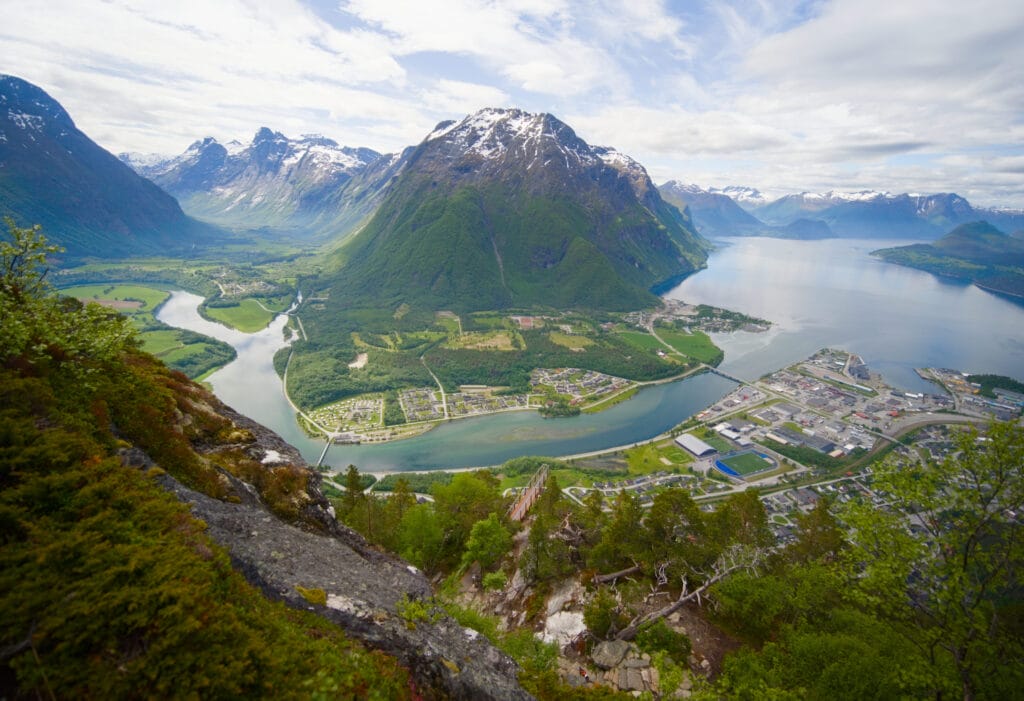
When we got there, we were all alone and were able to enjoy the spot and take a few photos before other hikers joined us. Just before the footbridge, we noticed a sign warning that there could be up to a one-hour wait to take a photo on busy days… Since we were here in late May, we didn’t experience that at all, but I definitely recommend coming in the morning if you’re visiting during peak season (more info on hours later in the article). Waiting an hour just to take a single photo seems crazy to me (and we definitely wouldn’t have waited in line that long… we would have just gone up to Nesaksla instead—the view there is also very beautiful).
Practical Information About the Hike and Map
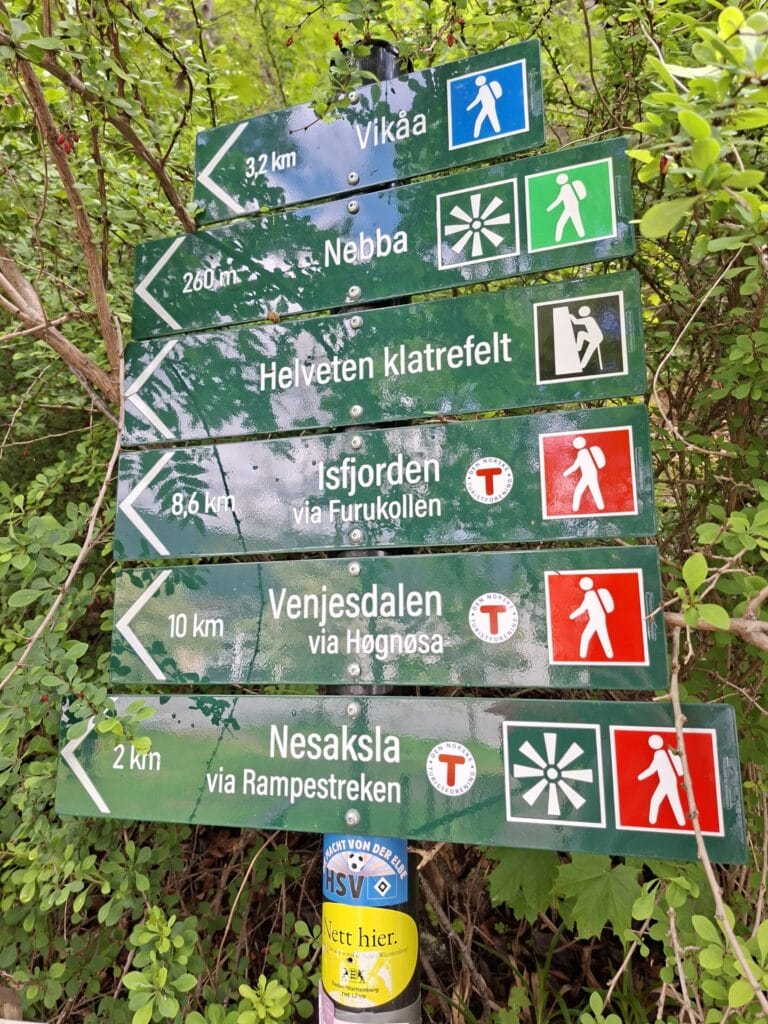
Before coming here, we’d read all sorts of things about this route. While some describe it as a “stroll,” others call it the toughest trek of their vacation. In short, as is often the case, the perceived level of difficulty is highly subjective. For our part, I’d say it was an easy hike, but one that still gave our thighs a good workout and got our heart rates up a bit. 😉 We’re used to hiking in the mountains, and the elevation gain definitely doesn’t scare us. That said, we’ll admit it’s still pretty steep in places. To give you an idea, it took us exactly 1 hour to reach the viewpoint (note: I’m talking about the observation deck, not Nesaksla) from the car (we walked at a steady pace but didn’t run). Online, you’ll find accounts from people who take 30 minutes, while others mention a 3-hour climb. I’d say that by hiking at a steady pace, most hikers will take about 1 hour and 30 minutes.
P.S.: The area is also known for trail running, and the speed record for reaching Nesaksla from the parking lot is held by a Norwegian who did it in 21 minutes…
All in all (including the break at the platform, the climb to Nesaksla, and the descent), it took us about 2 hours and 30 minutes.
From the parking lot, the hike to the lookout point is 4.6 km long with an elevation gain and loss of 680 meters.
Getting to Rampestreken by Gondola
You can reach the Rampestreken viewpoint by coming from Nesaksla, the upper station of the Romsdalen cable car. From the cable car’s upper station, it’s about a 10- to 15-minute walk. But as you might expect, this “simplified” option comes at a cost—and it’s not a small one. As of this writing (August 2026), a round-trip cable car ticket costs 625 NOK per person (about 58€) and 325 NOK for children over 6 years old (about 30€). One-way tickets are also available and cost 405 NOK for an adult or 245 NOK for a child (37€ and 22€, respectively).
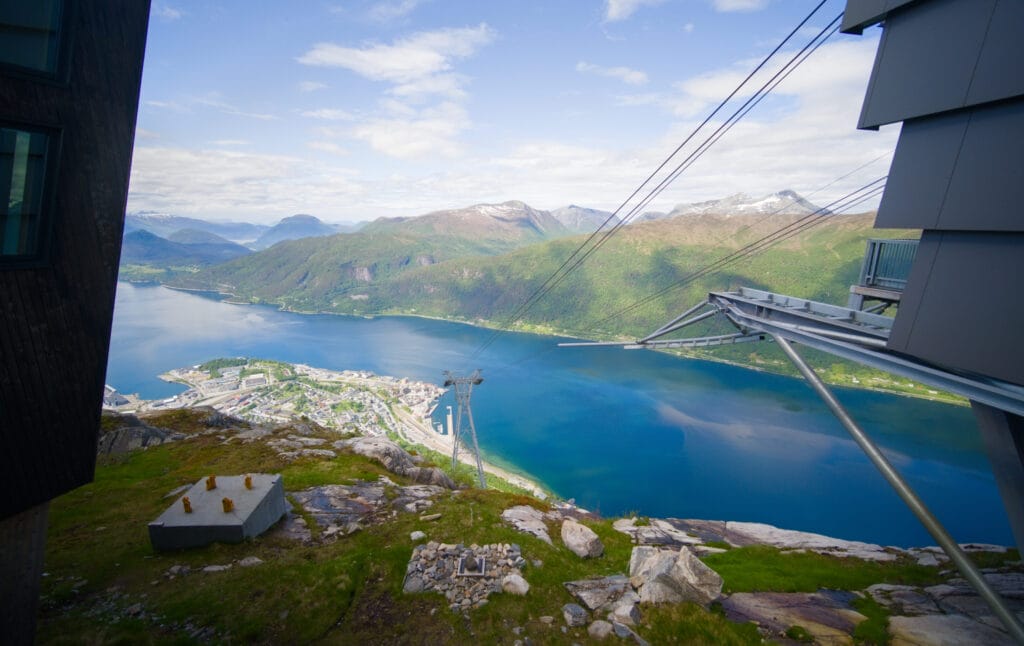
Please note that these are the rates in effect for 2026. It appears that the price of the gondola ride follows inflation and exchange rate fluctuations! In 2024, a round-trip ticket cost 440 NOK… So there’s been a 42% increase in two years!
Needless to say, at that price, we just looked at the gondola and did what we do best: walk!
When is the best time to go on the hike?
Answering the question “when” is actually helpful, both in terms of seasons and time of day. 😉 As for the season, it really depends on the conditions. The Rampestreken viewpoint isn’t very high in elevation (550 m), which means the platform will be accessible for much of the year. I’ve read reviews from people who went up there in the snow. There’s no doubt it’s “doable,” but I think it’ll be pretty slippery, so you’ll definitely need to wear the right shoes. Otherwise, though, I’d say the spot is accessible as long as the weather is relatively clear. Well, yes, the hike itself is nice, but the main attraction is the view from the summit… it would be a shame to hike up only to have the view obscured by fog and clouds. 😉
As for the timing, unsurprisingly, the morning is when there will be the fewest people. This universal hiking rule is even more true for Rampestreken. That’s right… Since the gondola stops not far from the lookout point, there will be more people when it’s running. Schedules vary by season, but if you arrive at the viewpoint before the first gondolas depart, you’re sure to have the place to yourself! During the off-season (March through June and September through November), the first gondola leaves Andalsnes at 11 a.m., so you have until about 11:30 a.m. to reach the viewpoint. In July and August, the first gondola leaves at 10:00 a.m., so it’s best to aim to be there before 10:30 a.m. 🙂 Bonus: In March, April, May, October, and November, the cable car doesn’t run on Mondays. You can check the cable car schedule on the tourist office’s website.
Where can I park?
There is a large parking lot right next to the trailhead (GPS coordinates). Parking costs 100 NOK per day. There are also a few free spots in the neighborhood, but they’re hard to come by. We were lucky enough to find a free spot right at the trailhead (there are 5–6 of them), but needless to say, they’re often taken.
Continue on to Nesaksla or even Mjølvafjellet
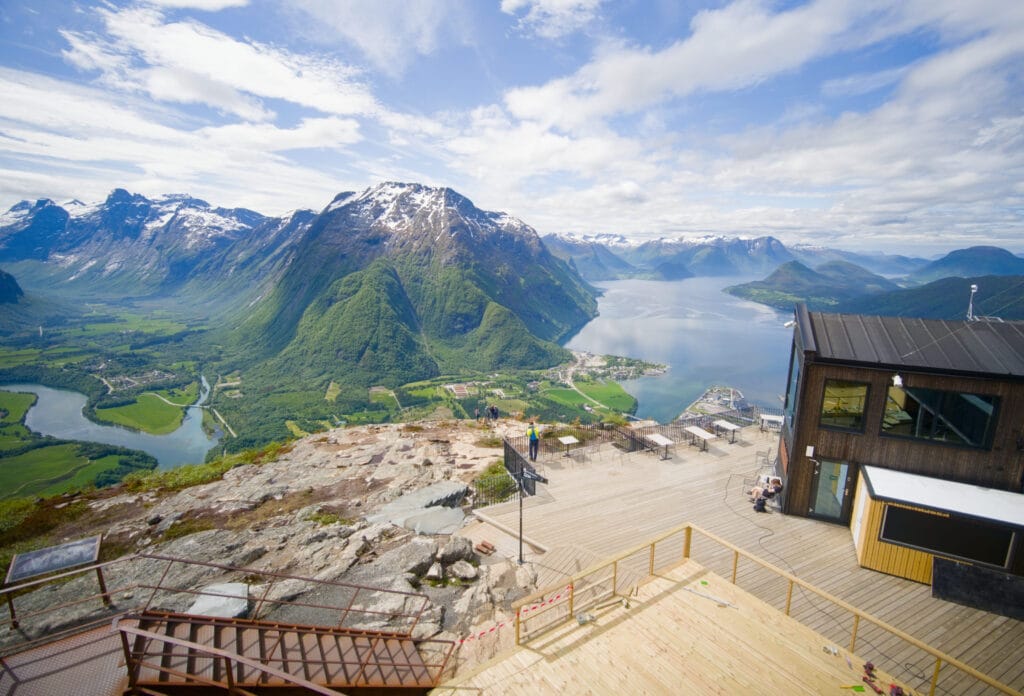
During our hike, we climbed up to Nesaksla and its restaurant. After that, you can also continue on to the summit of Mjølvafjellet. This summit is part of one of the most popular hikes in the Fjords region, but I’m not going to lie to you… Starting from downtown and hiking all the way to the summit—the elevation gain starts to get a little tough. 😉
I’ll be honest, that option did cross our minds, but since we’d been driving all morning from Ålesund, it was already 2:00 p.m. by the time we reached the top of Nesaksla, and it seemed a bit optimistic to us to continue on to the summit and then head back to the car.
But if you have the whole day and aren’t afraid of the elevation gain, there’s no doubt this route is spectacular! Anyway, I’ve included the map below.
Info: This round-trip hike is about 12 km long with 1,200 m of elevation gain and loss. Allow about 6 hours and 30 minutes of walking time. Note that it’s also possible to shorten the route by taking the cable car (either on the way up, on the way down, or even both). An alternative here would be to take the Romsdalseggen trail, an official one-way route that takes you past all the viewpoints (one way). This involves a shuttle bus, but it can be an excellent option as well (I’ll tell you more about it in a moment).
Hiking the Romsdalseggen Trail
The summit of Mjølvafjellet is actually known for being part of the Romsdalseggen trail, a hiking route that follows the ridge overlooking Andalsnes and the fjords. It’s actually an “official” route that takes you to all the most beautiful viewpoints on a “one-way” hike (this also includes the Rampestreken at the end of the route). However, be warned: this route is not one to be taken lightly. Although you start “at the top,” the trail still involves a 900-meter elevation gain and approximately 1,400 meters of elevation loss (over a distance of about 11 km). A large portion of the route follows a ridge trail which, although secured, is exposed to the drop-off. We recommend checking out AllTrails (there are over 1,500 photos uploaded by users) to get an idea of what to expect.
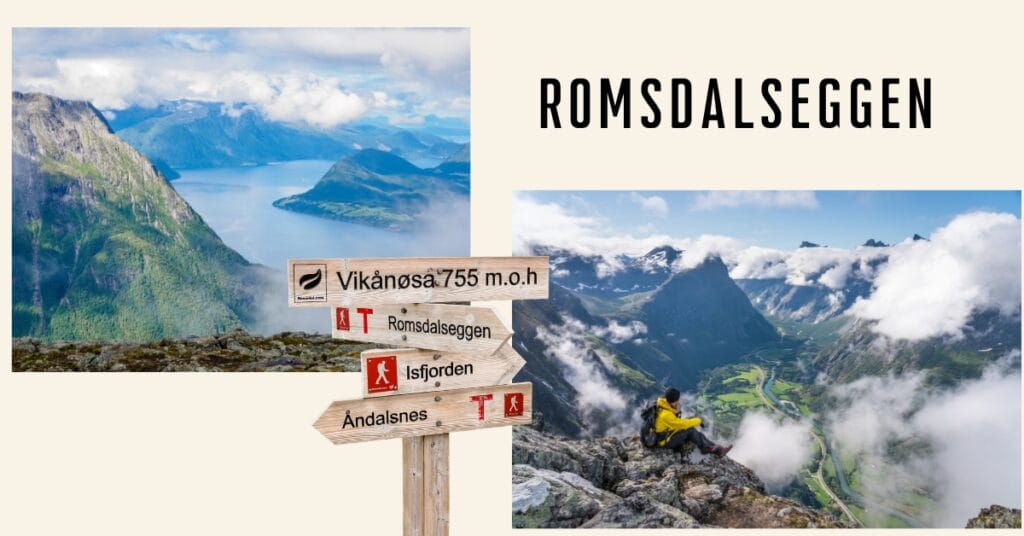
Personally, if we’d had the whole day, this is probably the route we would have taken because it offers the most beautiful views. Since it’s a one-way trip, however, there are a few logistical considerations. The easiest option is to park in Andalsnes and then take the shuttle bus to the trailhead. You can catch the bus at the Andalsnes train station, and the ride takes 20 minutes. The shuttle bus runs from mid-June to late October, and a ticket costs 289 NOK per person (about 26€). Note: Dogs are allowed on the bus. To view the schedule and buy tickets, visit the official bus website. To find your connection, enter “Åndalsnes stasjon” as the departure point and “Romsdalseggen” as the destination. There is one bus per hour, with the first departure at 8:00 a.m.
The Åndalsnes Via Ferrata
As I mentioned at the beginning of this article, Andalsnes is sometimes referred to as the “mountaineering capital of Norway” and is home to the national center. There are also many climbing routes, as well as a well-known via ferrata. That said, personally, I don’t think we would have done it. I’m mentioning it because if you’d like to try it, it’s good to know that it exists and that you can easily rent the equipment at the museum/mountaineering center. What really “bugs” me is that in Norway, even though Norwegian law guarantees the right of free access to nature (the Allemannsretten), the authorities consider that this right does not apply to private safety infrastructure (cables, rungs, suspension bridges). Private companies or tourist offices that install and maintain the routes therefore require a mandatory fee (even if you bring your own gear).
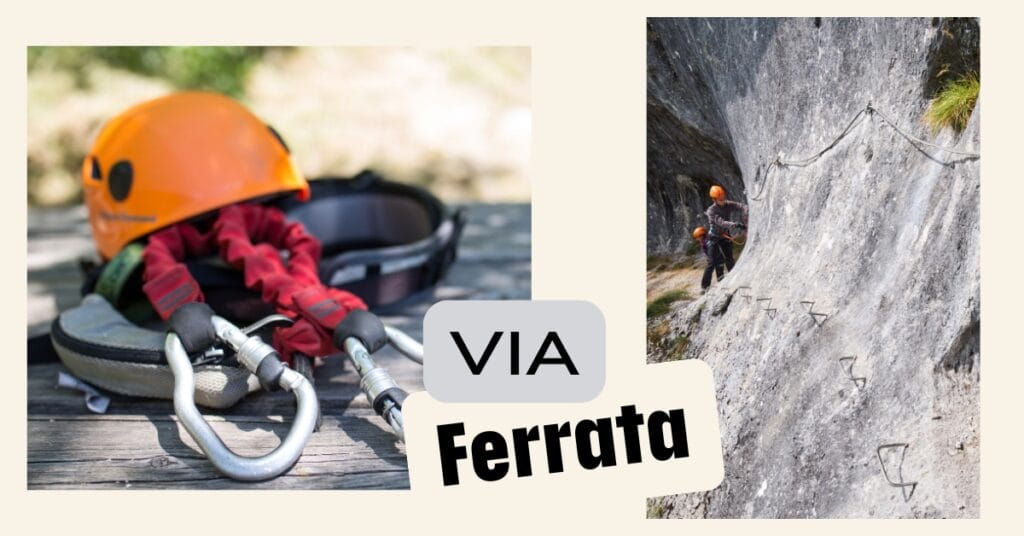
I know this practice is also common in Spain, but it’s also true that, for our part, we’re used to this activity being free (provided we have the equipment and know how to use it, of course). In Andalsnes, the Via Ferrata will cost you 200 NOK (about 18€) if you have your own gear, 365 NOK (about 35€) if you need to rent equipment (the rental fee includes a safety briefing and access to the Via Ferrata), and about 140€ per person if you’d like to do it with a guide. You’ll find all the details on the Tindecenter website.
Please note that via ferrata is a “safe” activity, but it requires knowledge of safety equipment. If you’ve never done it before, we recommend hiring a guide or taking the introductory safety course offered by the guide center.
Well, that’s it for today! We hope you enjoyed this brief introduction to Andalsnes and the hike in Rampestreken. We’ll see you very soon for the next installment of our articles on Norway.
Pin this article

Join the discussion