
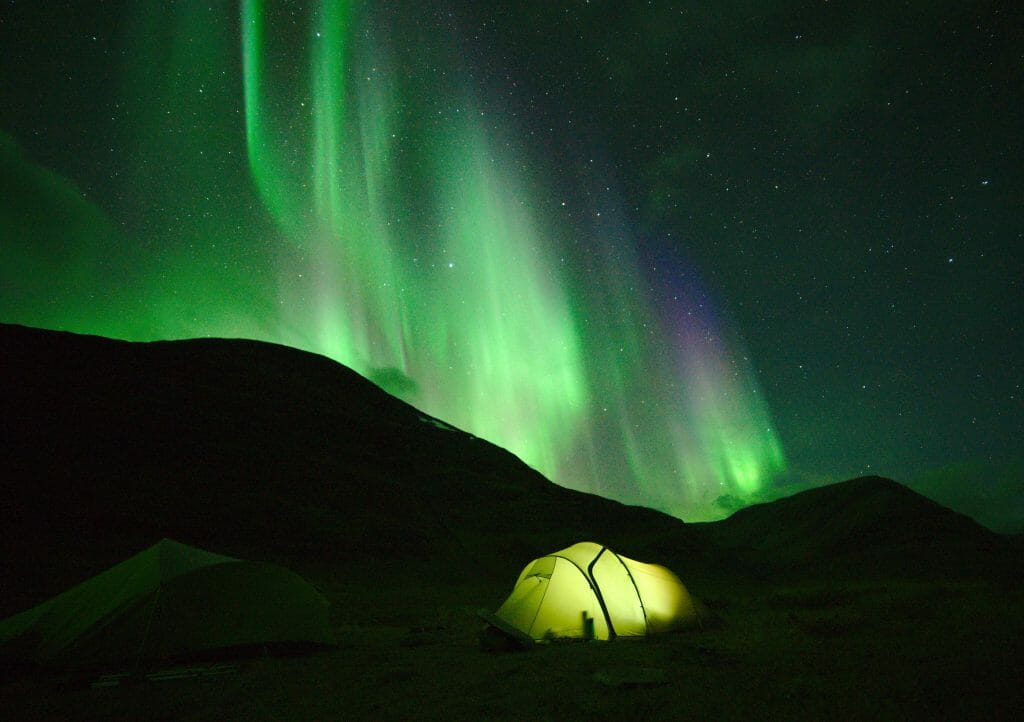
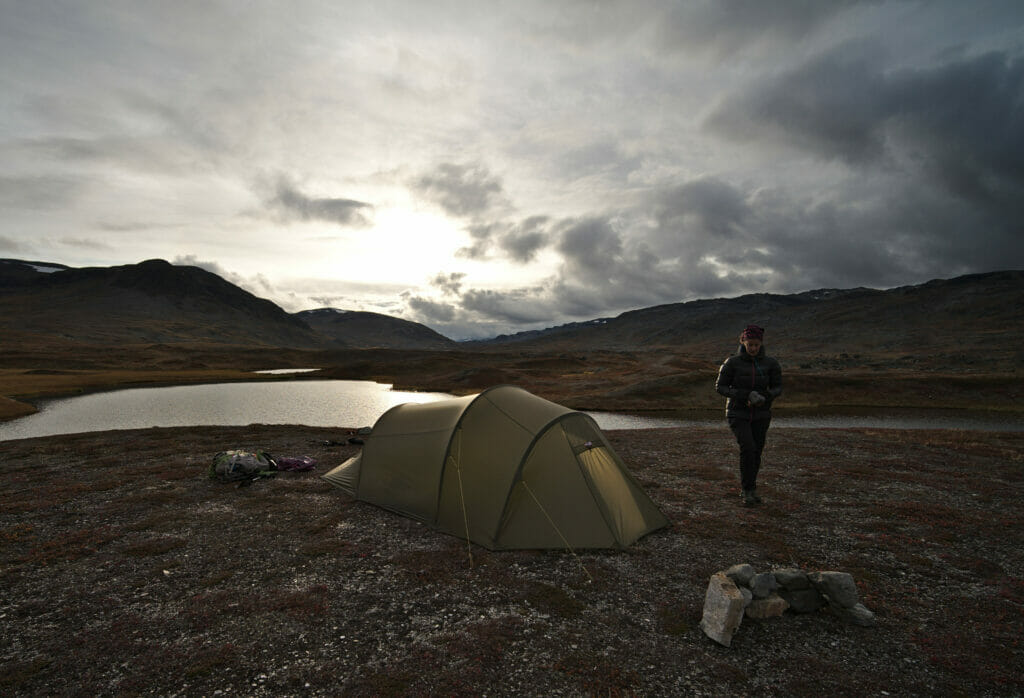
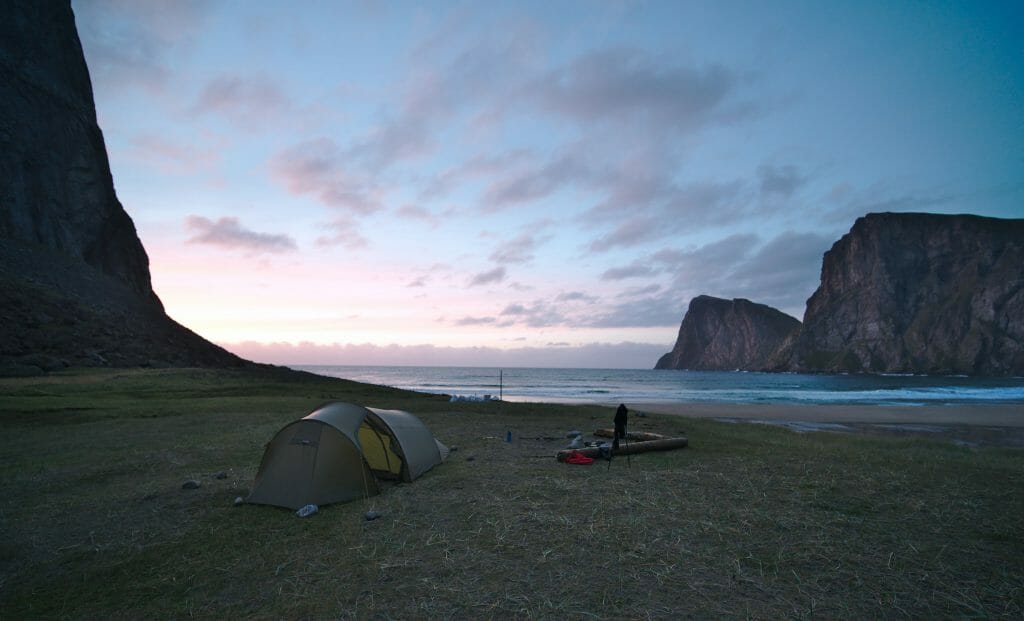
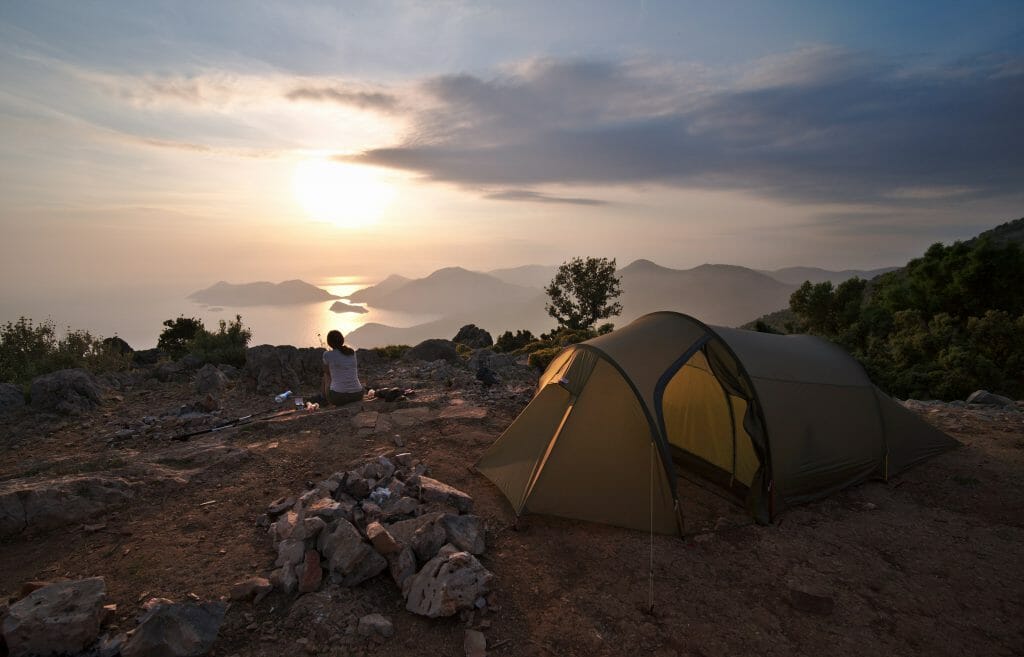
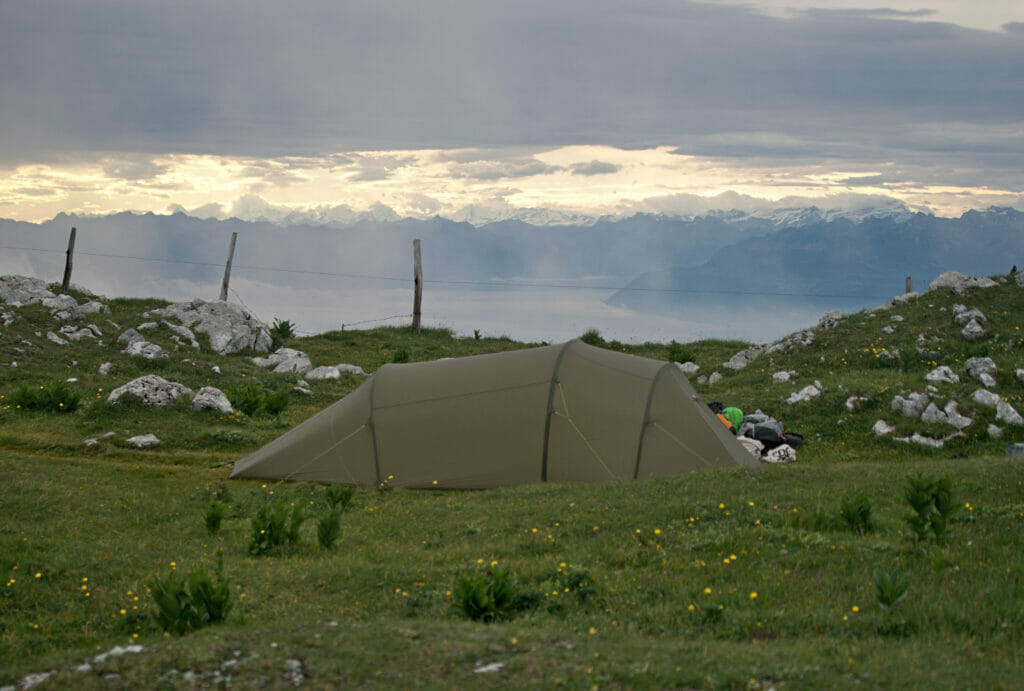
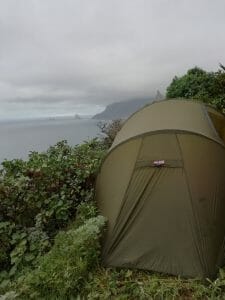
Before our hike on the Via Alpina, we had already purchased a great, lightweight, and spacious tunnel tent from Helsport (the Fjellheimen Superlight 3). This tent has been our home during numerous long hikes over the following years, including the Lycian Way in Turkey, the Kungsleden in Swedish Lapland, and the Jura crest trail (among many others). It protected us from heavy thunderstorms and winds of up to 100 km/h in Lofoten, and we grew quite attached to it (because we shared some unforgettable moments with it).
So why did we decide to change our tent?
The tent we used felt like a real palace, with a spacious inner tent and a huge vestibule (all for just 2.2kg). This obviously offers advantages in terms of comfort, sheltered cooking in the vestibule, versatility… but it can also be a disadvantage when it comes to finding a bivouac spot. The tent’s footprint is really large (over 7 square meters), and even though we always managed to find a camping spot, we sometimes had a bit of trouble 😉 .
The second reason that prompted us to change models is that tunnel tents are not freestanding (they won’t stand up on their own if we can’t stake them down). Since we live in a small mountain village in the heart of the Alps, we often hike in rocky areas where it’s not always easy to find a flat spot that is large enough and where we can easily secure the tent to the ground.
These are therefore the two main reasons that motivated us to switch tents in 2024. We were really happy with our Helsport tent (and of course, we’ll keep using it), but in the end, the perfect tent doesn’t exist, and everything is a matter of compromise depending on your use.
Our criteria for our new hiking tent
So, these are the important criteria we considered when looking for a new tent:
- a freestanding tent
- a smaller floor area than our old tent, making it easier to find bivouac spots
- enough space for 2 people + our dog + our backpacks (inside). We also didn’t want to go from a palace to a tiny, not very comfortable tent.
- good weight/volume ratio (around 2kgs)… but without going ultra-light, which often compromises with the stability and ease of use of the tent.
- Stability and waterproofing (the essentials 😉 )
With these points in mind, I started my search, and quickly a few brands and models of tents appeared more frequently:
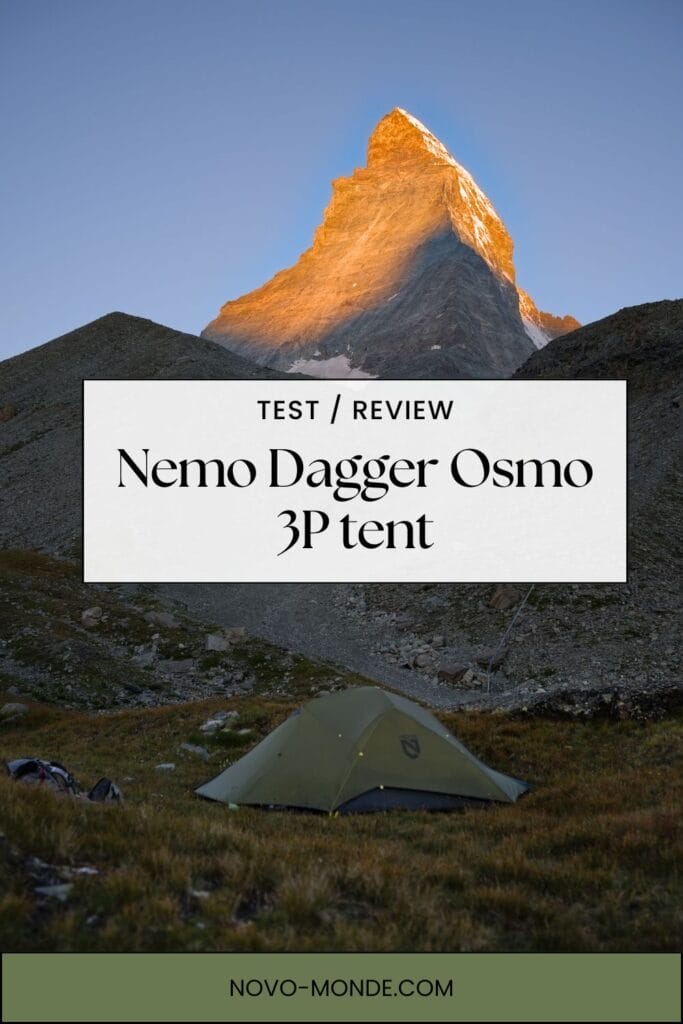
- Nemo with its Dagger Osmo 3P and Dragonfly Osmo 3P models. Nemo is a brand that we’ve heard a lot of good things about (not just for their tents, but also for their sleeping bags and mattresses) and that guarantees its products for life. We’ve been wanting to try out their tents for a long time.
- Big Agnes, with its Copper Spur UL3 tent, is one of the most popular tents for people going on long thru hikes.

I hesitated for a long time between the two brands (you probably guessed that we went with Nemo 😉 ). But in the end, although Big Agnes makes slightly lighter tents (even though the Dragonfly weighs almost the same), I preferred to try out Nemo because they offer a lifetime warranty on their tents (yes, really!), and for the OSMO™ Ripstop material they use for the tent fabric (100% recycled, more durable and stronger than traditional nylon materials).
Then, choosing between the Dragonfly and the Dagger comes down more to personal preferences and how you plan to use them. For our part, we chose the Dagger because, although it weighs 300 grams more (2 kg), it is more spacious and has a double roof that really protects the entire tent (whereas the Dragonfly is more exposed around the feet).
Note: I intentionally did not mentioned brands like Zpacks or Durston, which truly make ultralight tents, but they compromise too much in my opinion on ease of use and stability (also, these brands are difficult to find in Europe and you often have to import their gear from the US). But of course, this is just my personal opinion based on our backpacking experiences.
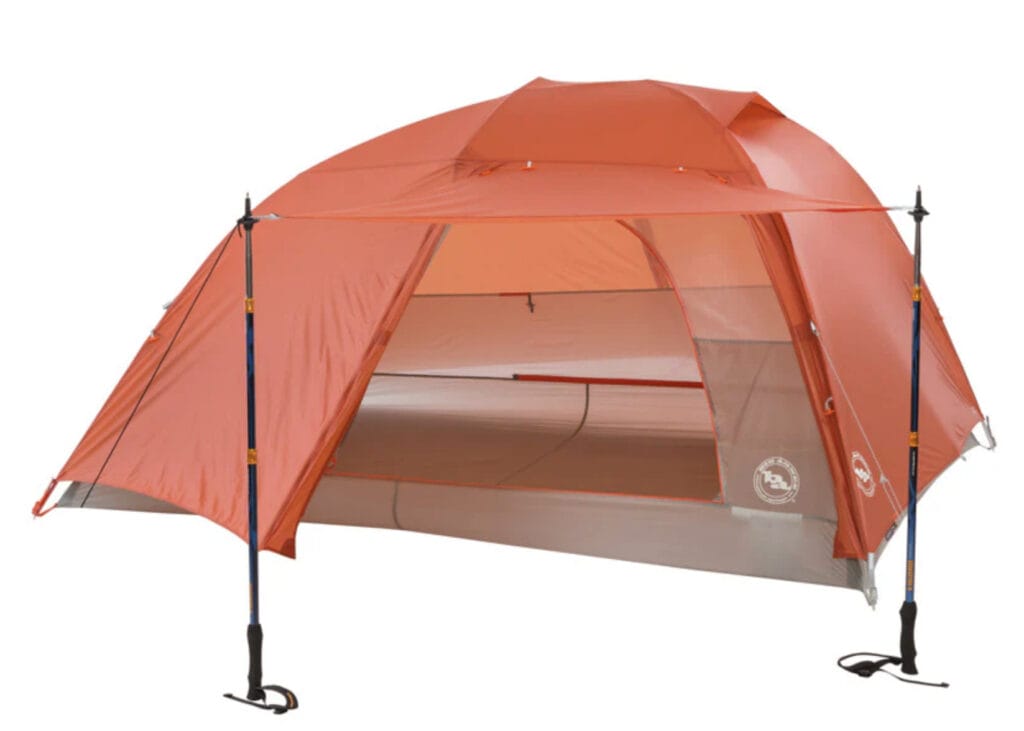
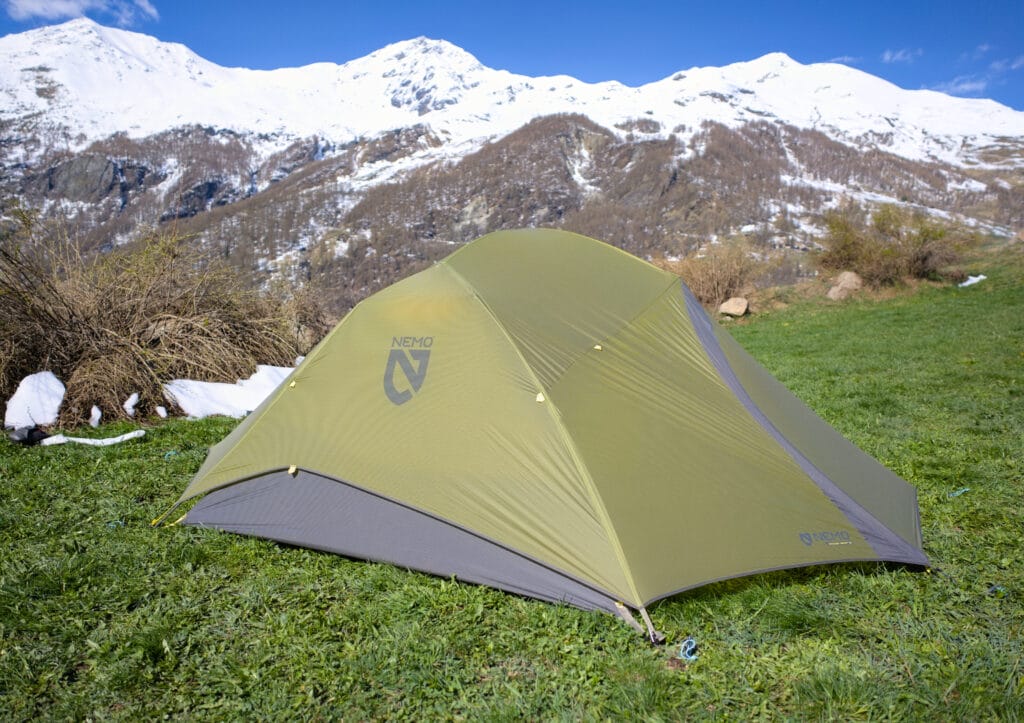
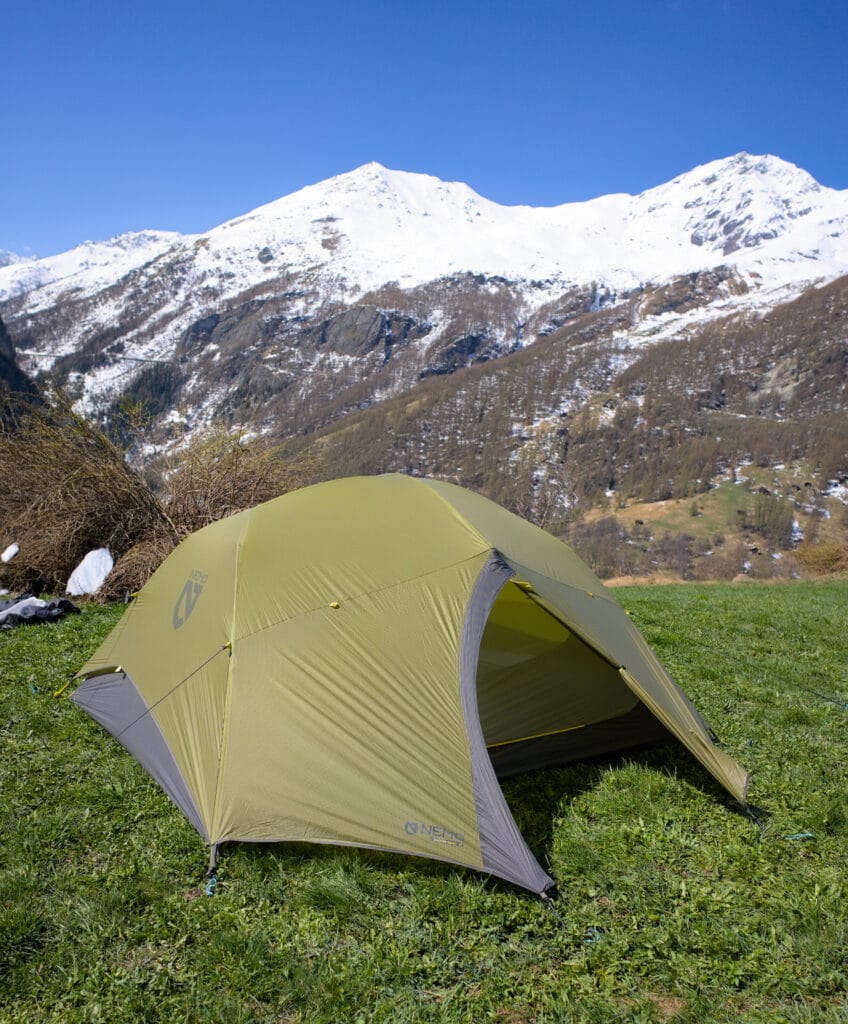
Features of the Nemo Dagger Osmo 3P Tent
Here are the main features of the Nemo Dagger Osmo 3P tent:
- Weight: 2.02 kgs including everything ( pegs, stuff bag etc…). It’s not the lightest tent on the market, but it’s a weight that works for us and that we can carry easily (and it’s 200g lighter than our old tent)
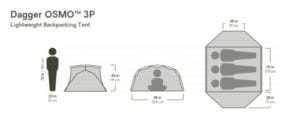
- Dimensions: the floor dimensions are 223.5cms by 177.8cms for a surface area of around 4 square metres. the maximum height under the tent is 110.5cms
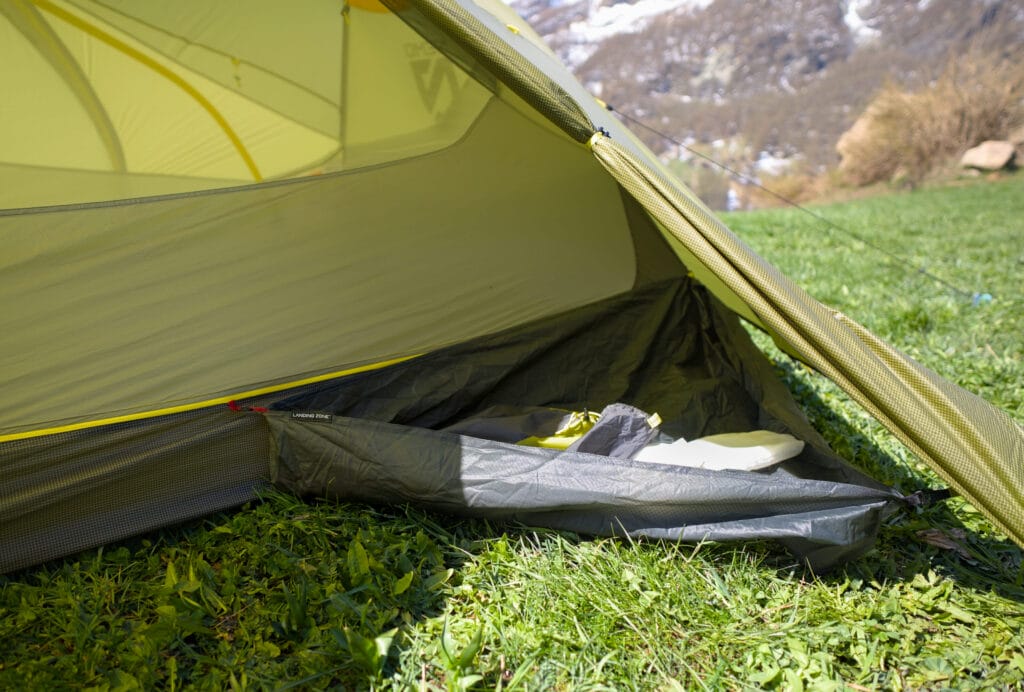
- Vestibules: 2 vestibules on the sides, each measuring around 1 square metre, which means you can store some of your gear outside the tent
- 2 doors, which I think is important for 2 people sleeping in the tent
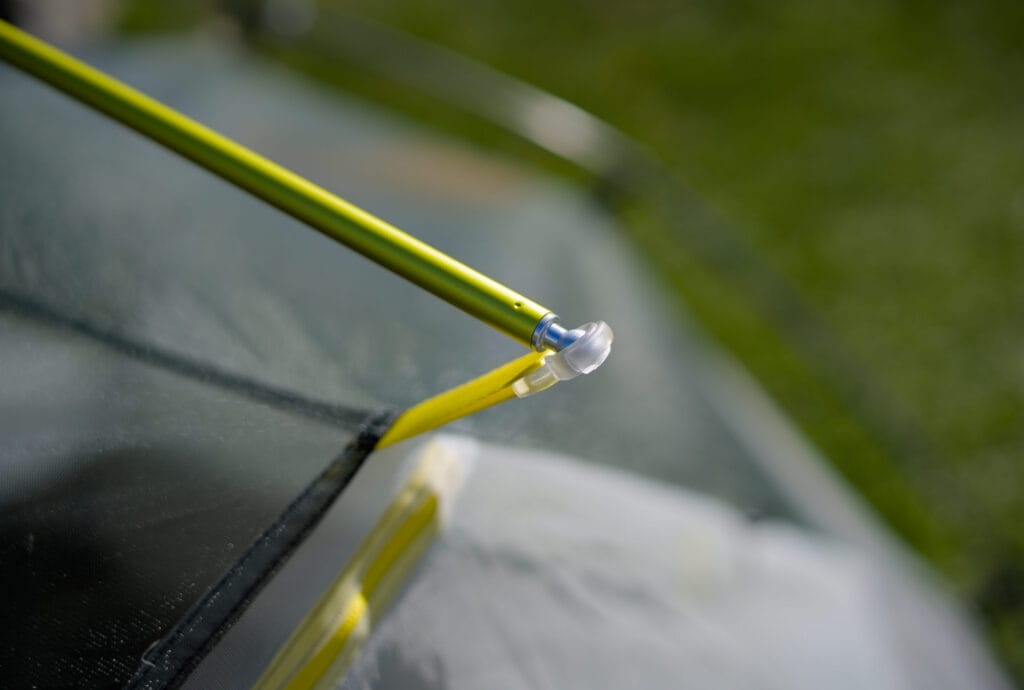
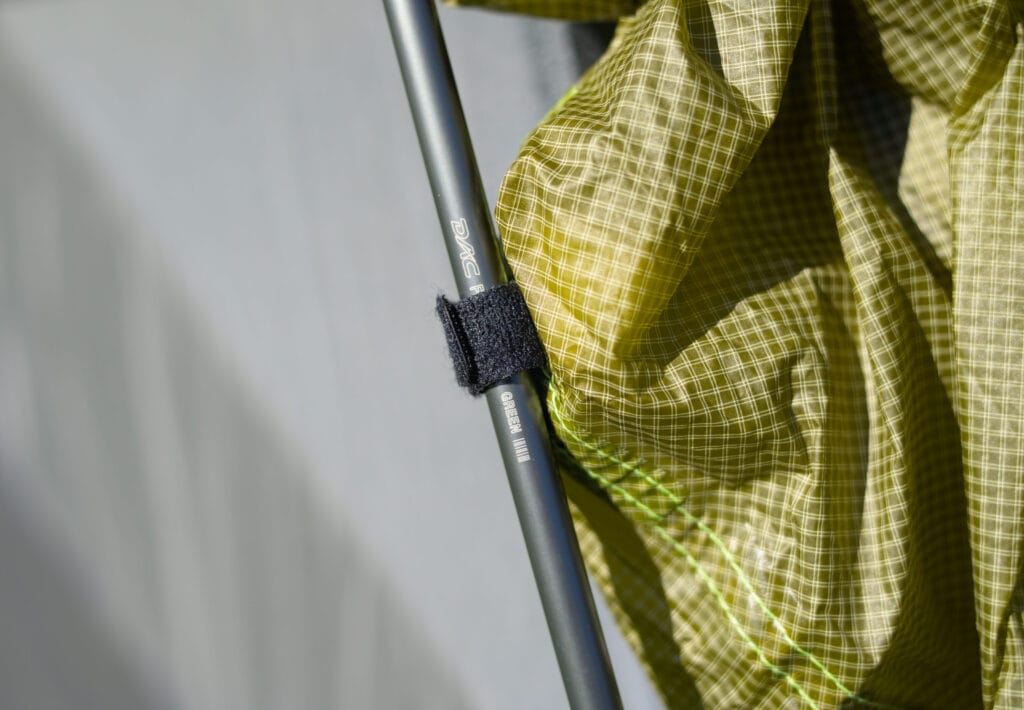
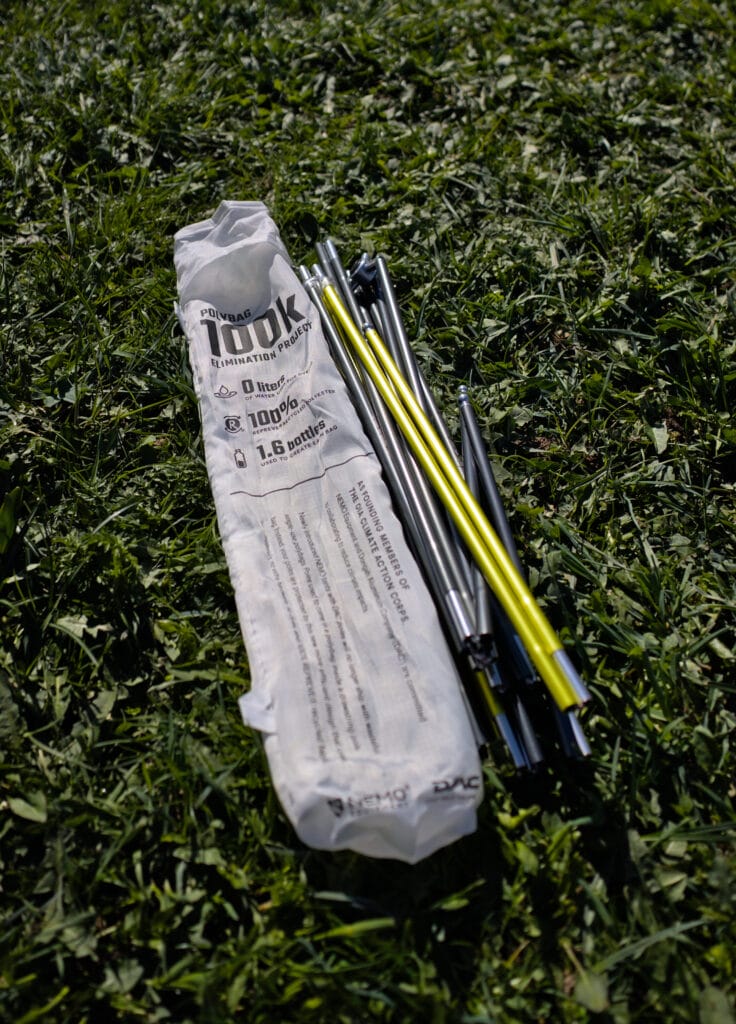
- Anodised aluminium poles, pre-folded and pre-connected (1 single element) for incredible ease of assembly
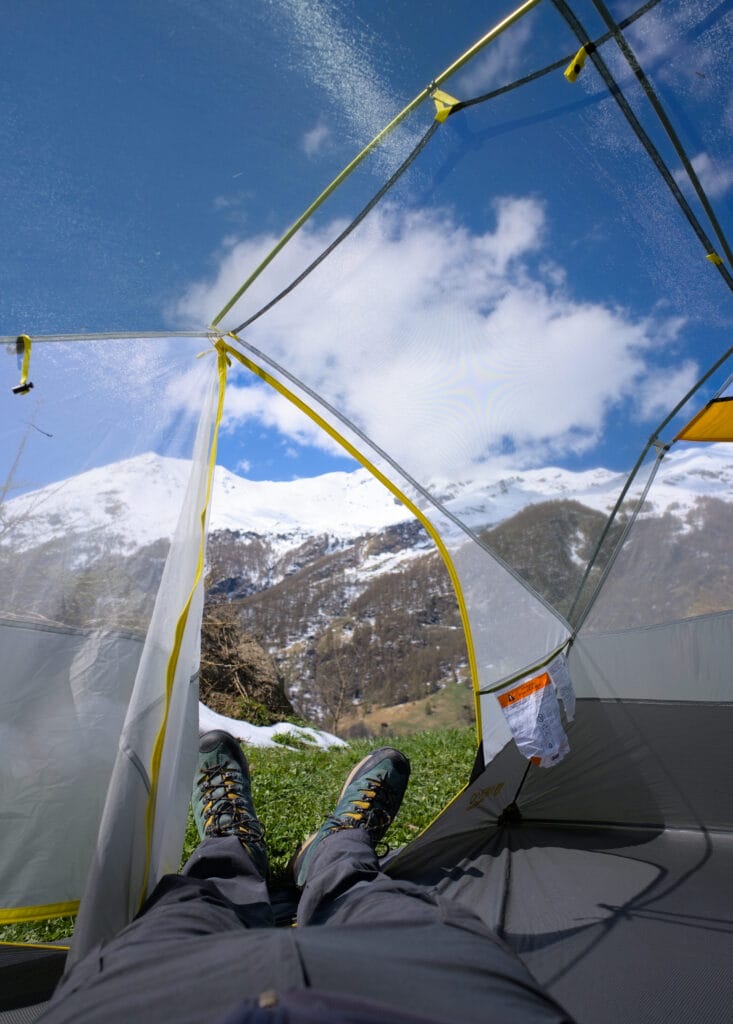
- Inner tent material: Polyester/ No-see-um mesh with white fabric on the sides and black mesh on the top which is virtually invisible (and therefore allows stargazing when the weather allows)
- Tent roof material: OSMO™ Ripstop (1500mm water column)
- Tent floor material: OSMO™ Ripstop (2000mm water column)
If you want to learn more about Nemo’s Osmo fabric, you can check out this video.
Our opinion on the Nemo Dagger Osmo 3P Tent after Use
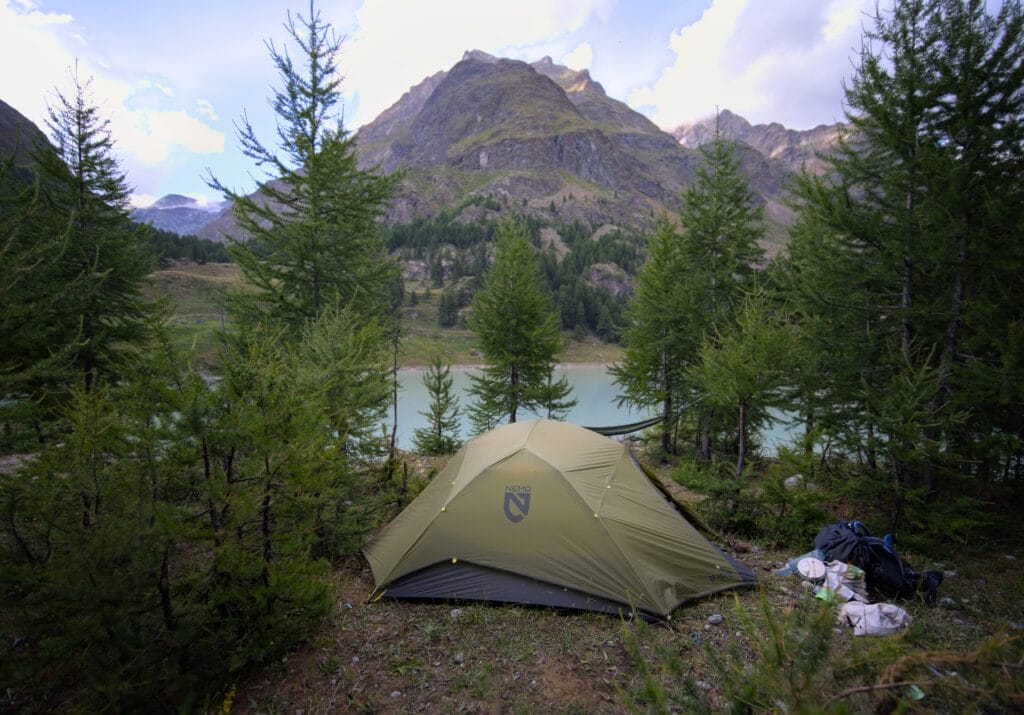
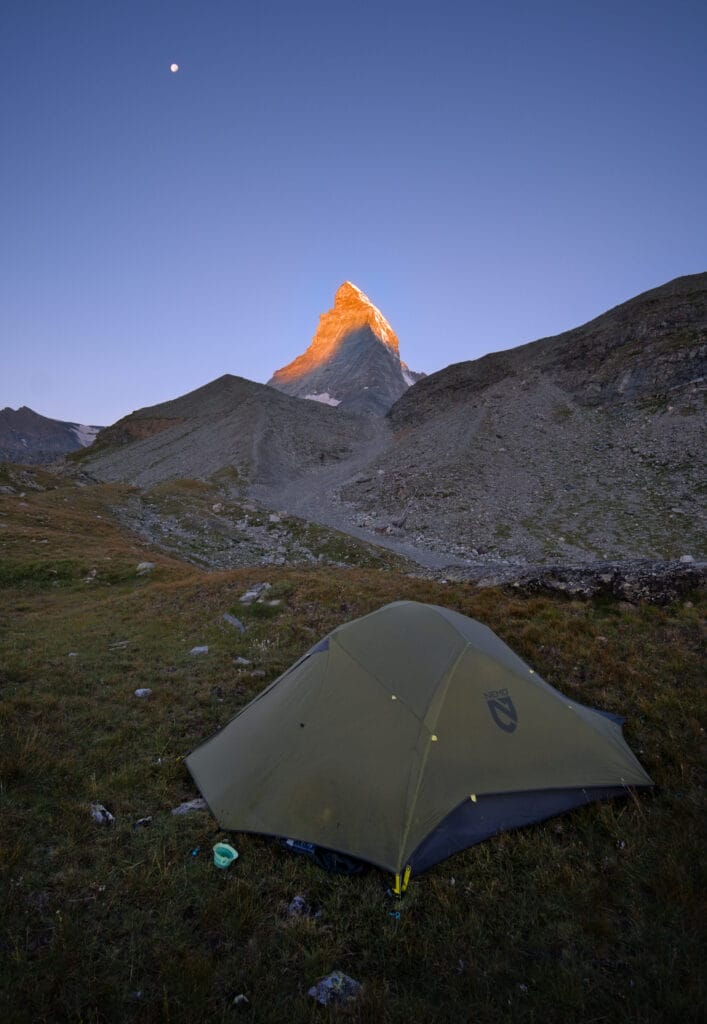
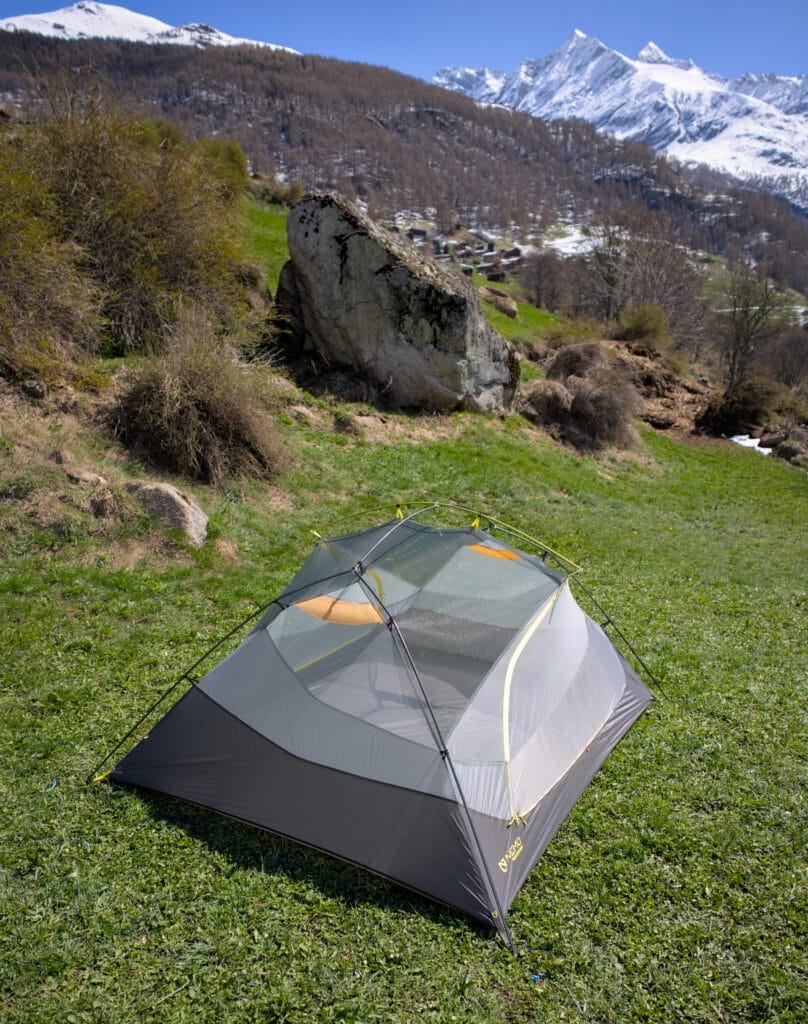
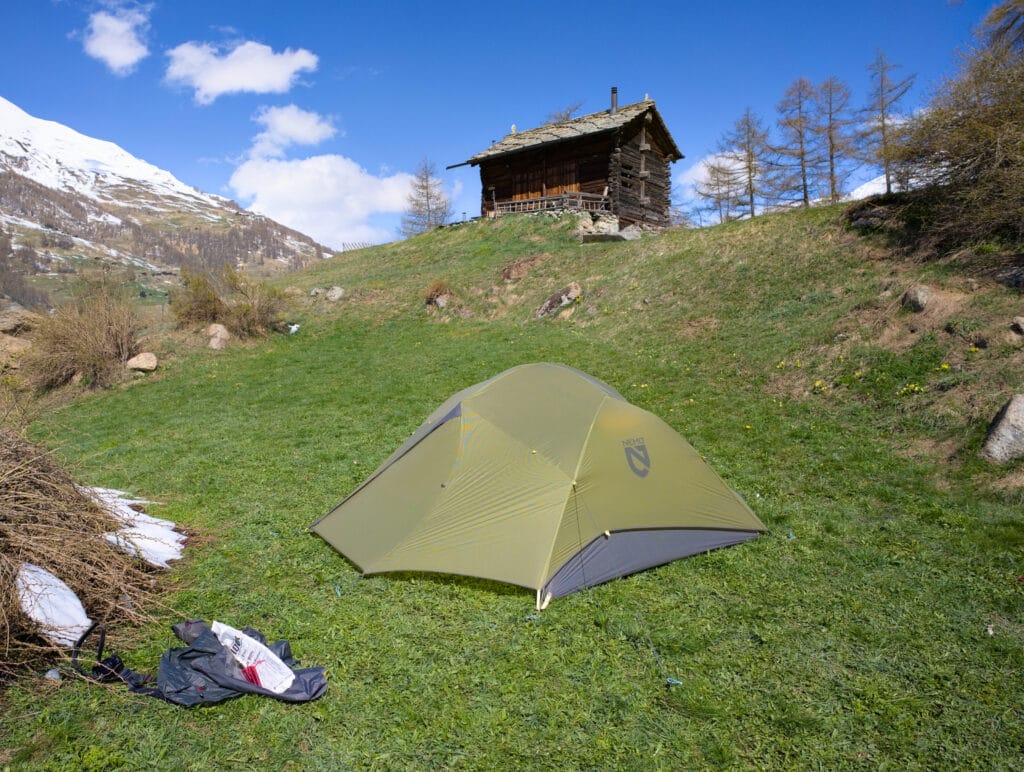
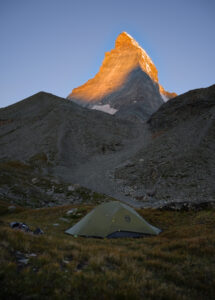
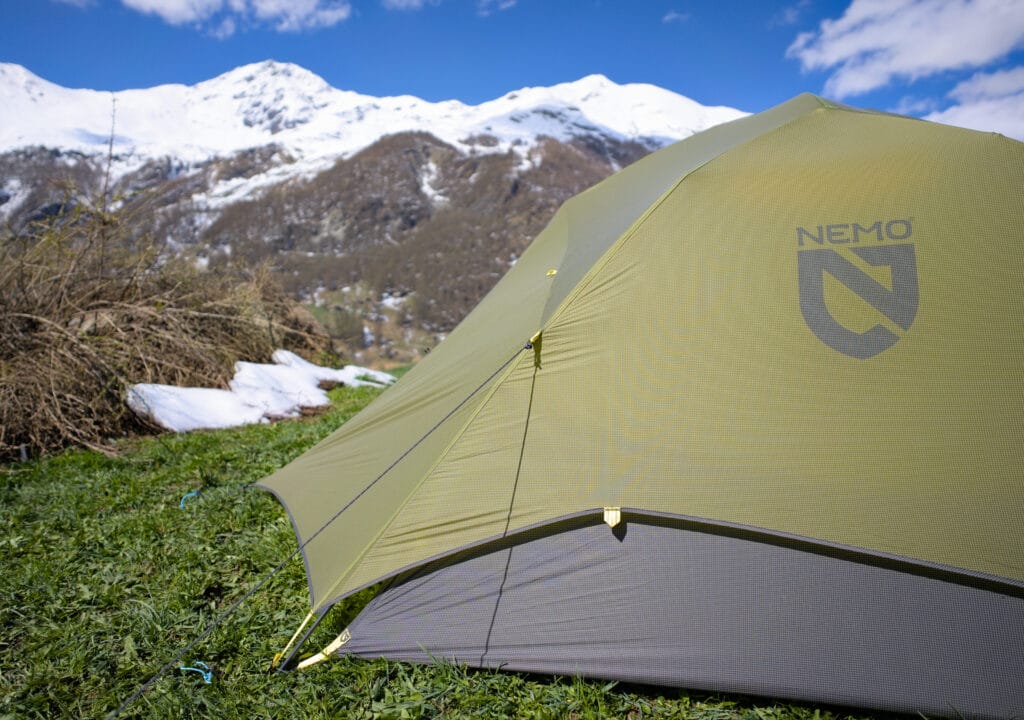
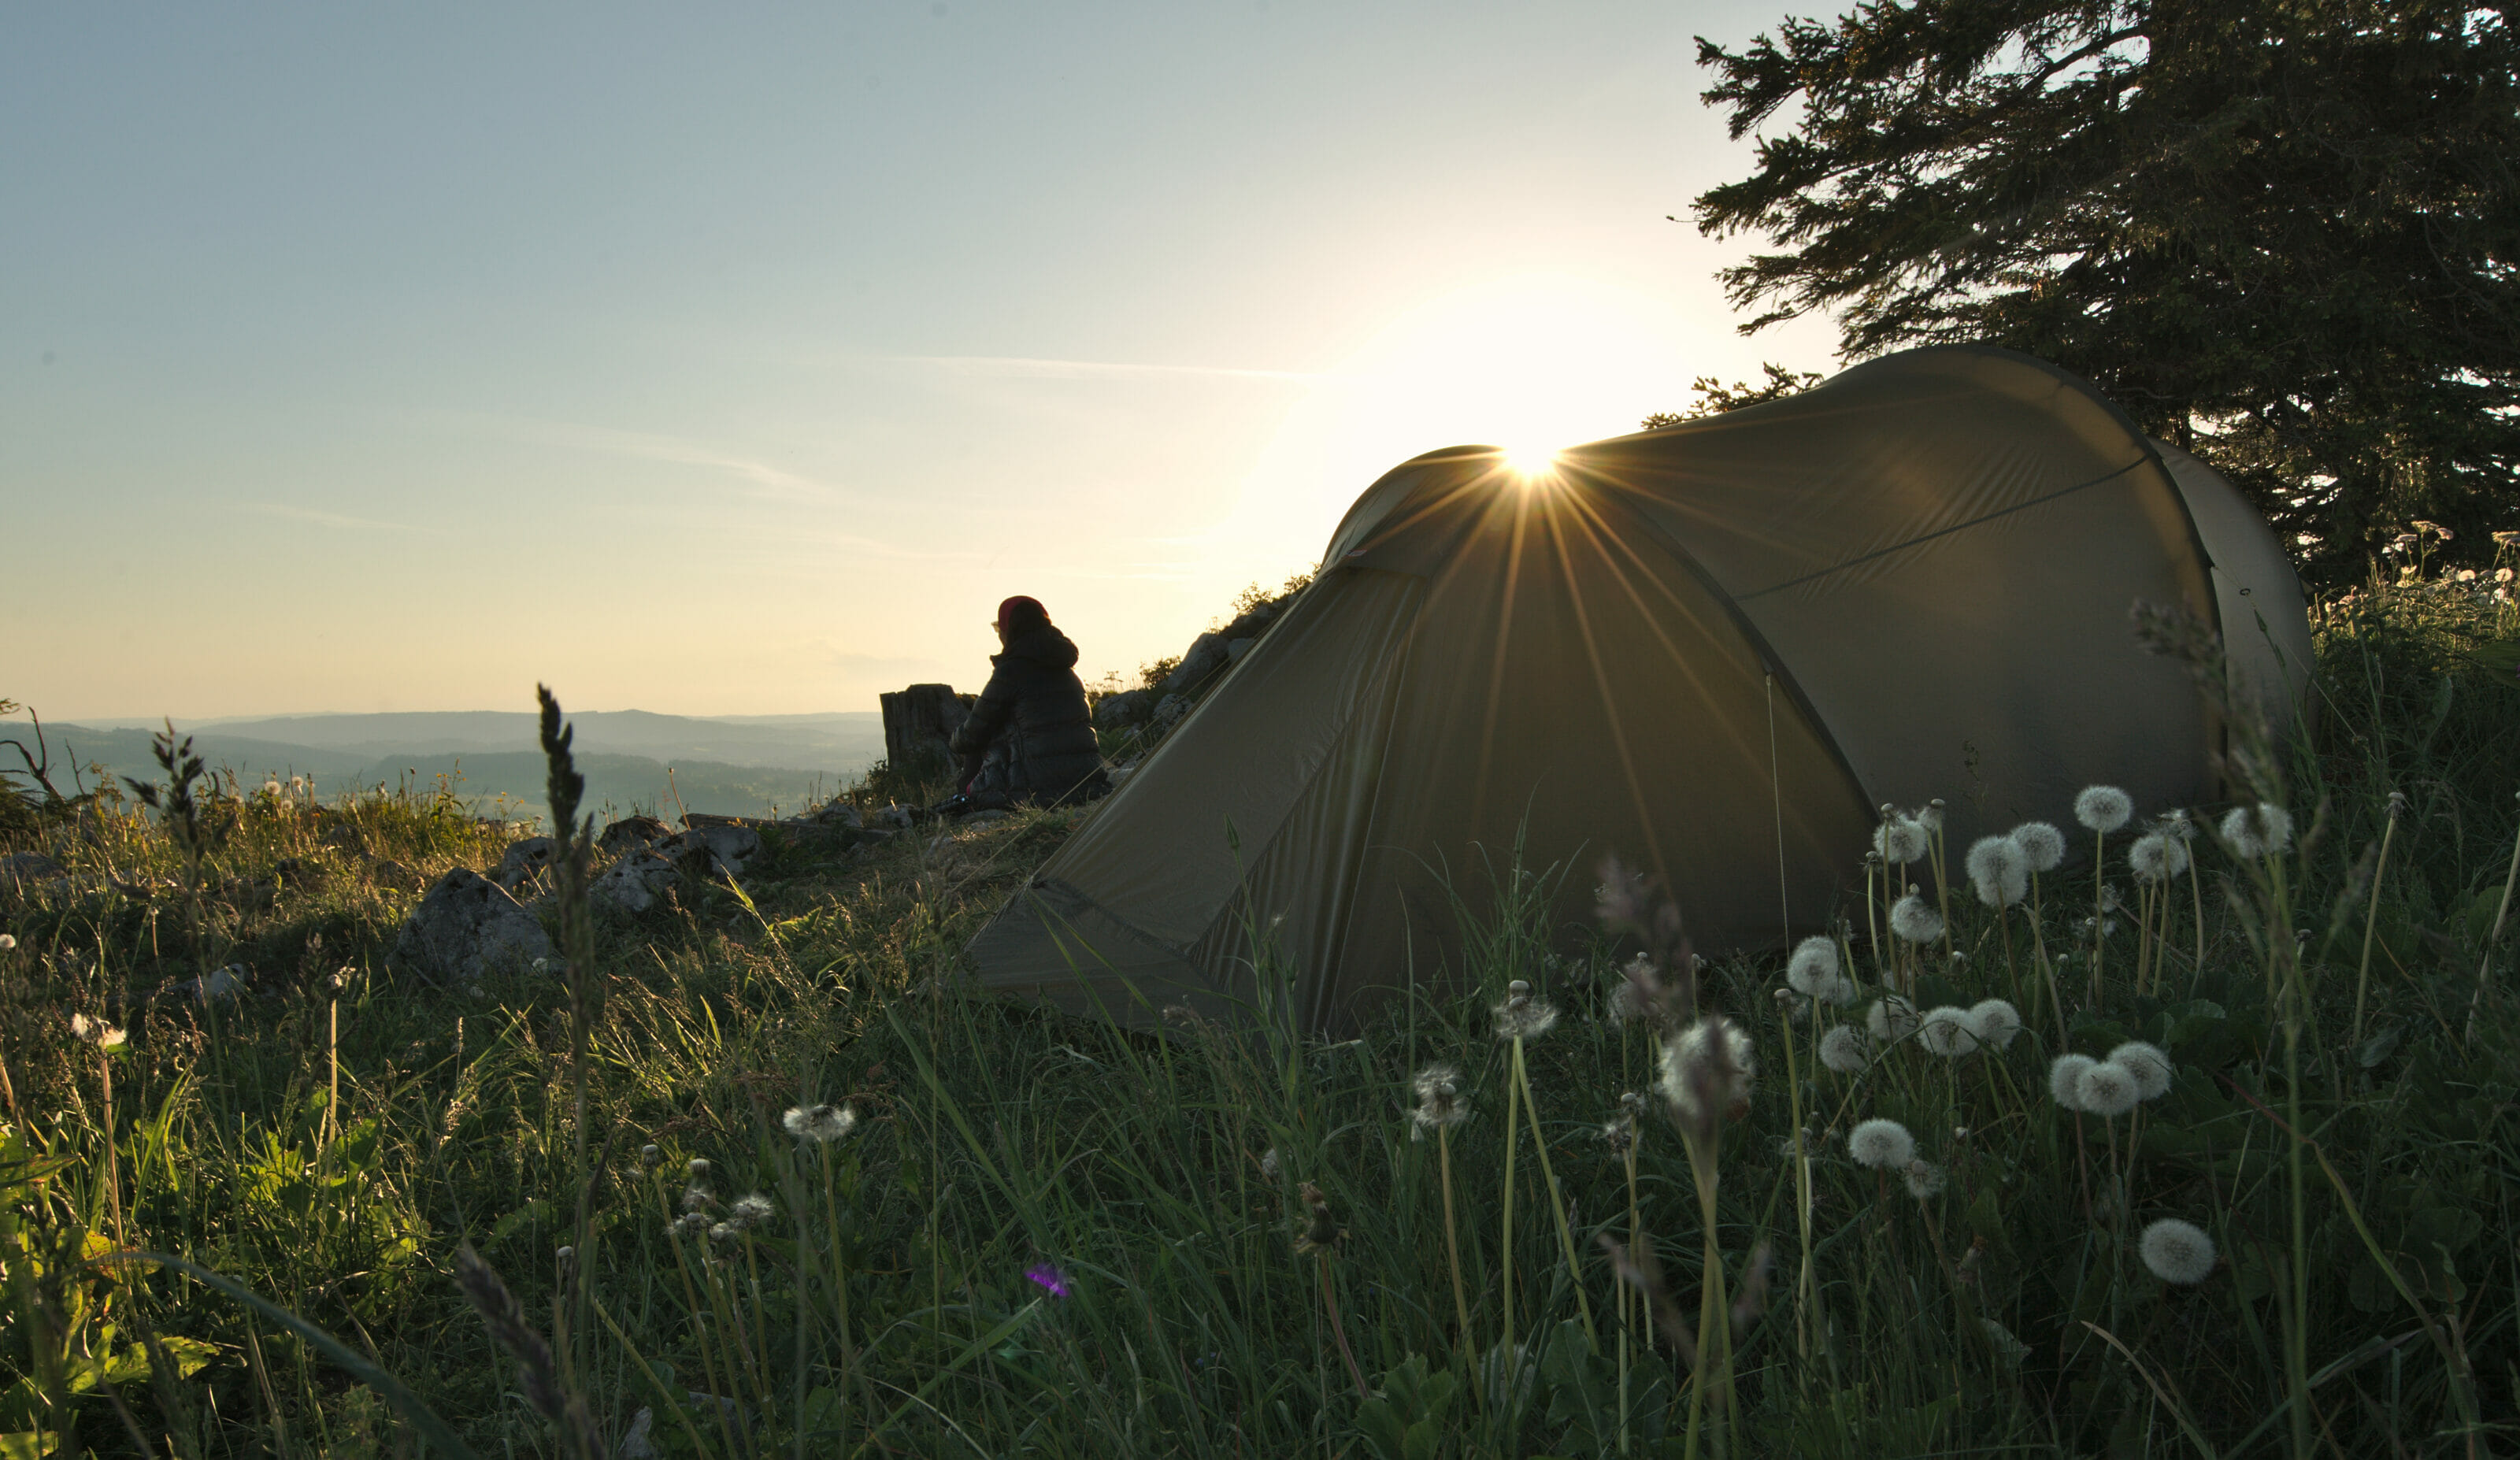
For now, we’ve mainly used this tent on the Matterhorn Circuit in summer 2024 and during a few occasional bivouacs. But I will naturally update this article if I find it necessary 🙂 .
Setting up the tent
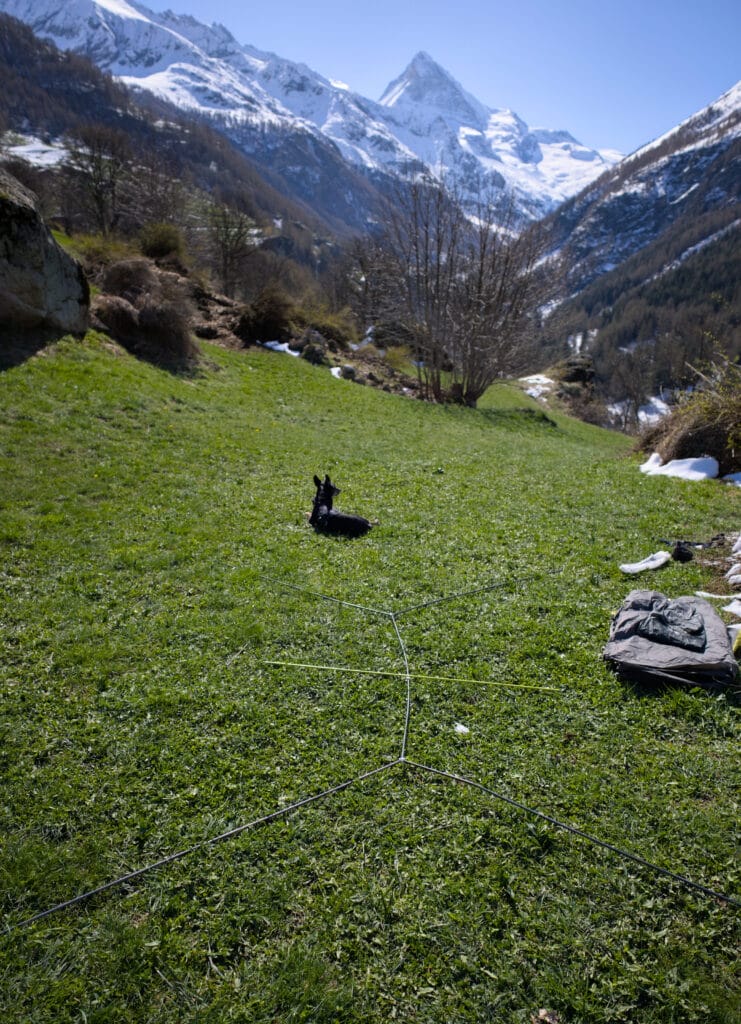
One of the very positive points about this tent is that it is so easy to set up! All you have to do is unfold the pole structure, clip the spherical ends into the Jake’s feet at the four corners of the floor, and attach the inner tent to the poles (especially the central pole which allows for an optimal interior volume). And there you go, the tent already stands up on its own!
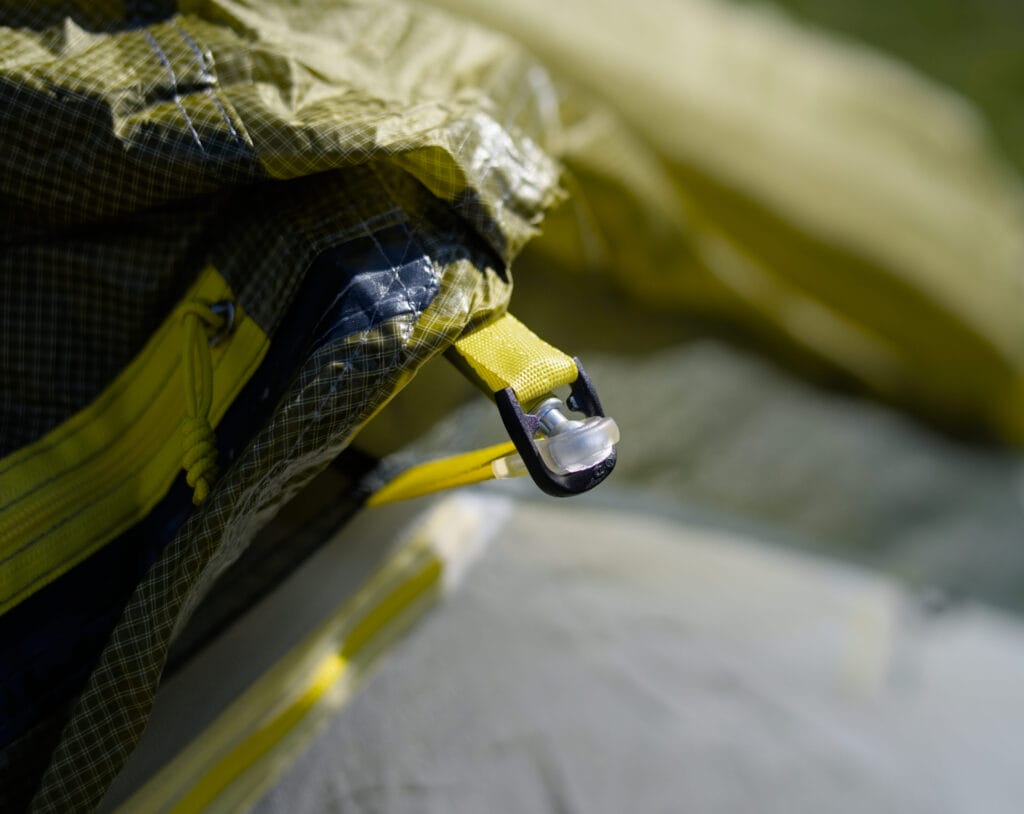
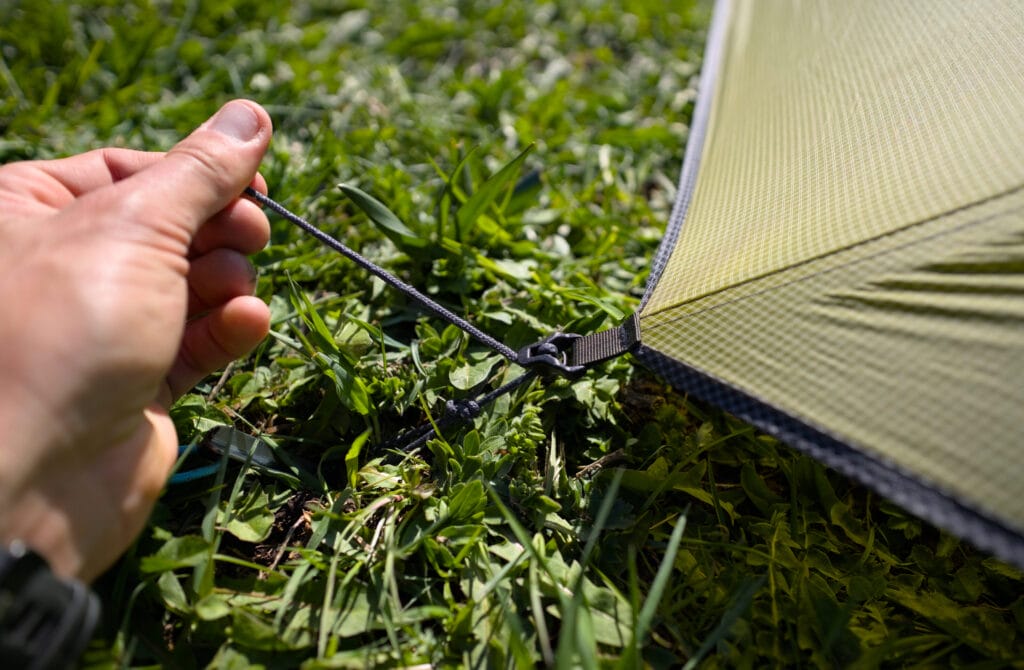
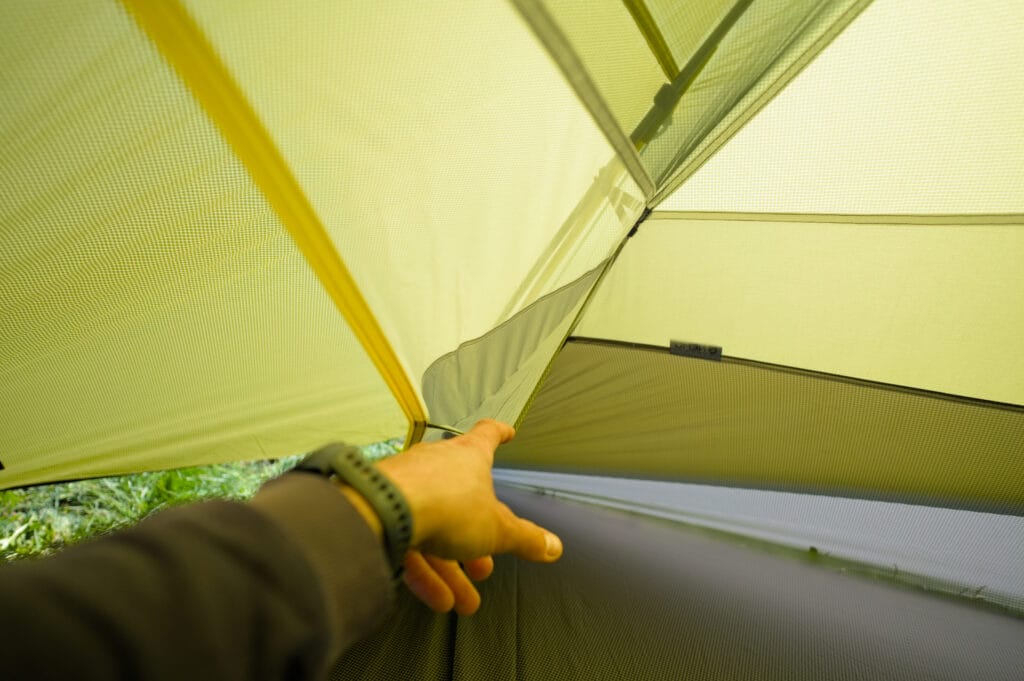
You then need to fix the tent roof to the Jake’s feet and the central arch, adjust the position of the tent to have the flattest possible setup, and then stake down the four corners and the vestibules. Finally, you will need to adjust the tension of the rain fly at the anchoring points (with the tension straps already attached) and with additional guy lines that can be attached to various anchor points on the tent roof.
2 negative points that I still noted:
- As the rain fly attaches directly to the Jake’s feet (which attach to the corners of the inner tent), it’s not possible to pitch the tent roof before the inner tent or easily create a shelter with just the rain fly. This was one of the features I liked about our old tent, and it came in very handy in bad weather to fold or unfold almost everything under shelter (there’s nothing worse than having the inner tent already damp just after pitching when it’s raining, for example).
- I find that Nemo doesn’t supply enough pegs and guy lines to really properly tension the tent in bad weather (but maybe I don’t have the right technique and I’m asking you to correct me;). ). I find it a bit cheap to have to buy 2-3 extra pegs and guy lines when you’ve already paid almost 600 chfs for a tent.
Materials used for the tent (roof, floor, poles, jack’s feet)
So for now, even though I must admit that we haven’t faced any severe bad weather with this tent yet, I am pretty satisfied with the materials of the Nemo Dagger Osmo 3P.
the Osmo Ripstop fabric of the roof and the floor
Nemo had long used more classic waterproof nylon fabrics commonly used by most tent brands. But they have now developed their own fabric, which is a composite made of 100% recycled nylon and polyester (which is good for the planet), designed to sag less when wet (most tent fabrics lose tension when it rains) while remaining as or even more resistant and waterproof.
So, our old tent was made of nylon and indeed it would lose tension when it was wet (which is not ideal since when it rains, there’s often wind… and you might need to get up to tighten the tent a bit). So far, we haven’t noticed this happening with the Nemo tent, which is quite promising. Still, we’re waiting to get caught in a real downpour to confirm all this 😉 . On the other hand, our old tent fabric dried a bit faster than Nemo’s Osmo fabric, which was quite handy.
As for durability, nothing to complain about so far. We haven’t purchased the footprint to protect the floor of the tent and we haven’t encountered any issues yet. But we will update the article once we have more experience.
Same goes for waterproofing; 1500mm and 2000mm water column is a little less than our old tent (which had 2000mm for the roof and 3000mm for the floor), but for now we have nothing to complain about. We’ll get back to you after we’ve faced some real storms 😉
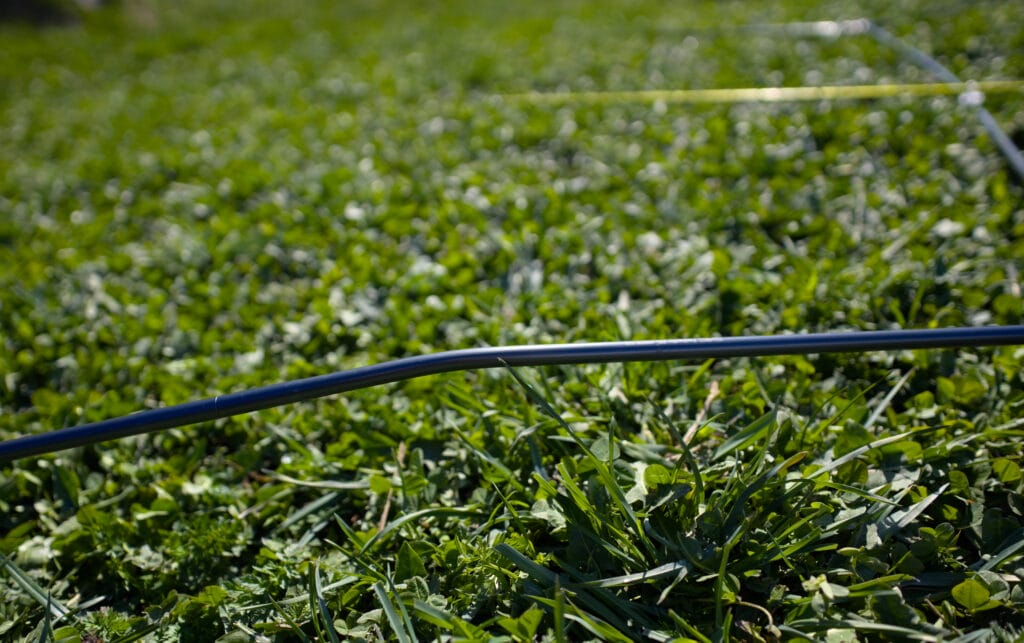
The tent poles
About the tent poles, they are made of anodized aluminum and are pre-bent. The good thing is that they are already pre-connected (like many tents of the same type), which makes assembly extremely simple. The fact that they are pre-bent also reduces their stress exposition, extending their lifespan.
After all, aluminum isn’t as light as carbon, but as I mentioned, it’s not an ultralight tent (even though it is still very lightweight), and carbon is more expensive than aluminum (which also allows Nemo to offer tents at a more reasonable price compared to other brands).
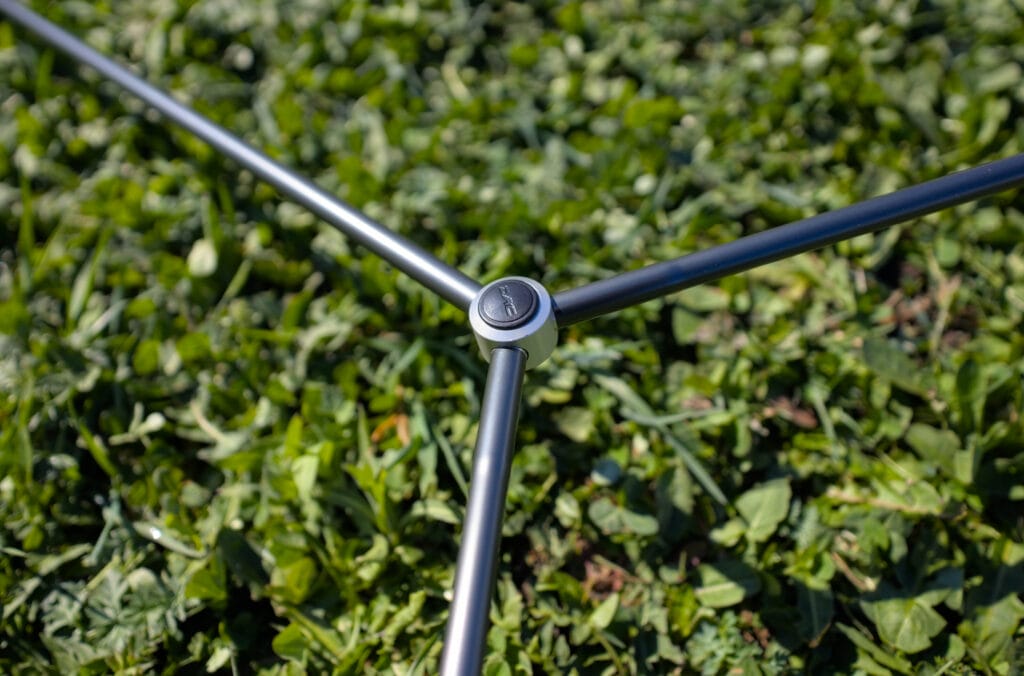
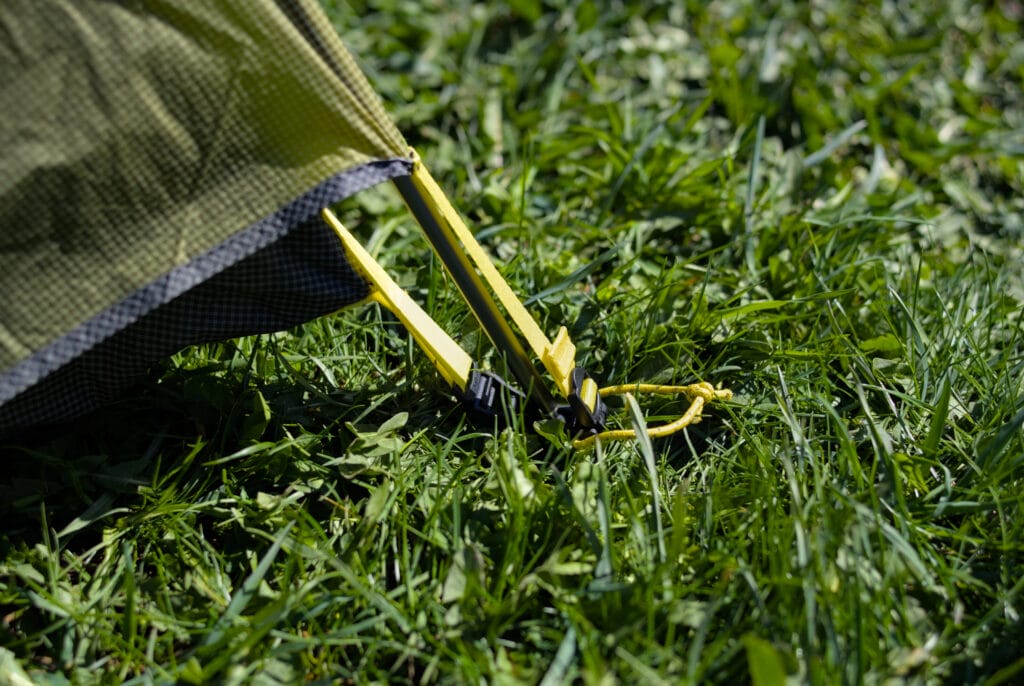
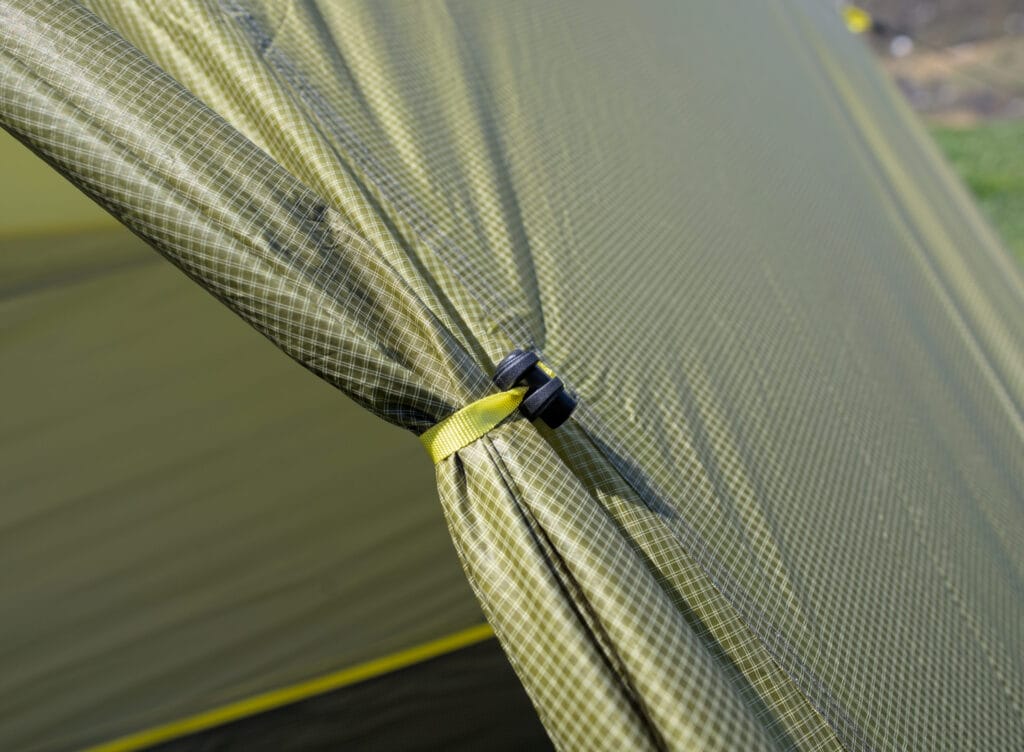
Jack’s feet clips
Regarding Jack’s feet clips, I have a somewhat mixed opinion about them:
On one hand, the system is extremely clever and allows you to set up the tent so fast by easily clipping the poles and the rain fly ends to the inner tent.
On the other hand, these clips are made of plastic and that’s not the most reassuring in terms of durability. But they can be replaced very easily, so it’s enough to have 1-2 spare Jack’s Feet in your backpack. The only problem is that, at the time I write these lines, I can’t find a website that sells them online. Maybe they’re just out of stock 🙂 (or you need to contact Nemo customer support)
Tent Size (volume, floor area, storage)
Nothing to complain about here! This tent is really spacious, and there’s plenty of room inside the inner tent to sleep 2 with our dog plus our backpacks inside. The symmetrical design of the Dagger Osmo 3p also allows us to easily sit both inside with enough space around our heads.
However, if you want to sleep three people inside, you’ll probably need to alternate your mattresses so that the person in the middle has the head at the foot of the other two. You’ll also need to store all your belongings in the vestibules because there won’t be enough space inside the tent itself. But as for us, it’s no surprise—we always bring a 3-person tent for 2 people to have more comfort (getting a good night’s sleep is important when you’re hiking for extended time).

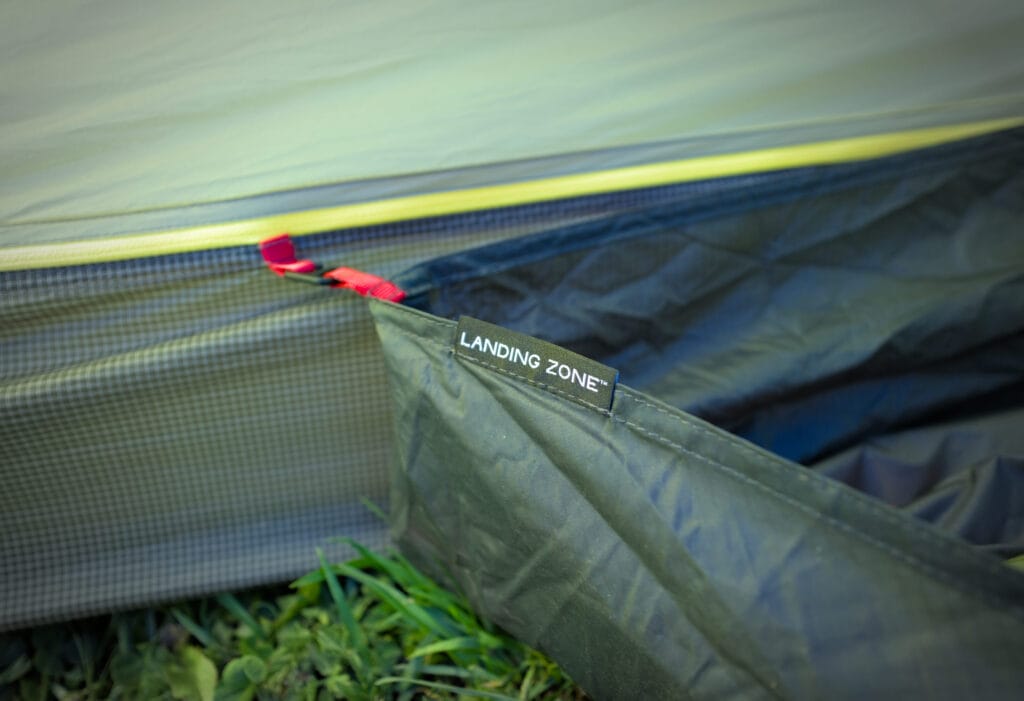
Regarding storage, this tent is quite well-designed, featuring 1 pocket at each corner of the tent (a total of 4) and 2 flashlight pockets that diffuse light through the orange hue of the fabric. In one of the vestibules, there’s also the option to attach what Nemo calls a “landing zone”, which is simply a piece of tent fabric that adds ground protection. This helps protect your belongings from humidity a bit better when stored in the vestibule… But I wouldn’t go as far as to say it’s an essential element of the tent 😉


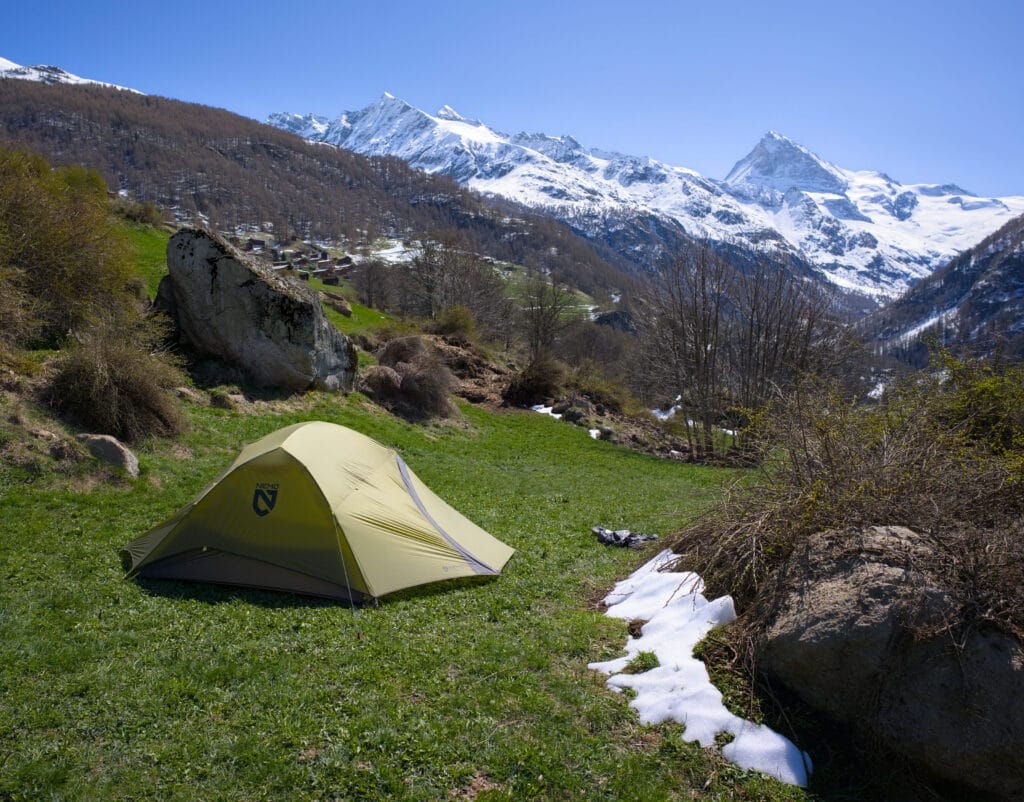
Regarding the tent’s floor area, it measures approximately 4m2 (178 x 224 cm). Since the tent is freestanding, it’s very easy to set up without stakes and then move it around to find the best spot. Of course, you need to take into account the vestibules (about 1m2 each), but these don’t need to be perfectly flat or taut. Compared to our Fjellheimen tunnel tent, which was 4.3m long, it’s much easier to find a pitch for the Nemo Dagger.
Tent Stability
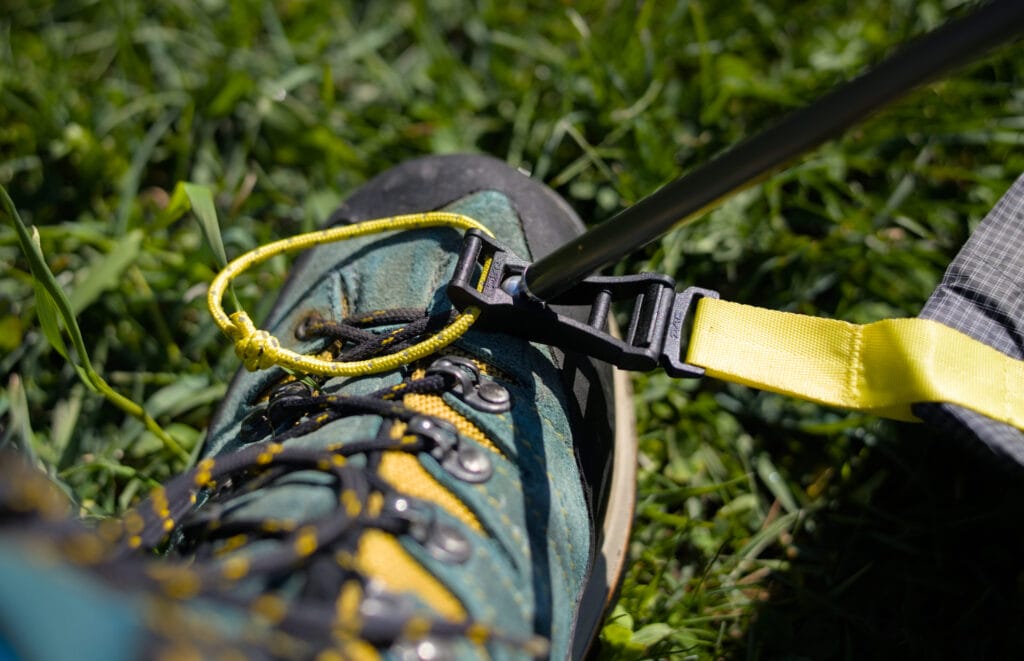
The tent has 8 ground anchoring points (4 for Jake’s feet and an additional 4 for the vestibules), plus 10 additional attachment points on the rain fly of the tent to prevent it from moving in case of wind. Of course, if you use all the attachment points correctly, the tent will be very stable, and it’s actually very good that there are so many.
But the tent comes with 10 tent stakes and 4 guy lines to stabilize the tent’s poles. So, after using 8 stakes on the ground, there are only 2 stakes and 4 guy lines left to properly secure the tent. I’m open to your recommandation on how to best set up the Nemo Dagger with the available gear, but personally, I would have liked to have 4 additional stakes + 4 guy lines to really stabilize the tent for bad weather. I also find it a bit disappointing that for a tent in this price range, this equipment isn’t included by default.
We spent a night with perhaps around 50-60 km/h wind, and I couldn’t get the tent to be fully stable with the provided gear. So, I bought a few extra stakes and cords to prevent any issues 😉 .
Tent Waterproofness
As I already mentioned, we haven’t experienced heavy rain with this tent yet, so I’ll give you an update when that happens 😉 . But anyway, we’ve had a bit of rain and we’ve always stayed completely dry. The Dagger is actually Nemo’s most fully covered tent model compared to the Dragonfly or the Hornet, which make some compromises on this side to save weight.
Also, even though the tent fabric was sometimes damp, we haven’t noticed any loss of tension (and thus deformation of the fabric) so far, whereas this was the case with our other tent that had a more traditional nylon fabric. It seems that what Nemo claims about their Osmo fabric, specially developed for their tents, is actually true.
Ventilation
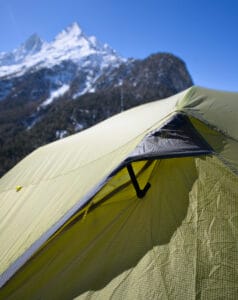
To improve ventilation and prevent condensation as much as possible, you will find 2 small bars at the top of each door that create a small opening on each side of the tent. These openings are designed to allow air flow under the roof of the tent and thus prevent condensation.
From our experience, there is always a bit of condensation, especially when sleeping near a water stream and when there are 2 people plus the dog in the tent… And the Nemo Dagger Osmo 3P is no exception. However, we haven’t noticed excessive condensation either, and it hasn’t caused us any trouble so far.
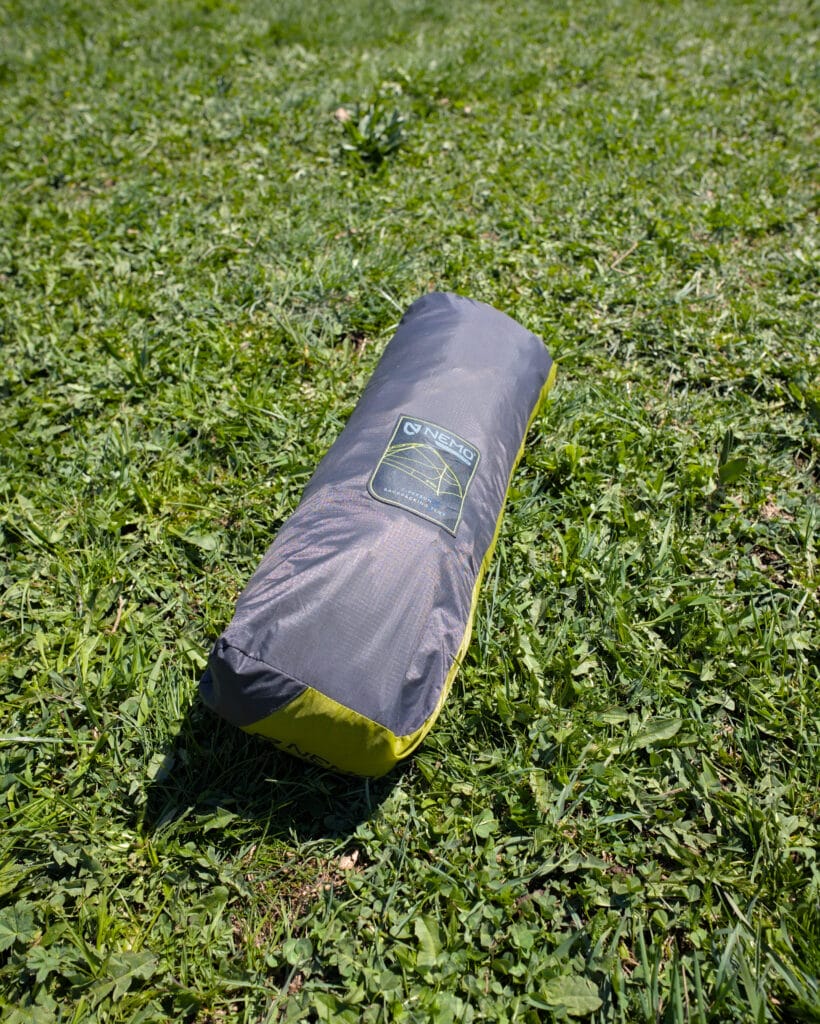
Folded size
Nemo has created a pretty smart storage bag to carry the tent. If you put the tent along with the poles in the bag, the size once everything is folded will be about 51 x 18 x 9 cm (the 51 cm mainly coming from the length of the poles).
But Nemo also thought about distributing the weight of the tent between 2 people. One can carry the poles, which also come in a small carrying bag (a bit over 1 pound), and the other person can carry the rest of the tent. The bag then compresses to about half its size (it rolls up like a stuff bag), making it even easier to store in the backpack.
Since this is a tent that is really designed for multiple people, it makes it all the more relevant.
Advantages and disadvantages of the Nemo Dagger Osmo 3P
| Advantages | Disadvantages |
|---|---|
|
|
FAQ about the Nemo Dagger Osmo 3p
- How long does a Nemo tent last?
Nemo tents are made to last a very long time and the best proof of this is that Nemo offers a lifetime warranty on all its products. Of course, this doesn’t mean you shouldn’t take care of your gear, but if something does break, you can count on Nemo’s customer service. - What is the difference in weight between the Nemo Dagger Osmo 2P and 3P?
The Dagger Osmo 2P weighs 1.78 kgs whereas the 3P weighs 2.02 kgs. However, the width of the tent has been reduced from 178 cms to 127 cms. If you plan to use your tent for 2 people most of the time, we’d recommend the Dagger Osmo 3P ( but it obviously depends on how you use it). - What are the differences between the Nemo Dagger Osmo 3P and the Dragonfly Osmo 3P?
The Dragonfly is narrower at the feet, has a smaller volume (the central pole is narrower, so there’s less headroom when you sit down) and has smaller vestibules. The rain fly also covers less of the inner tent to save weight. In fact, the Dragonfly 3P weighs 1.72kg, 300gr less than the Dagger 3P.
There you have everything you need to know about the Nemo Dagger Osmo 3P tent. If you have any questions to ask us, don’t hesitate to leave us a comment below. As for us, we will continue to update this article if we think it’s necessary as we use the tent.
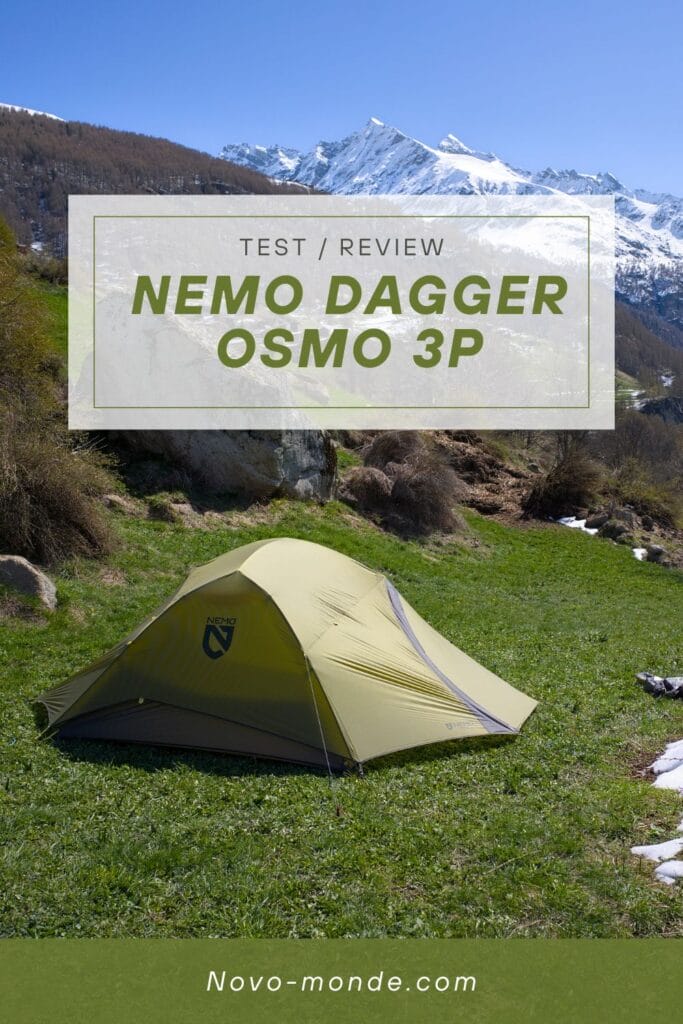
Pin it on Pinterest

Thanks for the good review, it helped me make the decision to buy one of these. The main thing most of the reviews I’ve seen miss out is the insect issue! Camping in the north entails dealing with insects, midges and the like, and sadly my Dagger 3p doesn’t deal with them well at all. This is due to the double zip design for the inner tent doors. No matter what you do you can’t fully seal the gap between the two zips so, consequently, after a few hours loads of the smallest midges get into the tent. I’ve woken up quite a few times now with hordes of midges in the tent. I’m not sure how to combat this – take a roll of duct tape with me and tape the hole up? This isn’t really satisfactory. I’m open potential solutions if anyone has one.
Otherwise, the tent is great. I love it. Slightly concerned by the space between the fly and the floor at each end, but it’s not been an issue so far.